Why do we photograph the Milky Way in summer?
The Milky Way is a spectacular sight in the summer skies but why does it look so much more brilliant than it does in the winter?
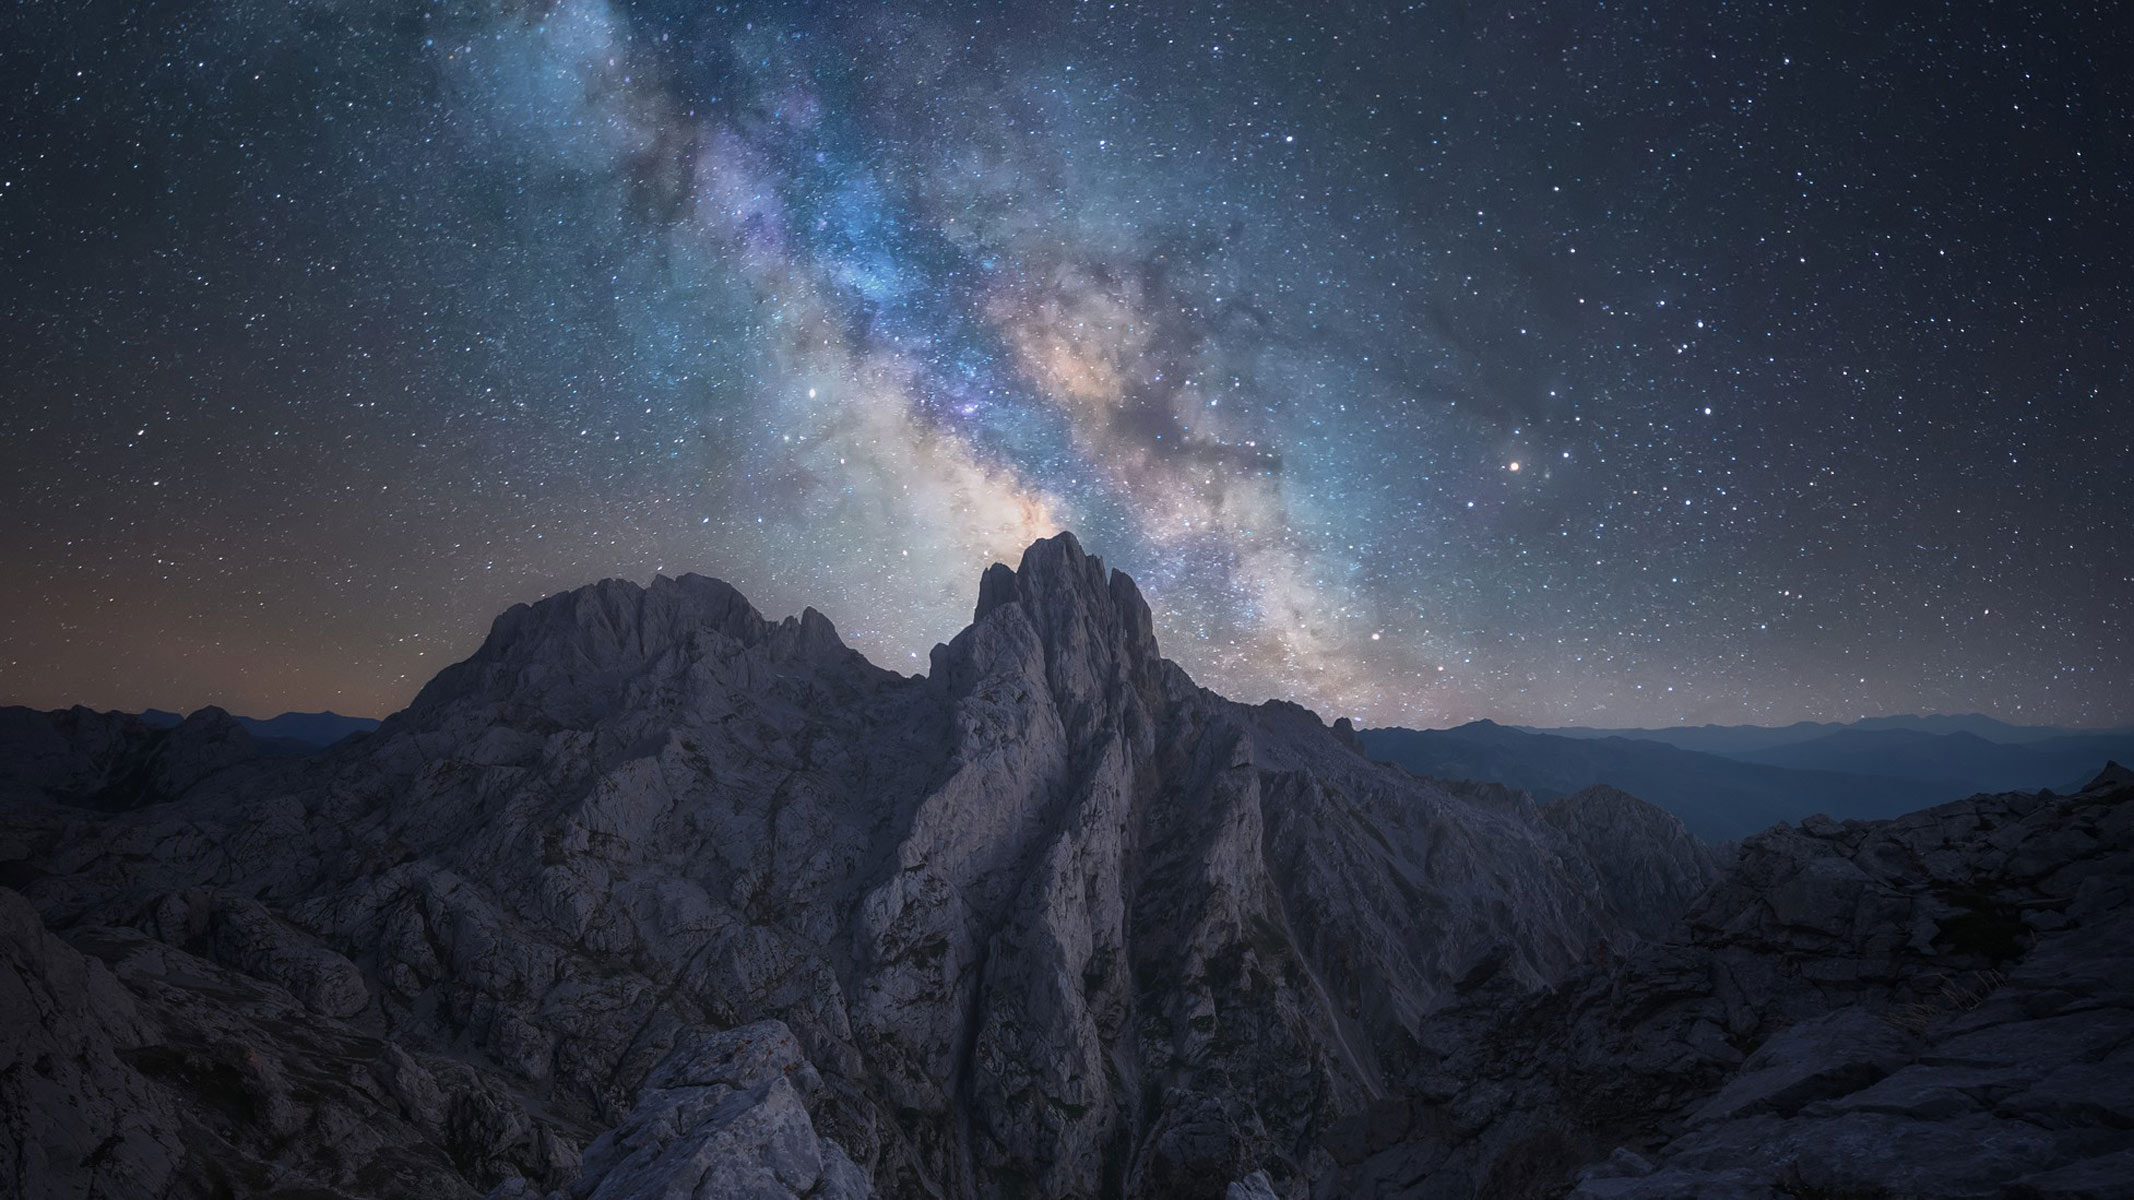
For stargazers and astrophotographers in the northern hemisphere, summer is the best time to observe and photograph our cosmic neighborhood, the Milky Way galaxy. The summer months of June, July and August are synonymous with one of the most magnificent sights in the night sky, the brilliant, dense core of the Milky Way.
While our home galaxy is a permanent fixture in the heavens, the core is best photographed during this specific window. We will look at why the summer months are the best for photographing the Milky Way, how to capture the perfect shot and the essential gear you will need to capture this night sky wonder.
Where are we in the Milky Way?
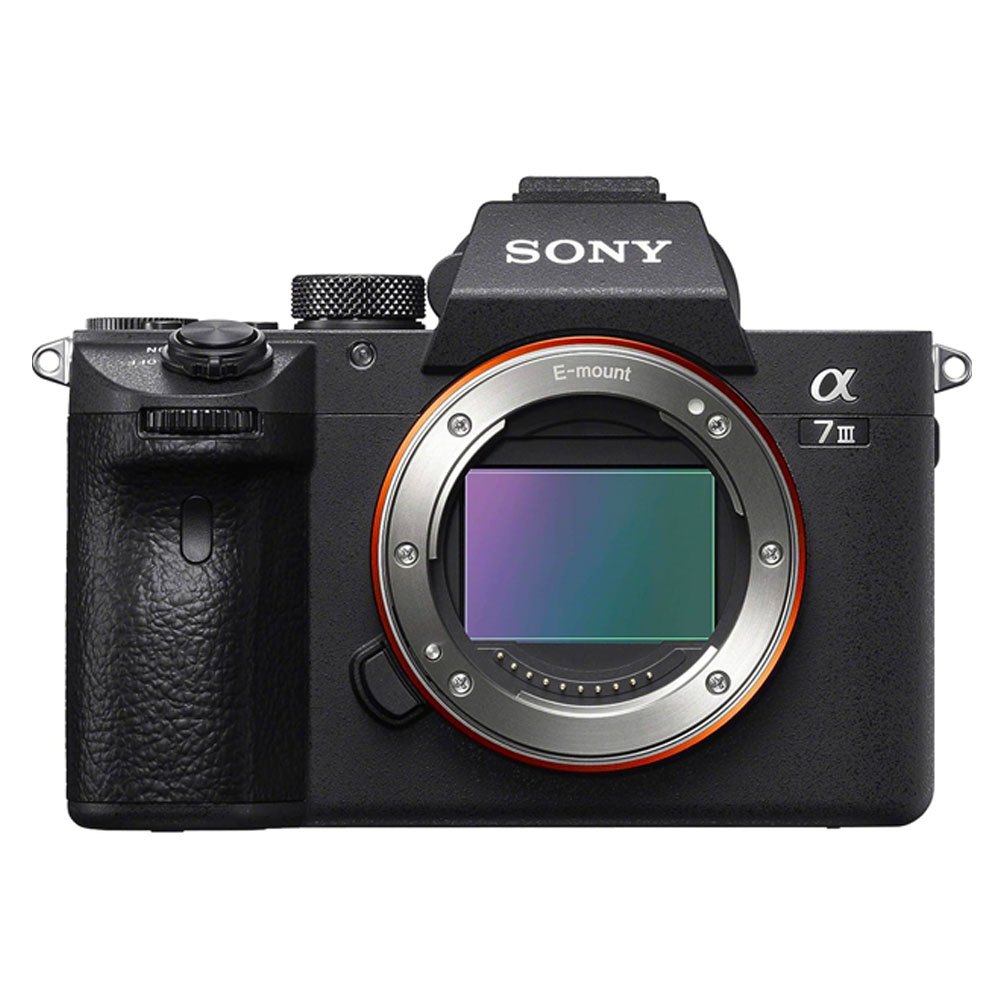
Our best mirrorless camera for low light is the Sony A7 III. We gave it four and a half stars for its excellent high ISO performance, brilliant autofocus and excellent dynamic range.
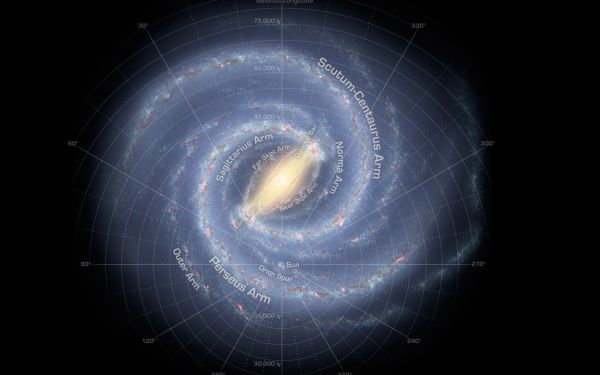
To understand why summer is the 'peak' season for Milky Way photography, we must first look at our location within our own galaxy. The Milky Way is a barred spiral galaxy with large arms stretching out from the center. Our solar system is located within one of its spiral arms, about two-thirds of the way out from the galactic center. As Earth orbits the Sun, our perspective of the galaxy changes throughout the year.
During the winter months, our vantage point during the night is such that we are looking outward towards the less-dense outer spiral arms nearer to the edge of the galaxy. This view presents a more diffuse and faint band of light, a very different view from the summer months. During nighttime in the summer months, Earth's position in orbit allows us to look directly inward toward the dense and bright galactic core of the Milky Way. The galactic core is a rich region packed with billions of stars, nebulas and dust lanes. We tend to photograph the Milky Way during these months because the core is much brighter and more visually striking.
Why we photograph the Milky Way in summer
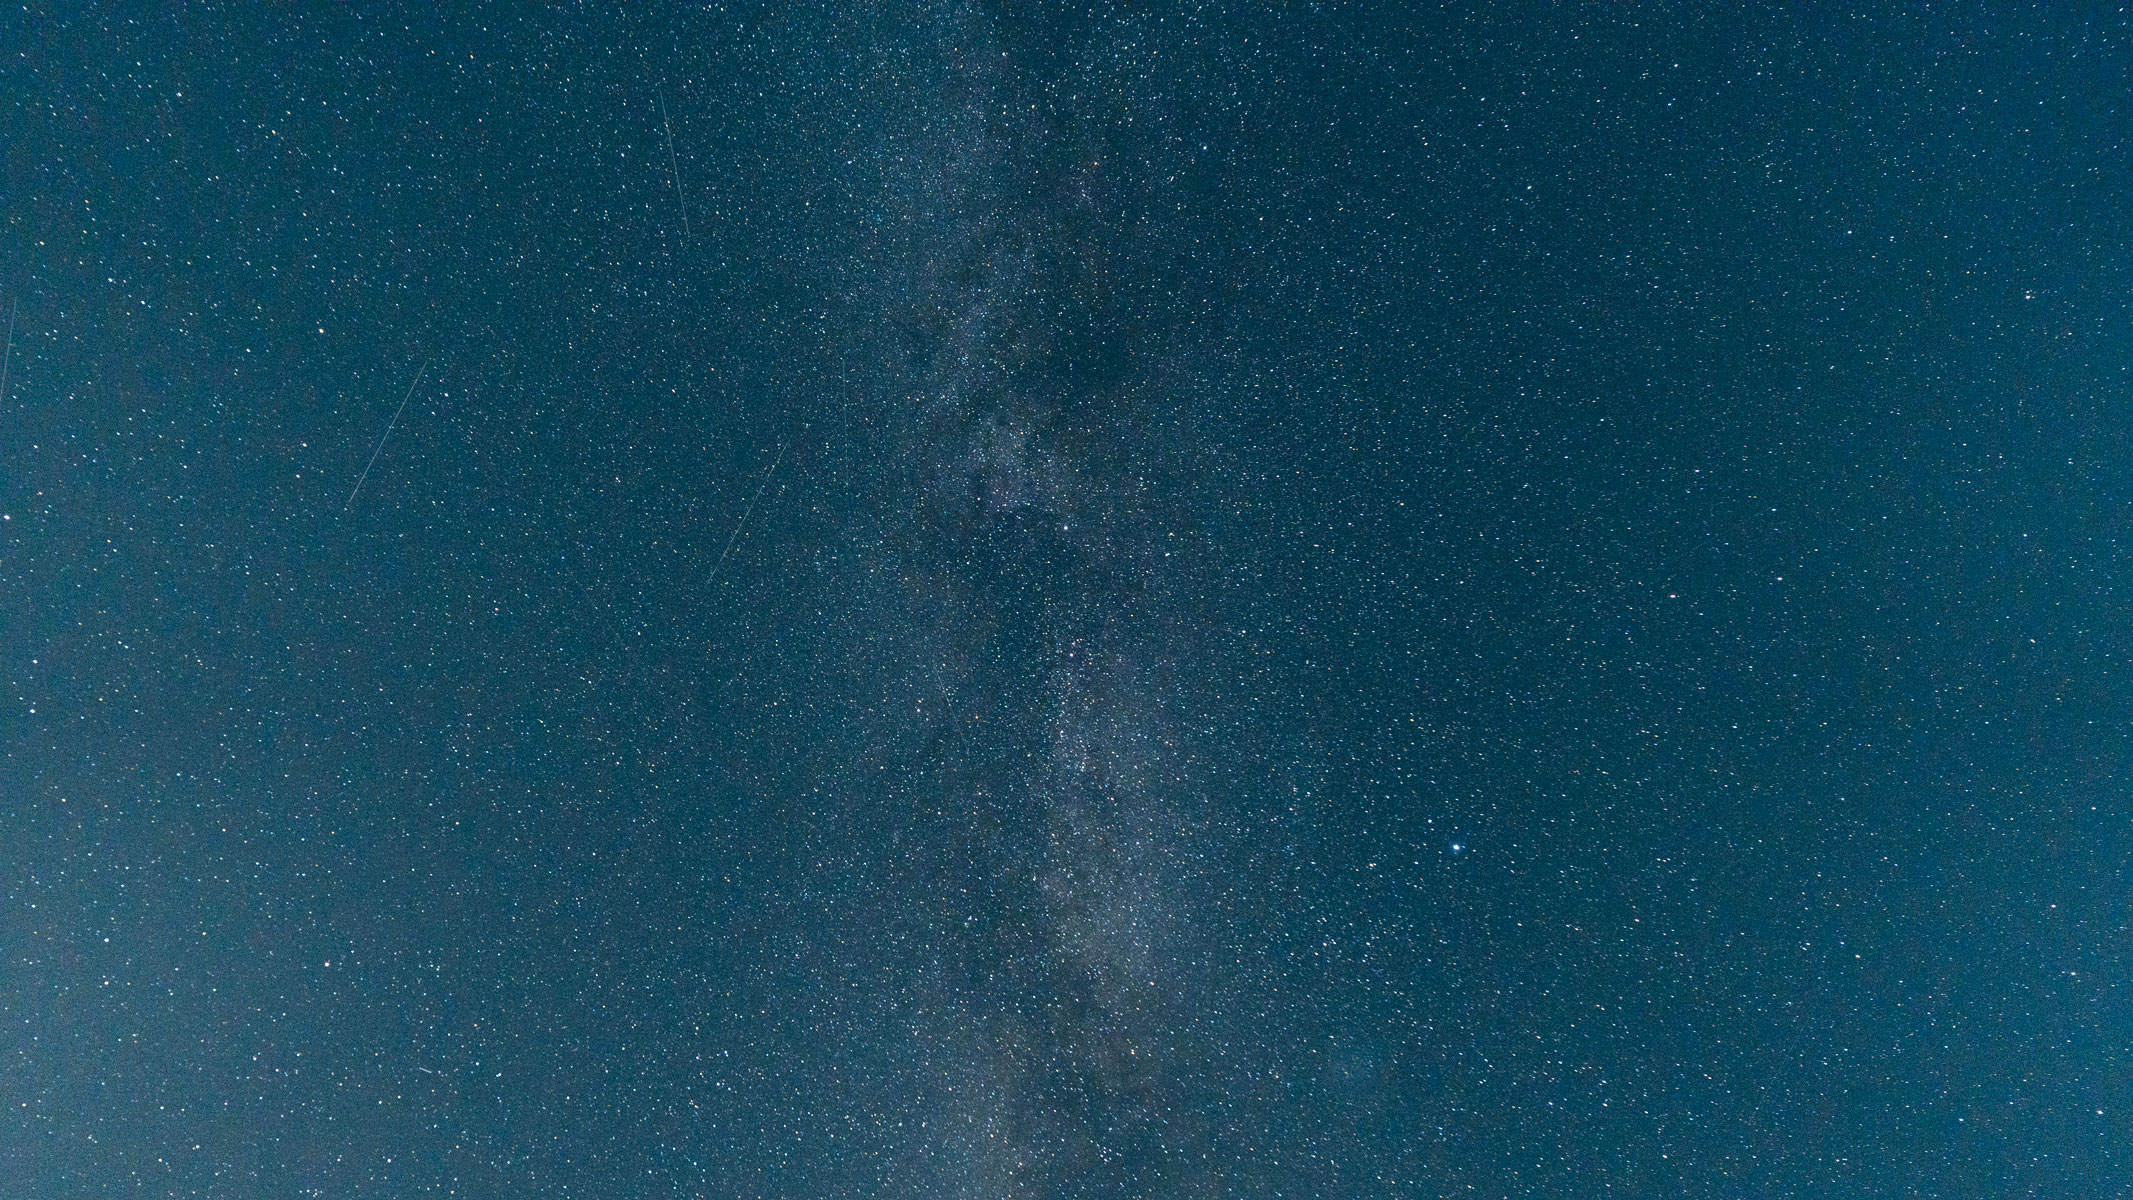

We gave Affinity Photo 2 four and a half stars and it is our best pick for astrophotography editing software in our guide to the best photo editing apps. We especially liked the extensive astrophotography stacking persona, which would help you stack lots of Milky Way exposures together to get a brighter and detailed image of the galactic core.
The primary reason for focusing our cameras on the Milky Way in summer is the visibility of the galactic core. The core is the brightest and most prominent part of the galaxy, and its position high in the southern sky during summer nights makes it an ideal subject.
The concentration of stars and nebulas in the core means that you can capture more detail in your photo of the Milky Way. Astrophotographers often seek to capture this central region as it offers a sense of vast scale due to its brightness and complexity. Beyond a visible galactic core, another advantage of taking Milky Way shots in summer is the long warm nights that make long shoots under the stars much more comfortable than a frozen winter night.
The summer sky also offers other cosmic delights to complement a photograph of the Milky Way. The Summer Triangle—formed by the bright stars Vega, Altair, and Deneb—is a prominent asterism that lies along the Milky Way's path. The Perseid meteor shower in mid-August also adds the chance of capturing a streaking meteor against the massive galactic core.
Breaking space news, the latest updates on rocket launches, skywatching events and more!
What gear do you need to photograph the Milky Way?
A camera with good low-light performance is a necessity for capturing the faint glow of the galactic core. We would recommend one of the best cameras for astrophotography such as the Sony A7R IV, which has a 61MP sensor and great high ISO noise handling. Another option could be the Sony A7C II, which we used to capture the photographs throughout this article. It only has a 33MP sensor but it is cheaper than the A7R IV and still did a great job of imaging the Milky Way.
A wide-angle lens with a fast aperture (f/2.8 or faster) is also crucial, as it allows you to gather as much light as possible in a short exposure time. It is also important to note that a wider focal length will allow you to capture more of the Milky Way as it stretches across a large portion of the sky. The best lenses for astrophotography often combine a fast aperture with a wide-angle focal length for capturing as much sky as possible.
A sturdy tripod is essential for keeping your camera still during the long exposures and interval shooting if you are planning on stacking frames later. If your camera and lens setup is quite heavy, make sure to check the payload capacity for your tripod in our best tripods guide.
With careful planning, the right equipment, and a deep appreciation for the cosmos, anyone can capture stunning photographs of the Milky Way. The summer months offer the best possible conditions to embark on this journey, giving us a front-row seat to the spectacular heart of our galaxy.
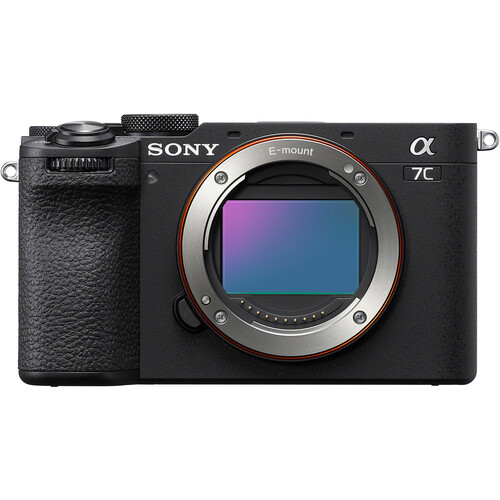
We used the Sony A7C II to take all the photographs we used in this feature and we also gave it four stars in our full Sony A7C II review. It's great for casual astro and many other subjects, but the proof is in our shots of the Milky Way.
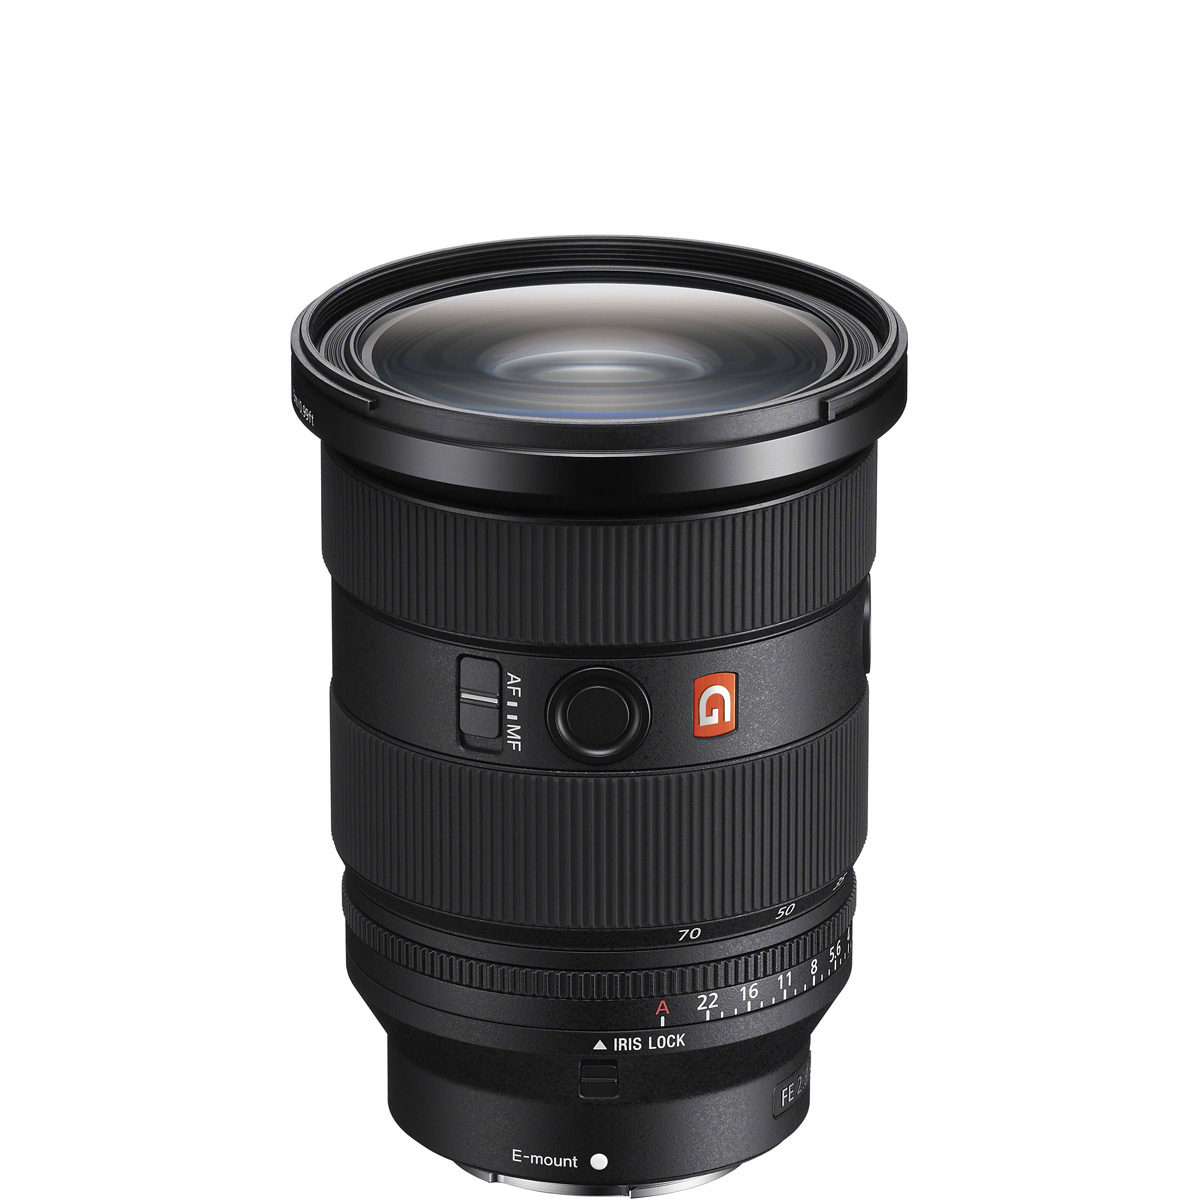
This is the lens we used for the photographs in this feature. It is perfect for capturing a wide expanse of the Milky Way and the fast f/2.8 aperture is perfect for letting in the glow of the galactic core. We also gave it four and a half stars in our full Sony FE 16-35mm f/2.8 GM II lens review.
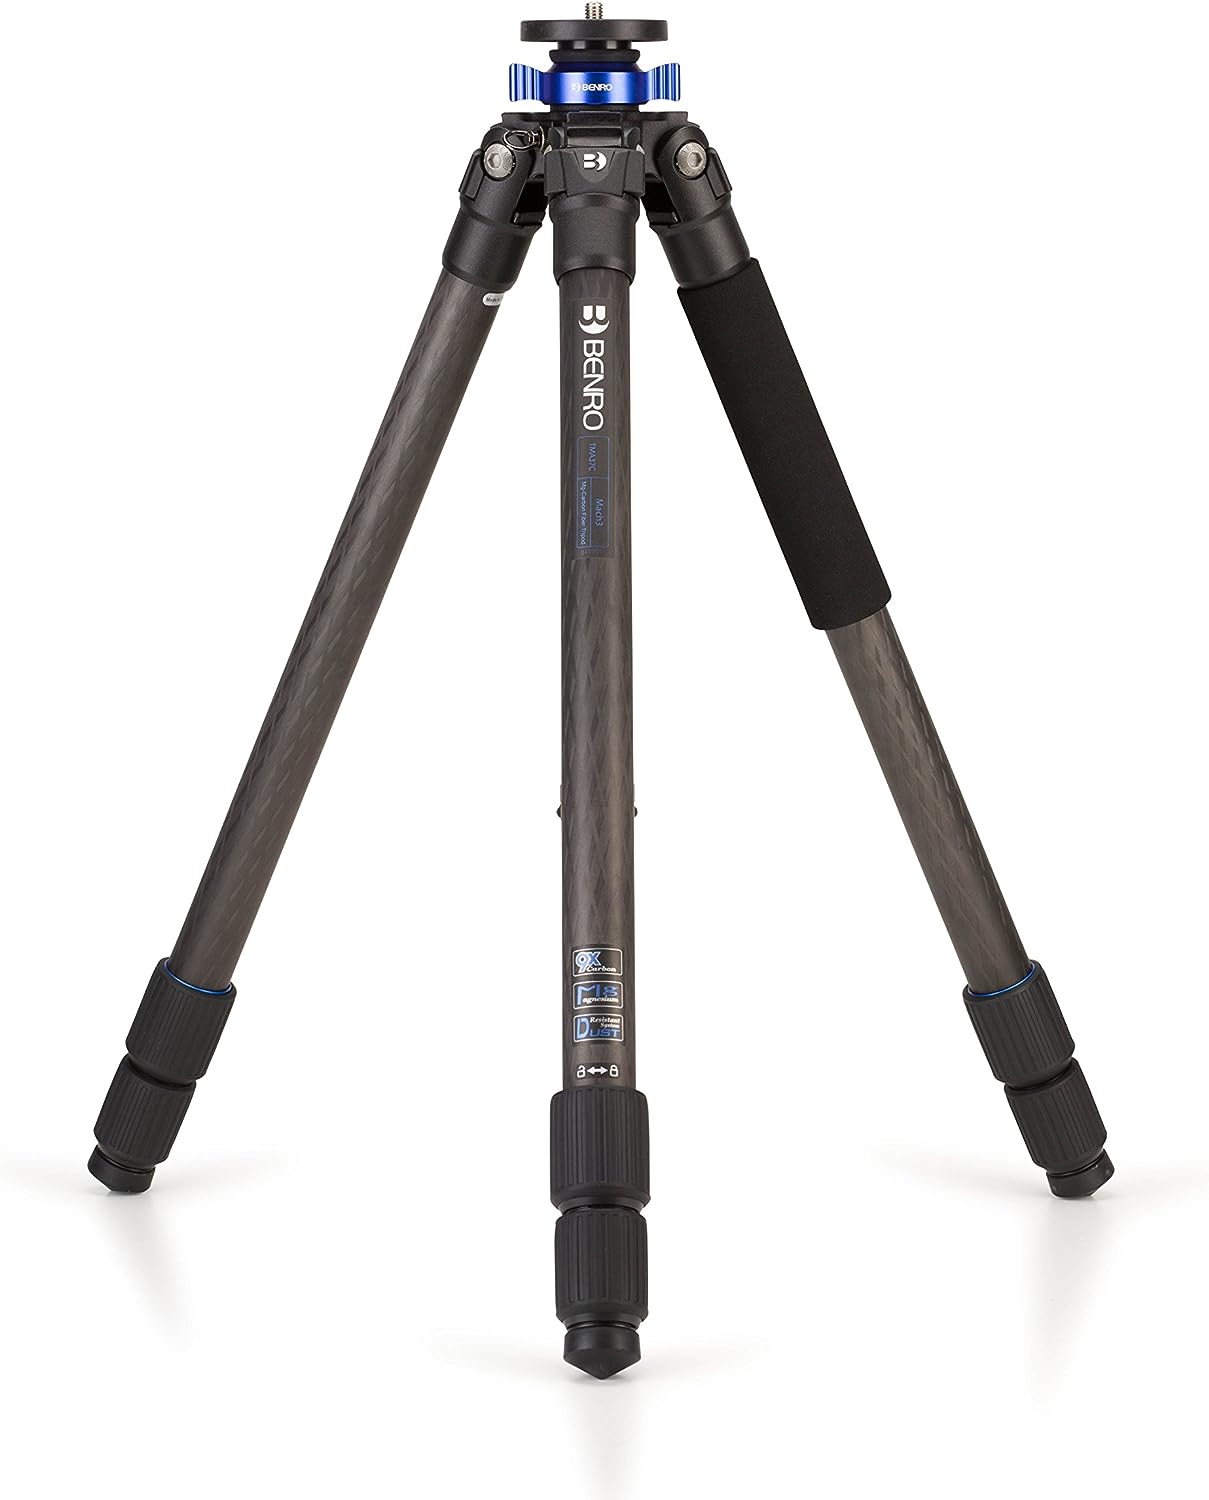
The Benro Mach3 9X CF Series 3 tripod got four and a half stars from us thanks to its easy setup in the dark and twisting locks, which are comfortable to use even with cold hands. It can also support larger payloads so it is perfect if you have a heavy body and lens combination.
Best conditions for shooting the Milky Way
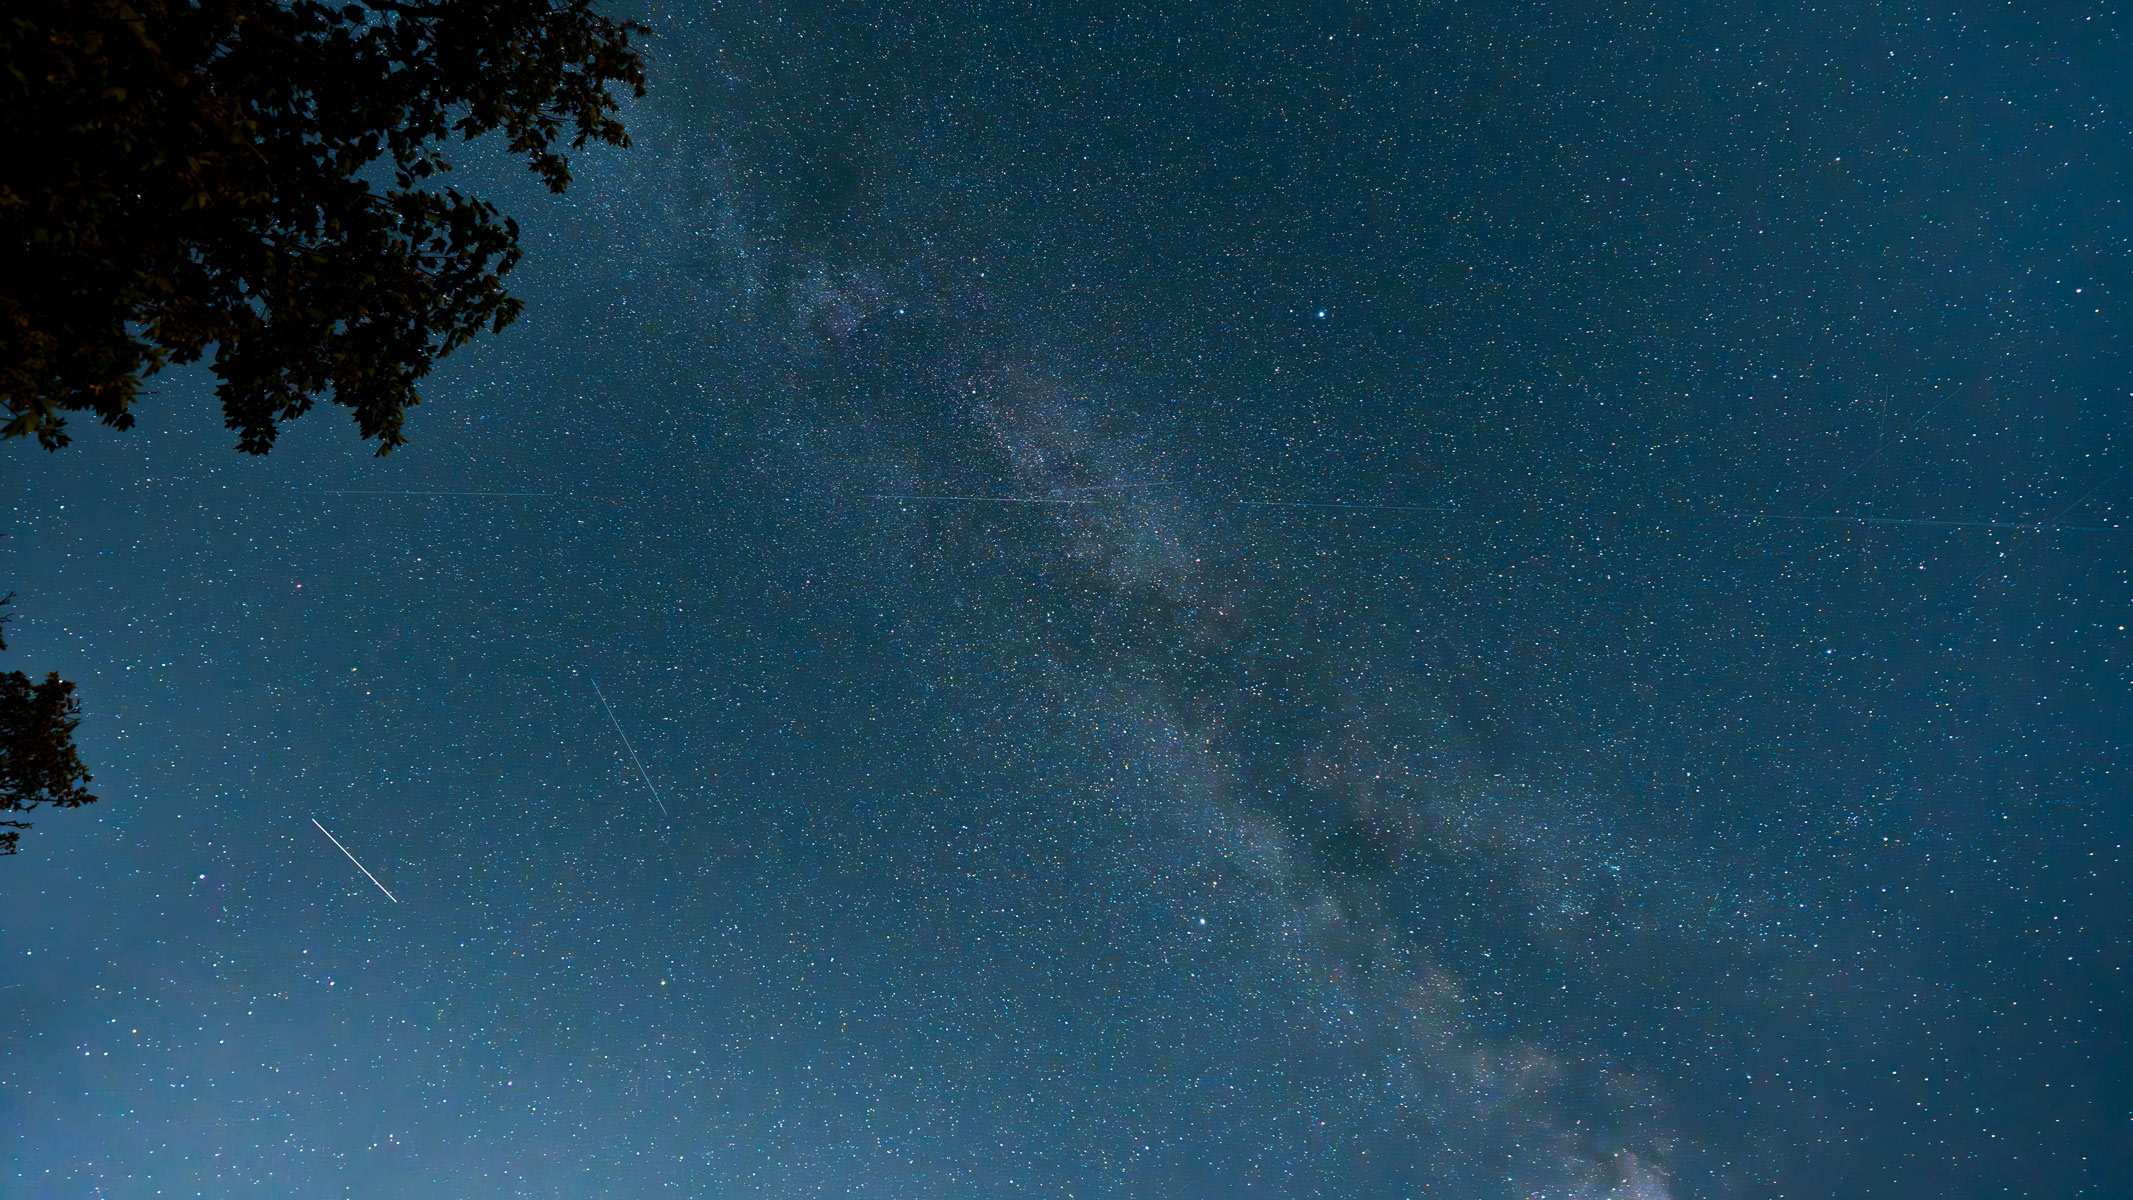
To successfully photograph the Milky Way, you will need to plan out your shoot first. There are certain conditions that make it easier to capture a great image of the galactic core of the Milky Way.
First and foremost, you need to find a location with minimal light pollution. City lights can easily wash out the faint glow of the galaxy. At least some level of dark sky will help you capture the Milky Way, while you don't need the darkest skies ever to capture it, the darker the sky, the more visible the galactic core is. You can check for local dark skies near you on the light pollution map and Dark Site Finder.
You will also need a clear sky free of clouds so that you can see the night sky, so make sure to check a cloud cover map like Ventusky or Accuweather for a better chance of confirming clear skies.
And last but not least, you will need a moonless night as the light from a full or even a crescent moon can be bright enough to overpower the faint light of the Milky Way. Planning your shoots around the new moon will give you a good few days each month to capture the faint glow of the core. Our new moon calendar has the dates for the next new moon and those for the rest of the year.
What camera settings to use to capture the Milky Way
- Wide aperture (e.g. f/2.8)
- Long shutter speed (e.g. 15 seconds)
- High ISO (ISO 1600 or above)
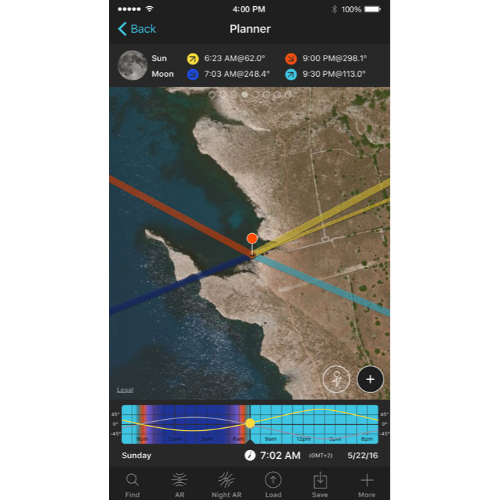
We think the best stargazing app for astrophotographers is PhotoPills, thanks to its simple design, location scouting features and useful augmented reality for finding and identifying celestial objects. We gave it four and a half stars and is the best app for astrophotography in our stargazing apps guide.
First, make sure your camera is in manual mode so that you can change each exposure setting. Use a relatively high ISO setting. We recommend starting at ISO 1600 and above, then, depending on your lens, set your aperture to the widest value. Then, either adjust your focus to infinity or your camera's autofocus if it is powerful enough.
To get a sense of what shutter speed to shoot with, use the "500 rule," where you divide 500 by your lens's focal length to get the maximum shutter speed. For example, a 16mm lens on a full-frame camera would be just over 30 seconds. Use this as a loose guide, though, because we achieved good results with a 16mm lens and a shutter speed of 15 seconds.

Harry joined Space.com in December 2024 as an e-commerce staff writer covering cameras, optics, and skywatching content. Based in the UK, Harry graduated in 2019 with a Bachelor's degree in American Literature with Creative Writing from the University of East Anglia. A keen photographer, Harry has strong experience with astrophotography and has captured celestial objects with a range of cameras. As a lifelong skywatcher, Harry remembers watching the Perseid meteor shower every summer in his hometown and being amazed by the wonders of the night sky.
You must confirm your public display name before commenting
Please logout and then login again, you will then be prompted to enter your display name.
