
Observing the planets can be the most rewarding of celestial targets, where images conjured by NASA become a reality. The moment you observe the polar ice caps of Mars, the storms of Jupiter or the rings of Saturn, you will instantly be inspired to see more.
All you need is some knowledge of the equipment and telescopes needed to both observe and locate them. The brighter planets can be observed with the unaided eye alone and each of their colors, or 'hues, are discernable because of their relative surface brightness or magnitude. These planets include Mercury, Venus, Mars, Jupiter and Saturn. Uranus and Neptune can be slightly more difficult and so acquire views with greater clarity. This is when we turn to the telescope to provide us with a 'window' to our celestial neighbors.

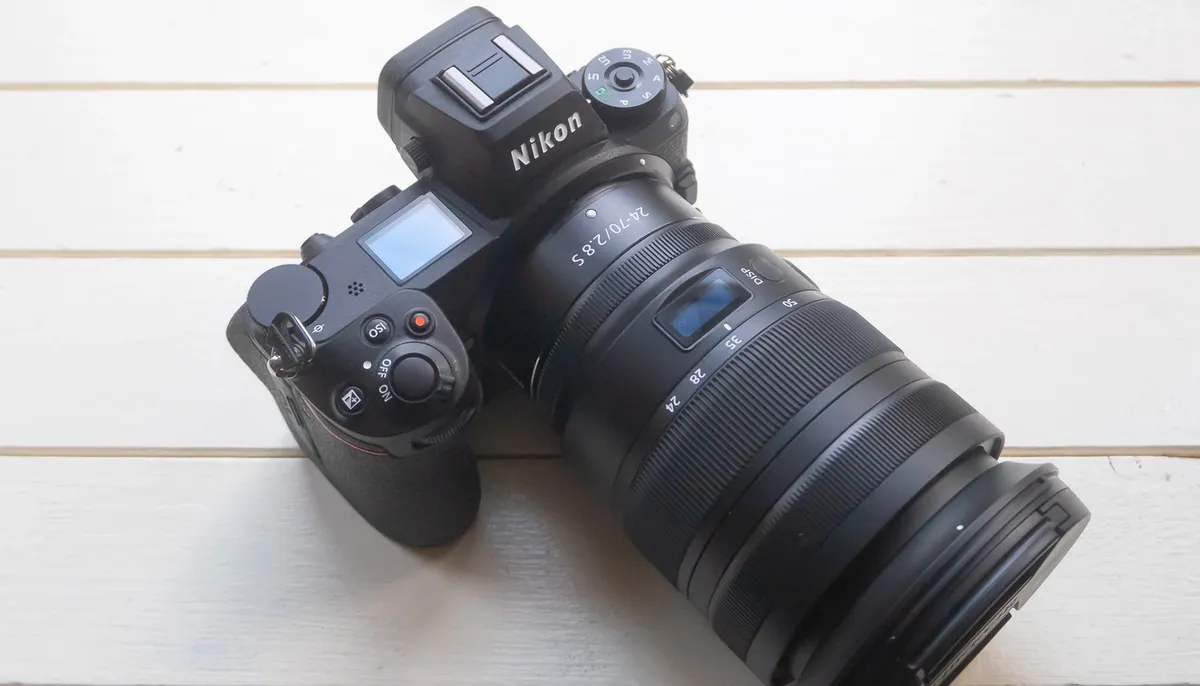
After you have observed the planets, you may wish to document your experience somehow. This guide will cover how to use 'CMOS' webcam-style cameras such as the ZWO ASI533MC to take images of the planets through your telescope, as well as DSLR and Mirrorless cameras or even using one of the best smartphones for astrophotography to photograph these other worlds.
What type of telescope is best for observing and photographing the planets?

When it comes to observing the planets, there is really no right or wrong answer to what equipment to use. It is more a question of how far you want to go. To observe the planets, you do not need a telescope greater than 4 -inches in diameter. A suitable pair of binoculars (in the range of 7 X 50 to 10 X 50) will be enough. These are great choices for the brighter planets. For more serious observation and imaging, larger diameter telescopes will be required. It is all to do with the clarity and 'light gathering' of your optical instrument. Thus, providing greater 'resolving power' to use those greater magnifications, or eyepieces.

All of the planets present their own challenges for observation. Starting with the innermost planets; Mercury and Venus. Their apparent orbits are closer to the Sun and so it's essential only to be viewed at certain times with due care. At points in the year, they can be observed several hours before dawn or after dusk. The more experienced astronomer can observe these planets during the day, but crucial steps must be taken to not point your instrument directly at the Sun without adequate protection.
Smaller equipment is all that is needed to observe brighter 'satellites' or moons; orbiting around other planets in the solar system. From the Galilean Moons of Jupiter (Io, Europa, Ganymede and Callisto), to the largest (and brightest) moon of Saturn (Titan), as well as those more distant planets, Uranus and Neptune.

Of course, there are several factors to consider when observing the planets. Light pollution will create less contrast between these far-distant worlds, so locating and observing them from a dark-sky site is best. Depending on what is happening in the atmosphere above us and the effects of the jet stream, you may be able to observe a night of 'good seeing' — when the atmosphere is steady. Typically, the best views are when the planets are at their highest in the sky, so it is worth using a series of astronomical resources, such as one of the best stargazing apps, to know when this will be the case.
Next, we need to consider when the planets are at their closest to Earth. This is known as 'opposition'. These are key dates in the astronomical calendar, as the apparent size appears far greater than other times during their relative orbits. As a result of being closer to Earth, they appear brighter with greater magnitude and thus, more surface details can be resolved.
What size telescope is best?

To start seeing surface details on the planets, we need to use larger diameter telescopes. Although smaller telescopes are great for initial observation, they are limited by their resolving power and how much light is gathered and reflected by your telescope's optics. In particular, telescopes with optical coatings provide contrast 'images'. One of our favorites is Celestron's NexStar 4SE. These are great contenders when starting out on your planetary venture. Check out our guides on the Best Telescopes and Best Telescopes for seeing planets to determine a telescope that suits your needs and experience.
At this stage, do not worry about the type of telescope used, from a Schmitt Cassegrain to a refractor or reflector-style telescope. All that matters is you need to be comfortable with your telescope and be familiar with its setup. Any well-made, reputable astronomy brand will be more than adequate to reveal those subtle details.
What eyepieces and magnification do you need?

When considering magnification, you want to aim for a magnification of x25 (per square inch of aperture). As an example, to observe Saturn with a 4 -inch diameter telescope, you will need a magnification of 100X. If you go beyond this magnification, your view will become distorted and blurry. In theory, you would be 'overpowering' your optical setup. Check out our best Eyepieces for telescopes feature to familiarise yourself with the limits of your telescope.
To calculate the magnification of your eyepiece, you must divide the focal length of your telescope (measured in millimeters, 'mm') by your eyepiece's focal length. You do not need to invest in expensive eyepieces to observe the planets. Plössls are great; with shorter focal lengths, they are a good starting point for observation. These types of eyepieces are typically supplied with telescopes.
Filters are another means to observe specific details on the planets, using certain wavelengths of light. Filters are available based on the size of the eyepiece barrel (typically 1.25 -inches). These are simply threaded onto the base of the eyepiece using a thread attachment.
As is the case for Mars and Jupiter — orange and red filters can be used to define darker surface details, such as the darker terrain of Syrtis Major — a shield volcano visible on the surface of Mars. Clouds can also be viewed on other worlds. Blue filters can accentuate those views on Mars and the atmospheres of Jupiter and Saturn. Specialist filters, such as ultraviolet filters, can be used to reveal subtle atmospheric details on Venus. Baader has a great selection of these filters, including the Alpine Astronomical Baader U-Venus Filter (1.25-inch).

Choosing a larger telescope

The larger your optics, the more surface detail you will see. If investing in a larger optical tube assembly (OTA), you want to make sure the telescope you choose is optimized for this type of observation.
As discussed earlier in this guide, the larger the mirror (apparent diameter of your telescope), the more light gathering it has and thus, greater resolving power. A good range between 8-10 -inches is recommended. With more light gathering, it can handle those increased magnifications. As an example, an 8 -inch diameter telescope (200mm) can easily handle 200x magnification, as is the case for Mars, Jupiter and Saturn. However, your telescope's magnification does not just solely rely on aperture, but its 'focal ratio.' This number is determined by dividing the telescope's focal length (the length of the telescope) by the aperture.
This number, when determined, will identify if your telescope is 'fast' or 'slow.' For example, a focal ratio between f/5 to f/6 is considered 'fast.' Any number above this figure is considered 'slow.' Fast telescopes provide a wider Field Of View (FOV), which is not generally considered for observing objects ranging between 30 to 45 arc seconds in size.
For perspective, Deep-Sky Objects (DSO's) (ranging from galaxies, nebulae and star clusters) span over 'arcminutes'. 60 arc minutes in a degree; 3,600 arc seconds in a degree. Therefore, observing with a wide field of view will generate a small image of the planet being observed and not take magnification well.

Subjectively, astronomers and astrophotographers opt for 'slower; telescopes. Examples of telescopes in this category are Schmidt-Cassegrain-style telescopes, also known as SCTs. Celestron's C8 Model is an example of this. An 8-inch aperture, 80-inch focal length, and combined focal ratio of f/10.
Photographing the planets
There are many imaging techniques to photograph the planets. As well as using a telescope and specialist imaging camera, planets can also be photographed using conventional DSLR/Mirrorless cameras combined with a mid-focal-length lens.
Where planetary imaging with a telescope is concerned, an imaging camera (resembling a webcam) is connected to the telescope in place of an eyepiece, measuring a barrel size of 1.25 -inches. Using a CMOS sensor allows the operator magnified views of the planets to capture video files and select the sharpest frames during your imaging session to render a final output.
Planetary imaging is also possible with a DSLR. However, the size of the sensor will render a smaller image compared to the previous imaging technique. Your camera is mounted by using a T-Adapter and T-Ring combination. T-Adapters are sold separately depending on the model of your camera. Smartphone cameras can also be used. This is a more fragile imaging process, as the user will need to physically operate their smartphone to increase magnification while operating the optical tube assembly, keeping the subject centered in the frame. Expect image quality to be slightly less compared to the above imaging methods. Try our best cameras for astrophotography, if you're currently in the market for a camera.
The selection of imaging cameras on the market is huge. CMOS and CCD imaging cameras are well-optimized for imaging the heavens. They can be used only in place of an eyepiece, controlled by supplied house software.
Beginners should consider the Celestron Neximage fleet of planetary imaging cameras. These are great for anyone becoming familiar with planetary observation. Starlight Express provides a greater megapixel count and higher quality instrument; with decades worth of experience when it comes to designing specialist cameras for planetary imaging.
The one key difference between DSLR and CCD imaging is that DSLRs operate on a 'one-shot' basis. Most CCDs are monochrome cameras (imaging in black and white). The reason for this is that monochrome cameras are more sensitive to capturing detail as opposed to color cameras. Using a series of filters (Luminance, Red, Green, and Blue — LRGB), a stack is then performed to generate a sharper, full-color image. These subs are combined through photo-editing software, such as Registax and Adobe Photoshop. The best photo editing software for you depends on your budget, the type of images you want to create and your existing setup.
It's always best to plan your observations ahead of time — there's nothing worse than carrying all your heavy telescopic equipment outside, setting up your laptop, only to find the clouds rolling in and that you've wasted your time. You might already know the weather is bad at other times, but you may want to sneak outside if the sky clears for a few hours.
Watching weather forecasts helps, but the keen astronomer needs up-to-the-minute weather reports. In this case, a weather station is essential. Not only do they tell you how long it will be cloudy, but they can also provide measures of ambient temperature and relative humidity, which is important when considering the quality of the seeing conditions (warmer air means more thermal currents and turbulence) and whether your telescope is likely to dew up, in which case a lens heater will be necessary.
As mentioned previously, atmospheric turbulence can impact how many of those 'finer details' we can observe and image, otherwise known as 'seeing' conditions. This can cause your view to fluctuate. Another reason to opt for the CCD option, is you take a video file over a short period of time. Usually, no longer than 3 minutes per sub. Using your laptop/computer connected via a USB-Cable to your camera, you use imaging software to capture those windows of 'good seeing' and eliminate bad seeing. The remaining images are then combined.
The science of these objects becomes more apparent when we consider planetary rotation. For this reason, we use shorter sub-exposures so as not to capture blur as each planet rotates. 'De-rotation' software can be used in this situation, such as Winjupos to allow for greater exposure times.
As Earth rotates, we will need to further consider a form of tracker for our telescope. The popular option is to use an equatorial mount — aligning with the north or south celestial poles and tracking the night sky at a 'sidereal' rate. This will keep your target in frame for a longer period of time. Your mount will need to cater to the weight of your kit, from the optical tube to the camera and filters. Therefore, a heavy-duty, robust option should be considered. Skywatcher's EQ5 and EQ6 models, for example, can offer payloads of up to 30-44 lbs, respectively.
Observing and photographing the planets is very rewarding and is what inspired our author on his astronomical voyage toward the stars. With patience, research and time, capturing your images of the planets will be possible. They are always changing, from weather phenomena to the angle we view them from on Earth. There is always something to look out for. Armed with this guide and equipment recommendations, you are ready!
