How to safely photograph the sun: As detailed by an expert
Solar expert Dr. Ryan French explains how to safely photograph the sun and all of its stellar features with the use of cameras, lenses, telescopes and filters.
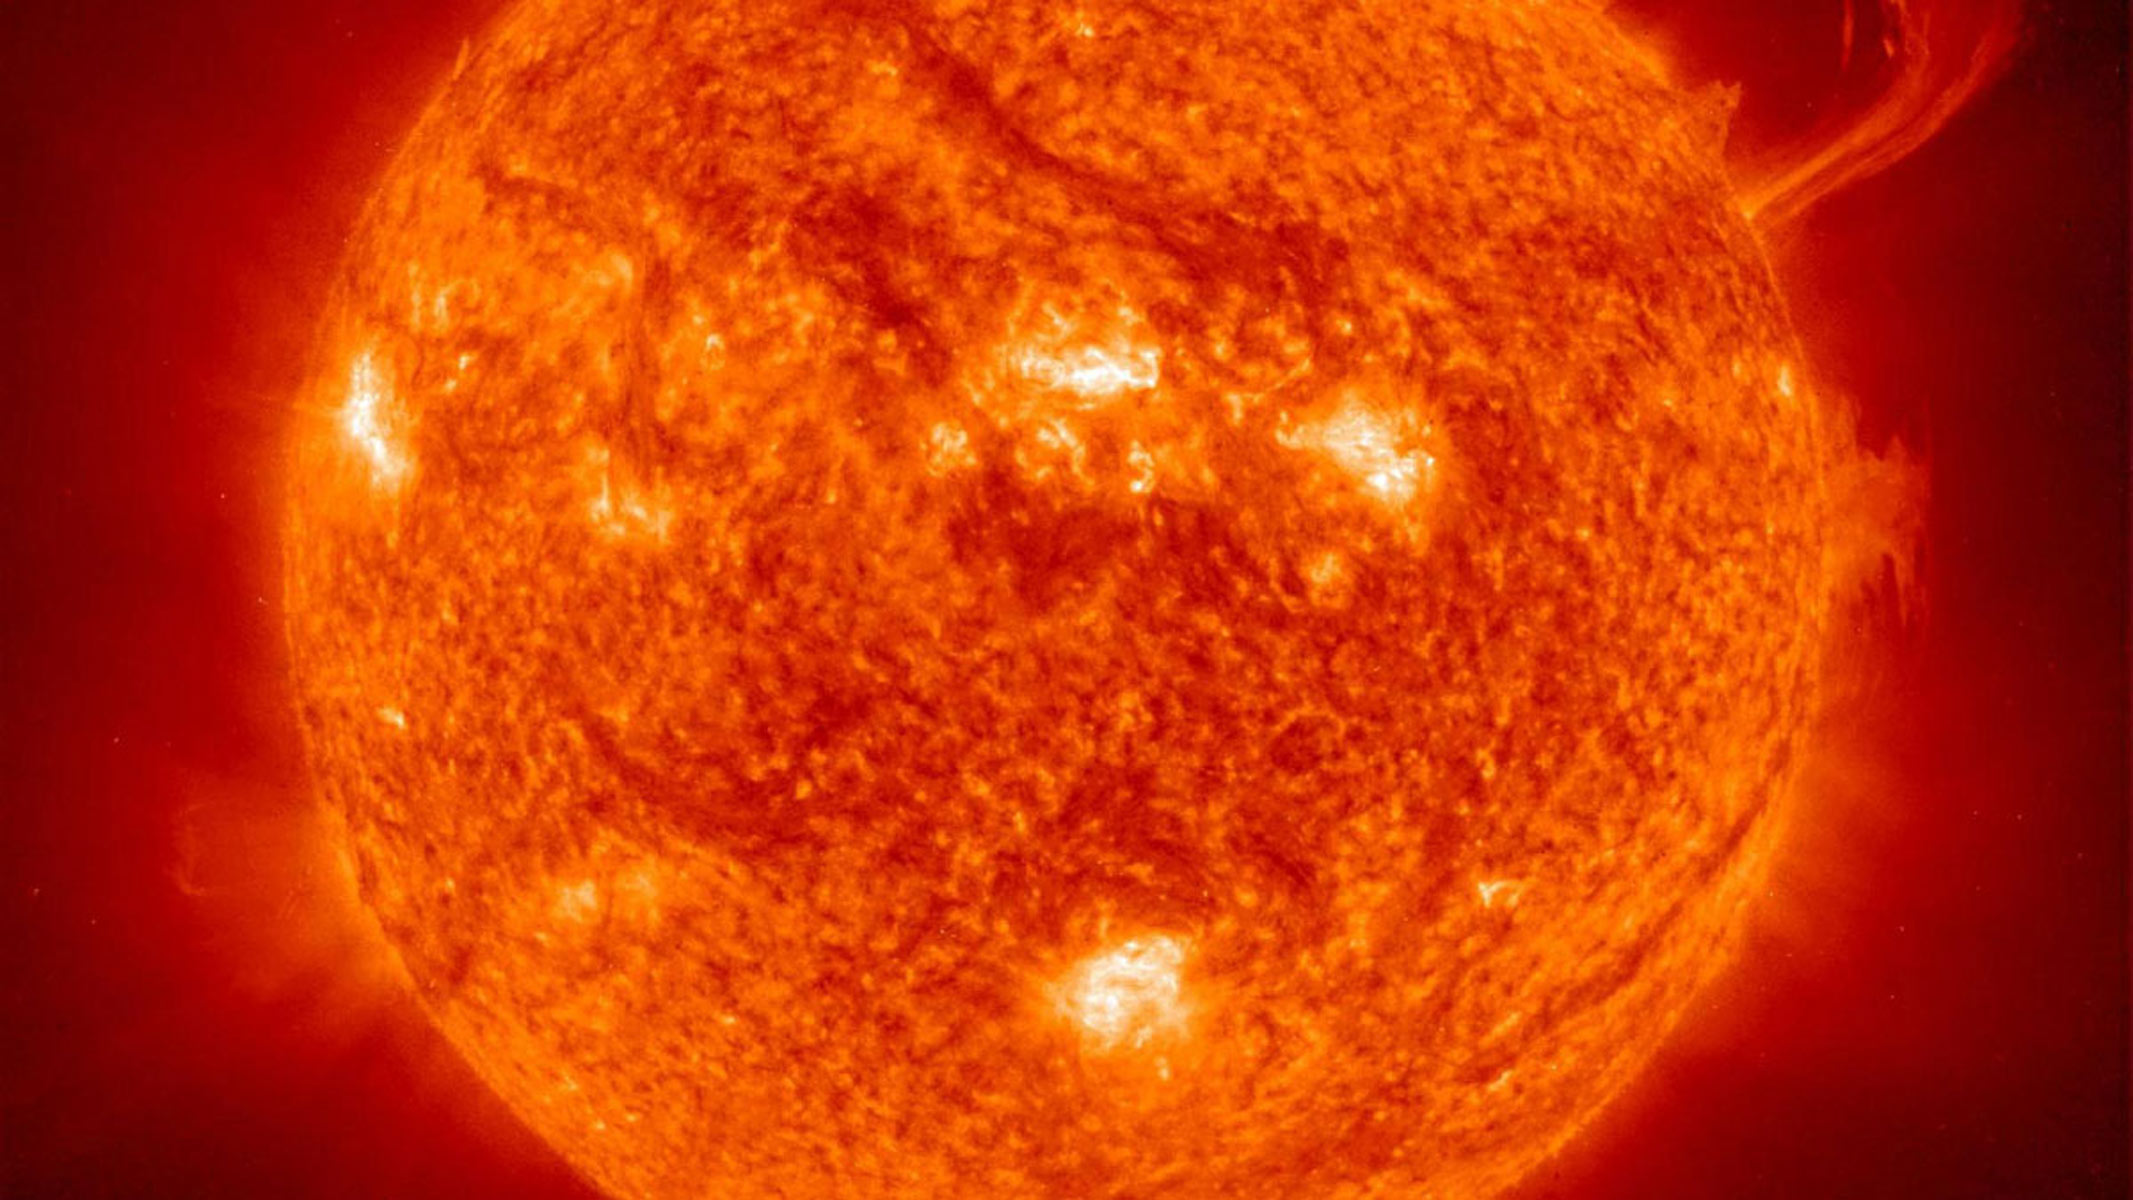
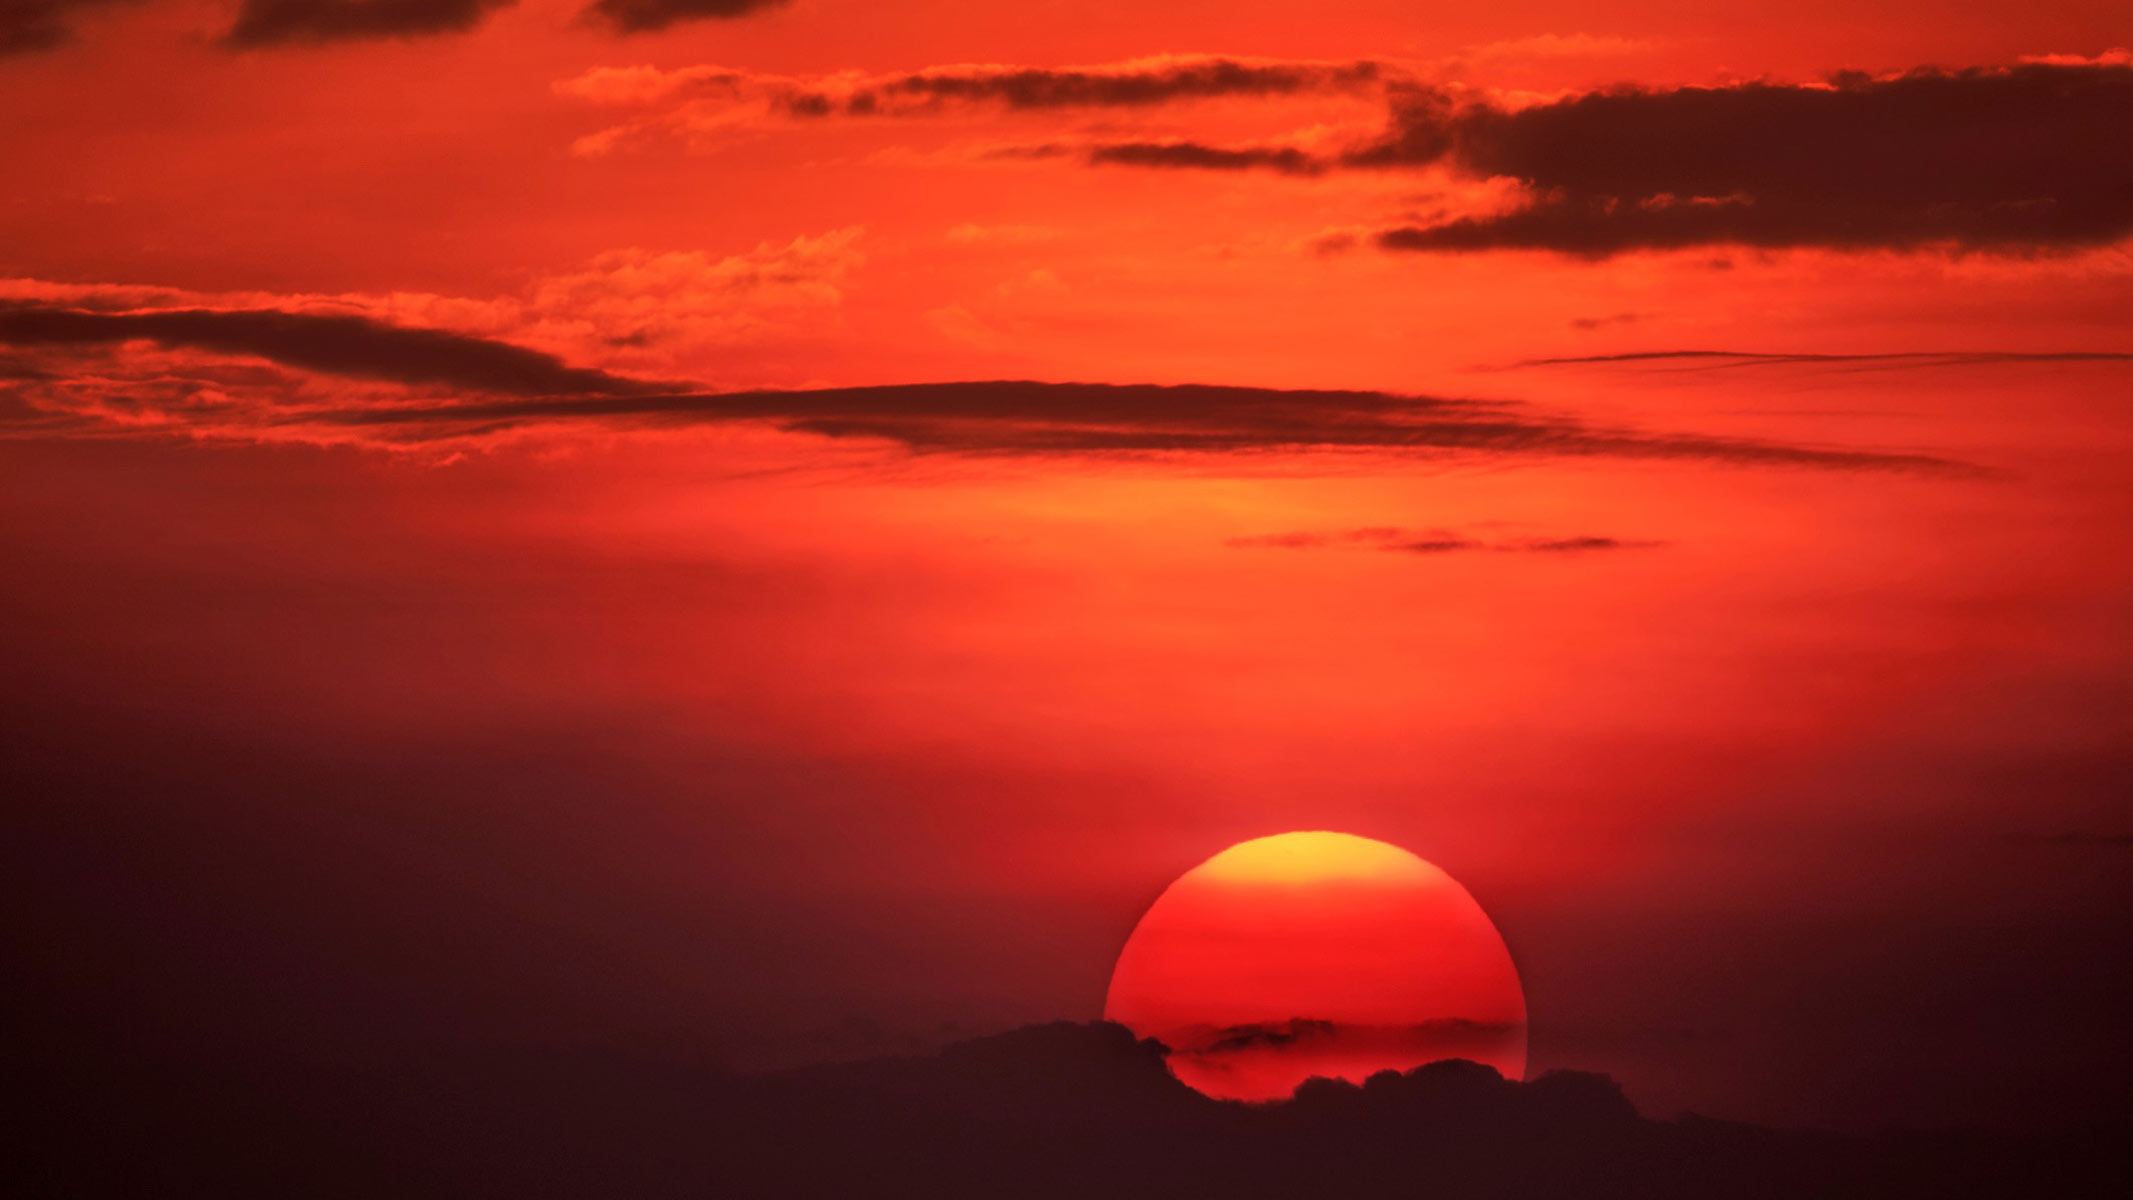
As we all learn from a young age, the sun is the star at the center of our solar system. However, compared with the stars visible to Earth at night, our local star is relatively under-photographed. Although the setting or rising sun is a common target in photography, all of these images show the sun as a homogenous, overexposed ball of light. This is because, even with the lowest ISO and exposure times, the sun's surface is simply too bright to resolve with standard photography gear. But with the correct equipment, the world of solar photography unveils the true dynamic nature of our local star.
Although we may not see it with our eyes or in the photos we capture with our standard cameras or phones, the sun is constantly changing. Structures on the surface or lower atmosphere of the sun can vary from day to day, or even from hour to hour. In this guide, we'll outline what you'll need to safely photograph our ever-changing sun and what structures you can hope to image.
Safety: Take precautions
It is important not to look directly at the sun. Doing so for even short durations can permanently damage your eyes. If you want to look up at the sun for reference, use a pair of certified solar eclipse glasses. Check out some of the best solar viewing gear, but note that some products allow you to photograph the sun safely through a camera or a telescope, but are not rated for direct observation with your eyes. See our guide on how to observe the sun safely.
Cameras, lenses and settings
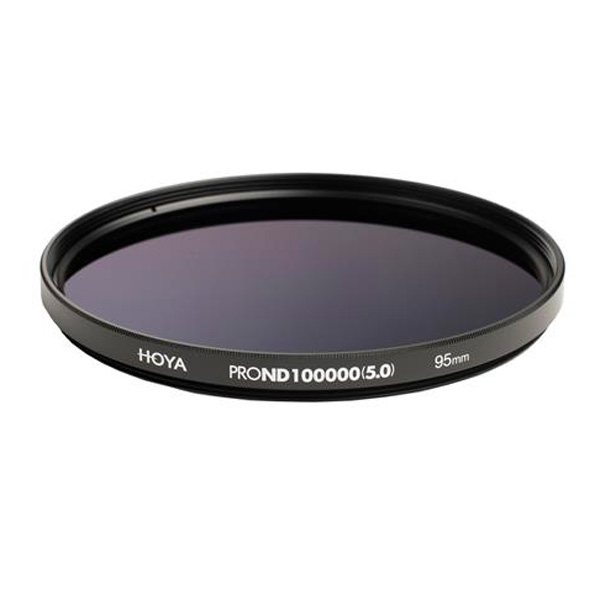
The Hoya Pro ND 100000 Solar Filter is specifically designed for solar photography with mirrorless cameras and telescopes. It should not be used to look directly at the sun because it does not block harmful rays. It reduces the light by 16.5 stops and provides neutral colors and sharp photos of the sun.
No matter how you adjust the settings, even on the best cameras for astrophotography, the sun will remain too bright for you to successfully image any detail if you don't use the right equipment. Therefore, to photograph the sun, you must significantly reduce its effective brightness.
You can do this with a neutral-density filter, which attaches to the end of your camera lens. Neutral-density filters are used in all kinds of photography, but many will not have the power to block out enough sunlight to image the sun. Therefore, you should look for a neutral-density filter designed especially for solar photography.
With this filter attached to your camera, you will be able to successfully photograph the sun in optical light. Different filters may also change the apparent color of the sun in your image, with gray/white and orange/yellow being common filter options.
It's important to note that although a purpose-made filter can reduce the sun's brightness enough to image the star, it is not enough to protect your eyes from sunlight. Therefore, while using a neutral-density filter for solar photography, do not look into the optical viewfinder on your camera (if you have one). Instead, use the digital display. Similarly, do not use the filter to look directly at the sun.
Breaking space news, the latest updates on rocket launches, skywatching events and more!
The size of the sun in your image will depend on the focal length of your camera lens. At a minimum, you'll need a 200-millimeter telephoto lens. However, as shown in the images below, this will leave a lot of empty space in your camera frame. The longer the focal length, the larger the sun will appear in your image, and thus the higher the resolution of the sun will be. The images below show how the sun looks in a selection of focal lengths on the Nikon D850, a full-frame DSLR camera.
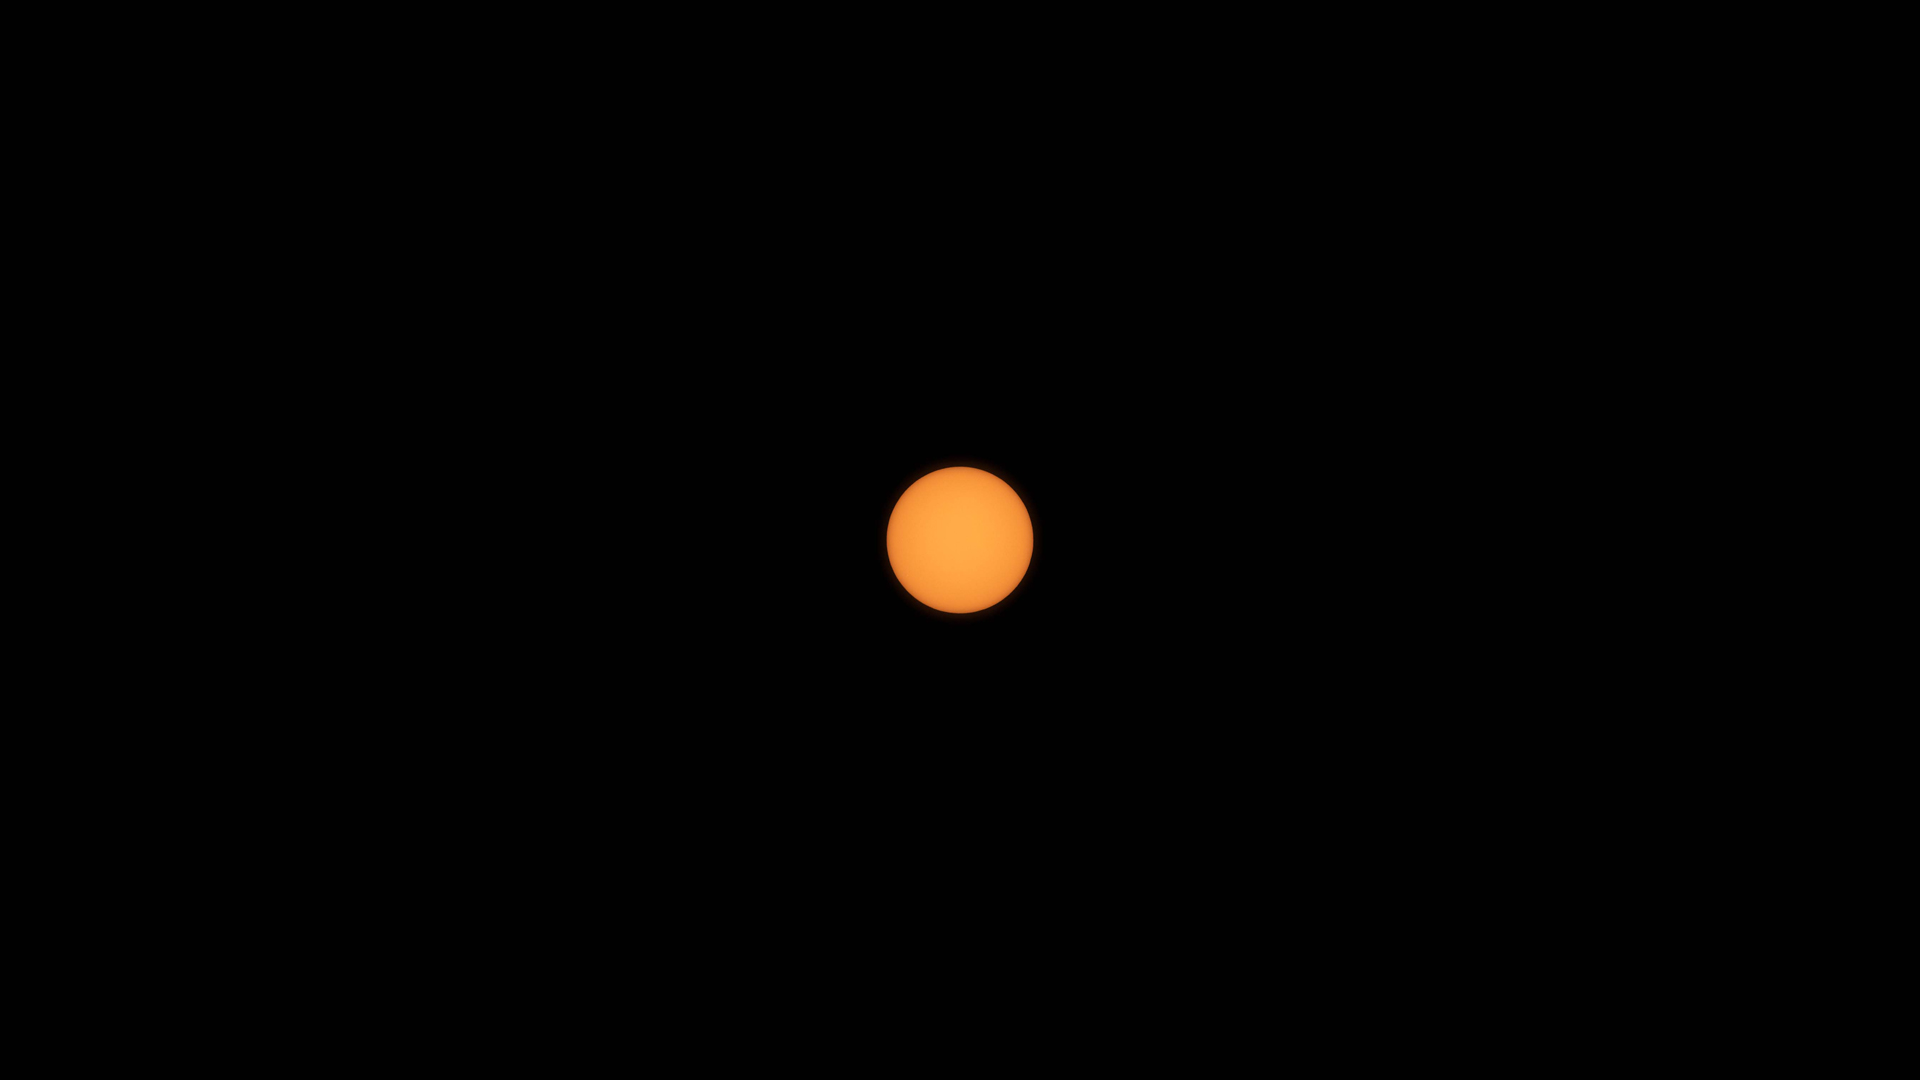
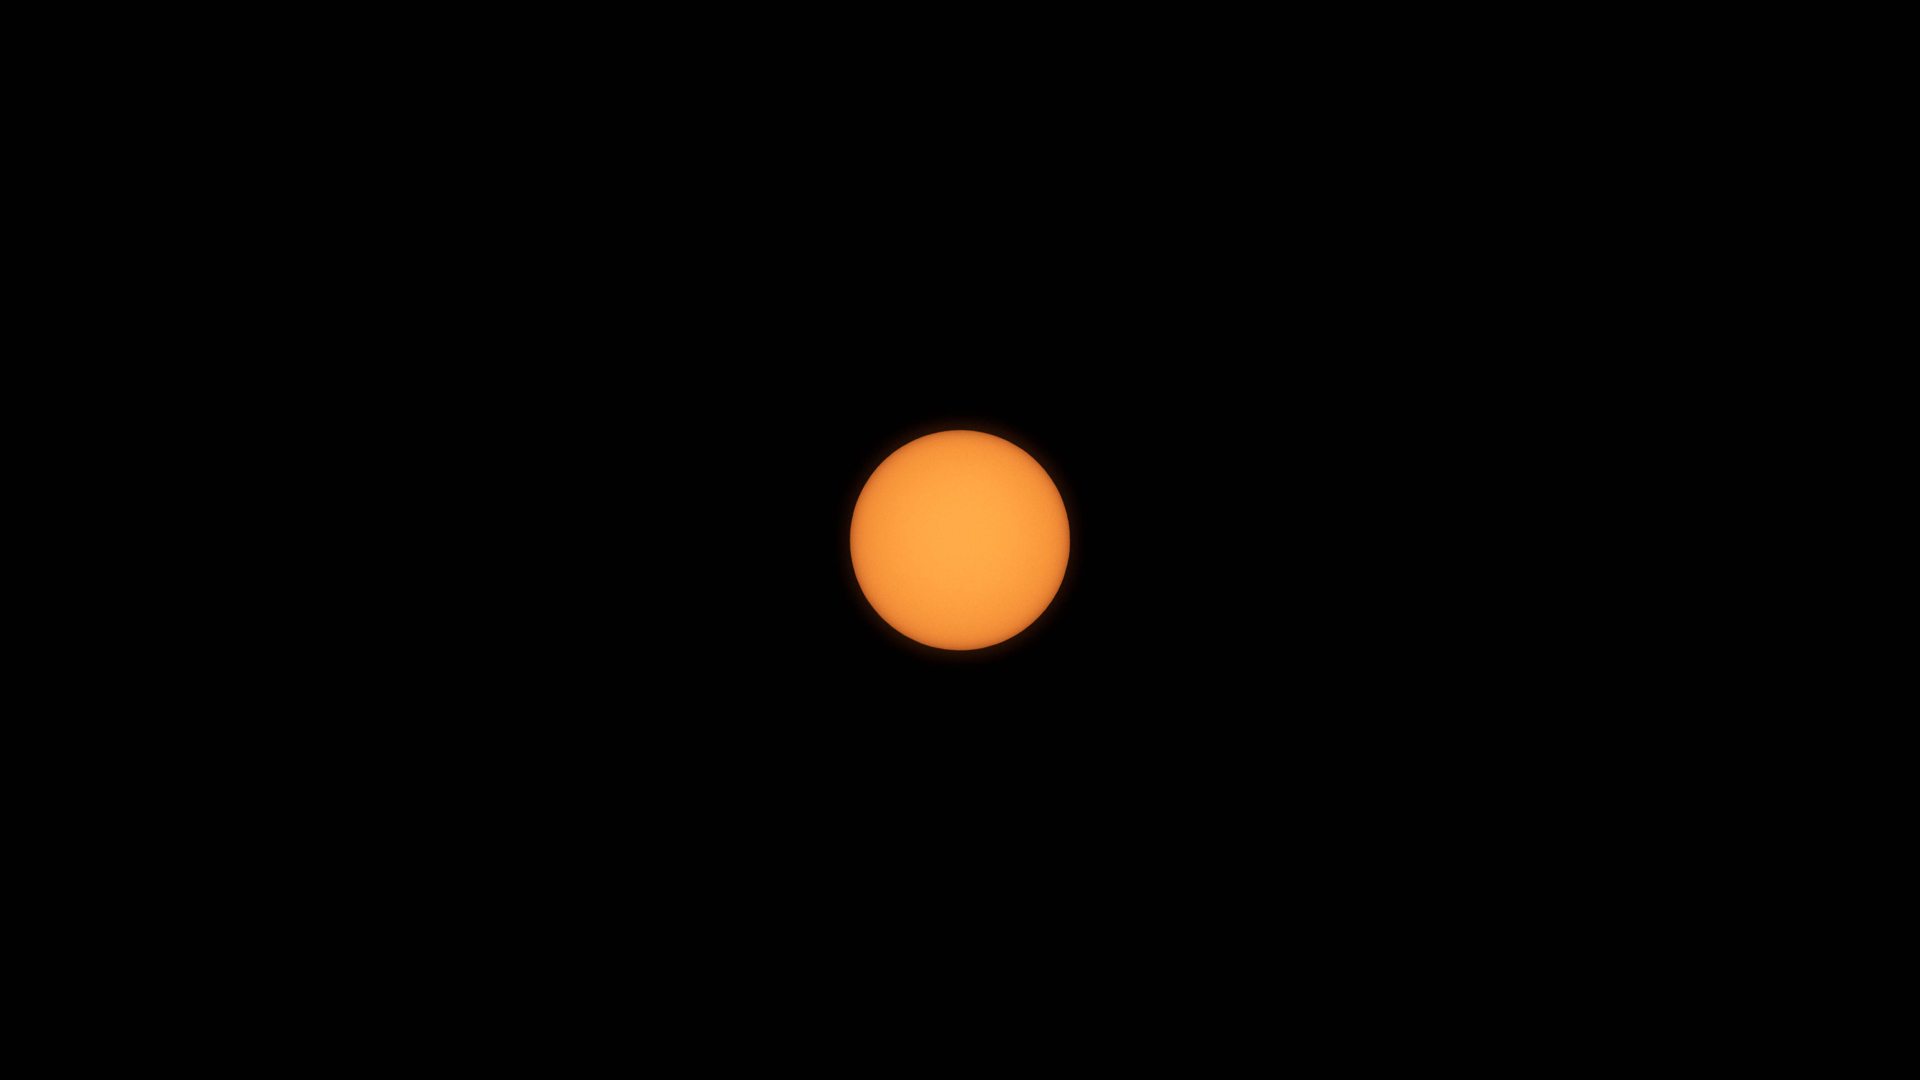
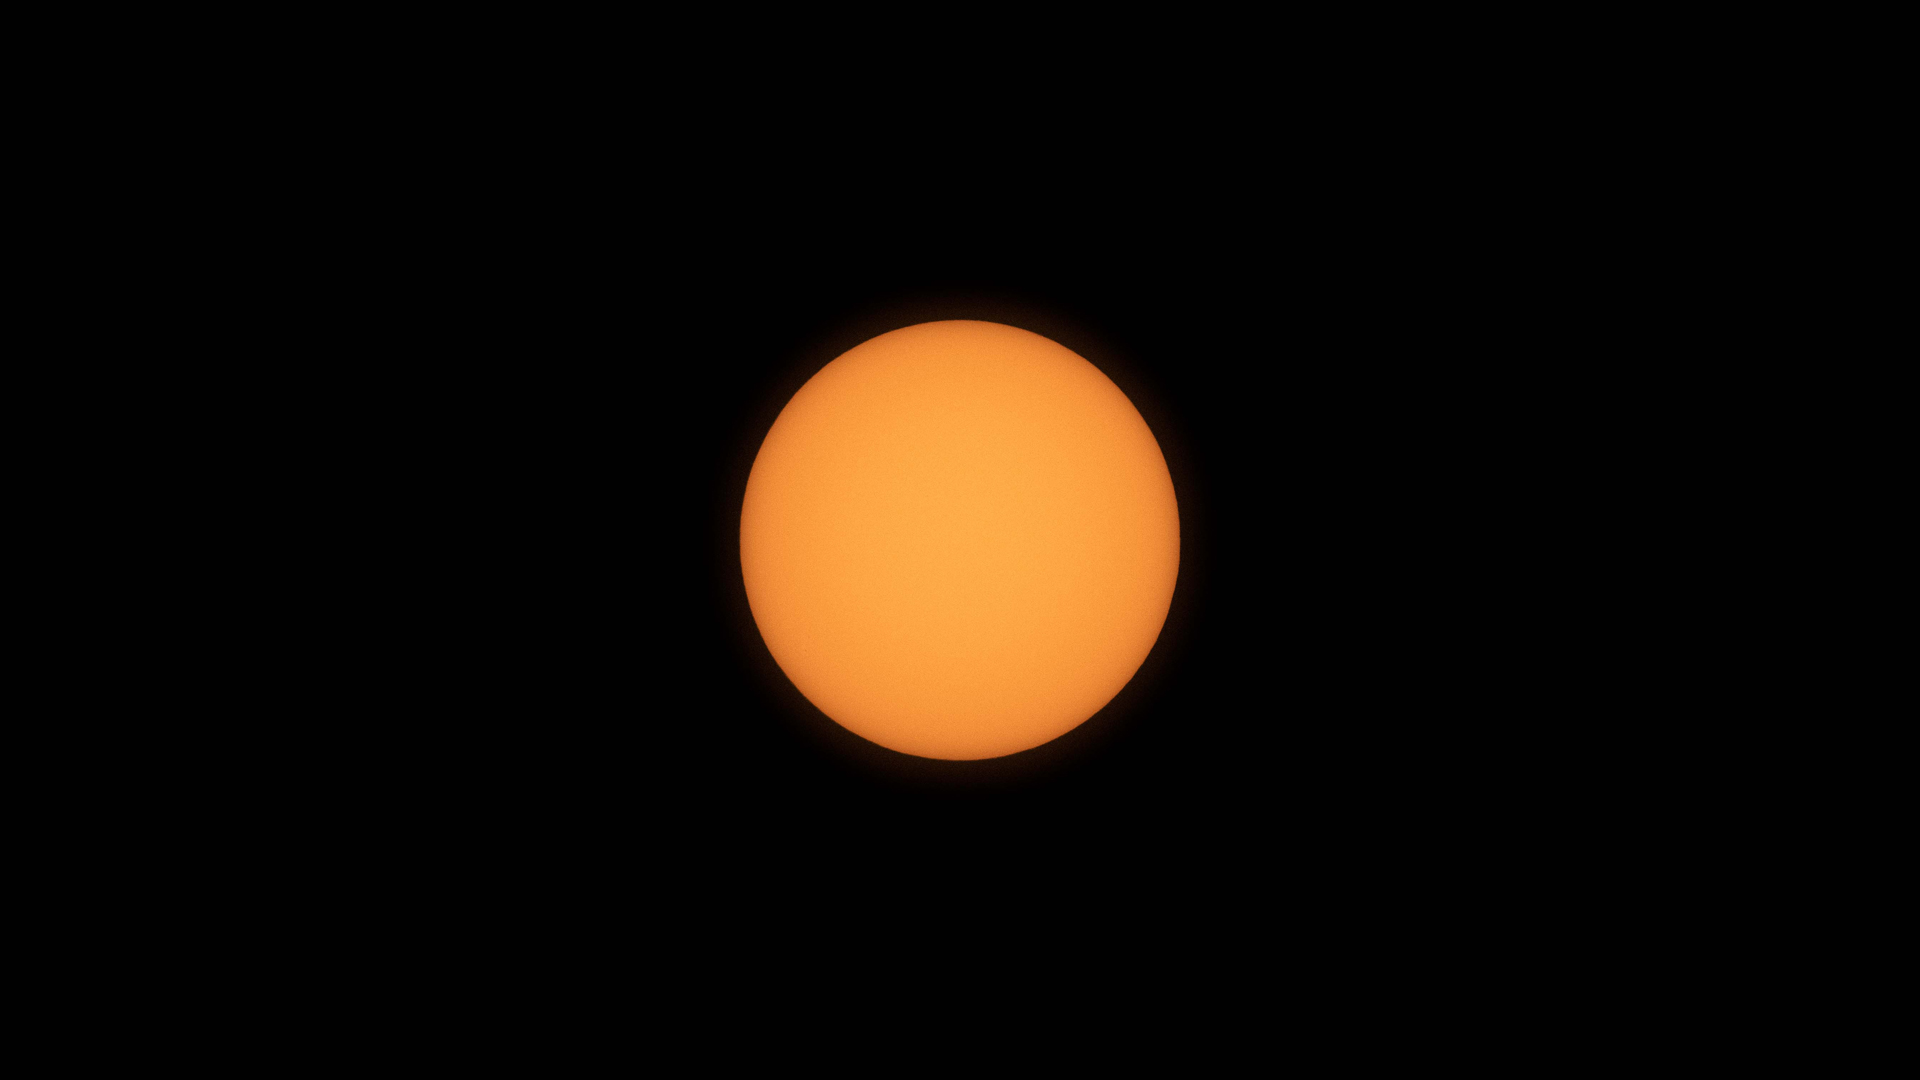
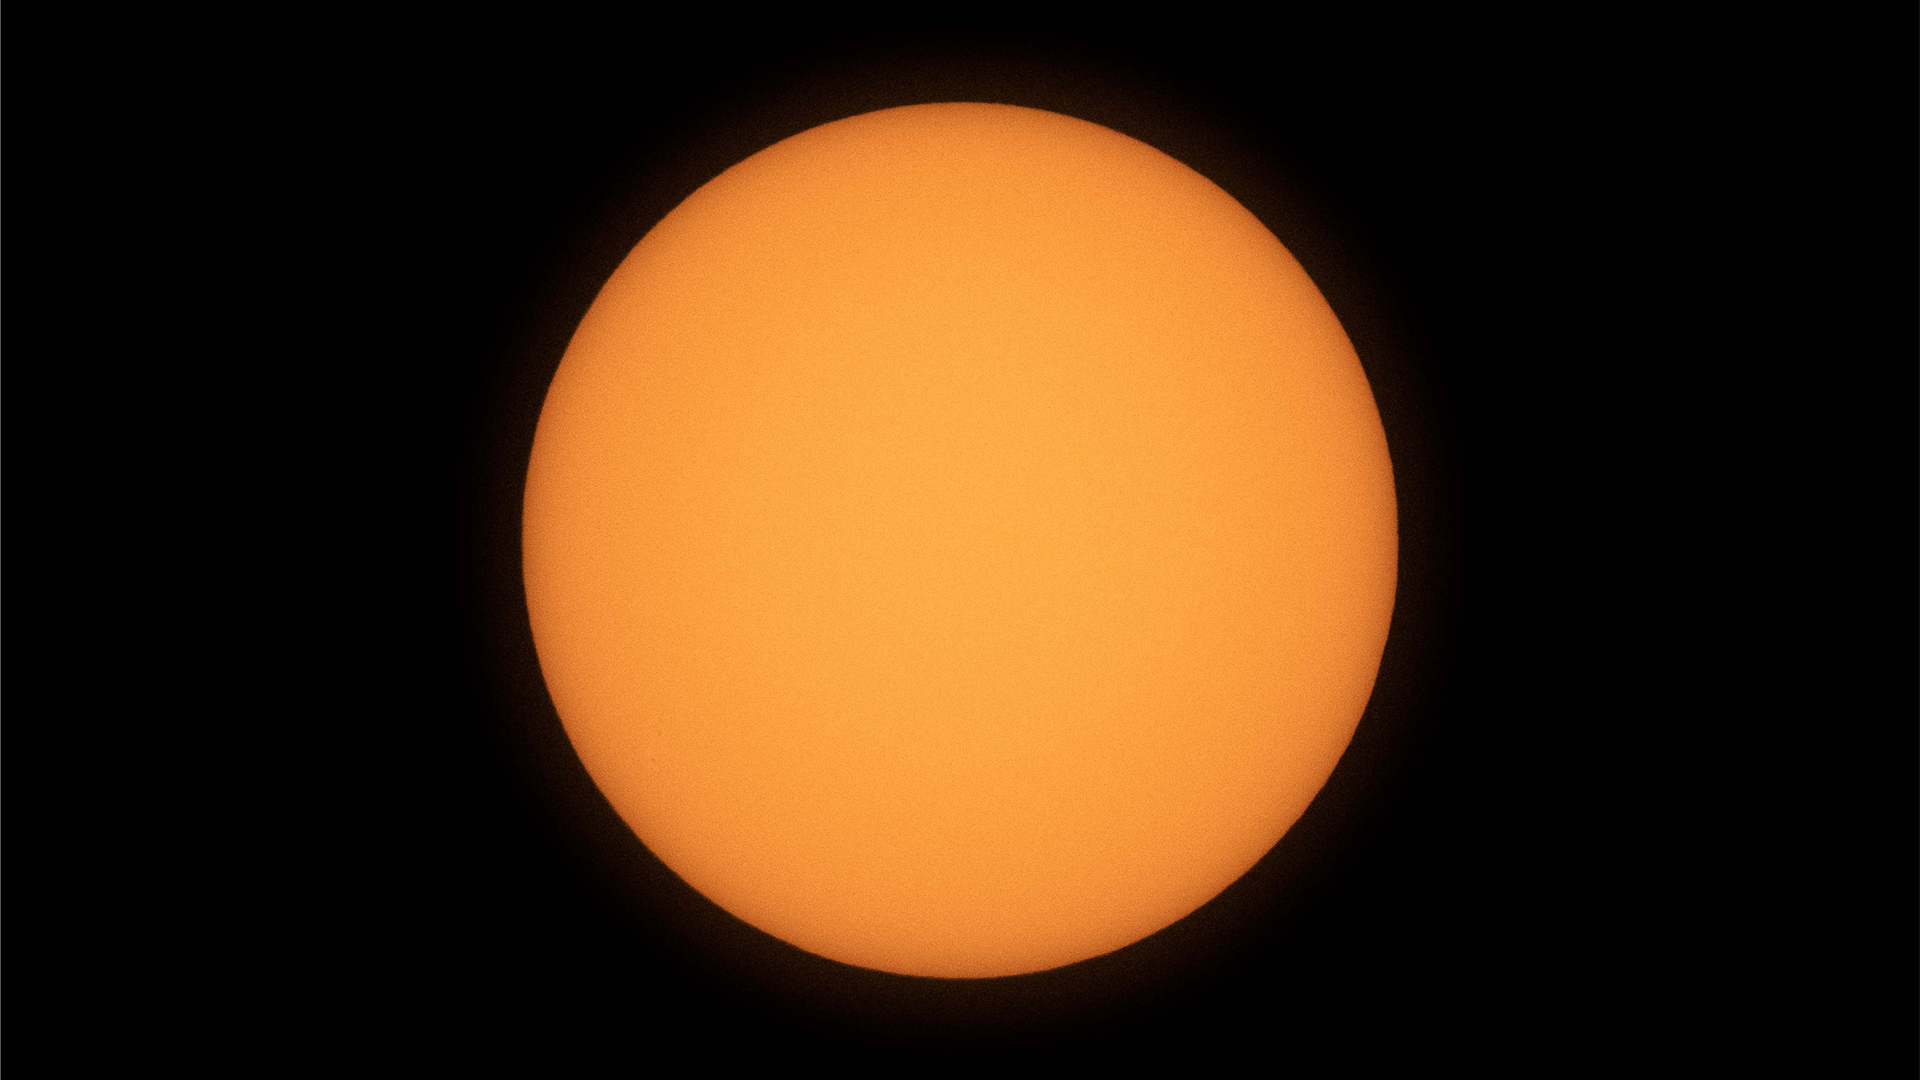
Once your lens and filter are sorted, you can play around with your camera settings.
1. Set your camera to aperture-priority mode. Typically, an aperture between f/5.6 and f/8 will give the best performance for most lenses, but you can play around with it to see what works best for your setup.
2. Adjust your exposure time. The exposure time you set may depend on several factors. If you do not have a tripod or you are using a tripod in strong wind, you will want to shorten your exposure time. This will reduce the total wobble throughout the exposure and lead to a sharper image. If you have a strong tripod and wind is not an issue, you can afford to increase the exposure time, which will decrease the noise levels.
3. Set your ISO. You do not want an ISO sensitivity high enough to saturate the image, but you need it high enough to avoid adding noise. A longer exposure time will allow for a shorter ISO, without introducing too much noise. Play around with these settings to find a combination that works for you. As with nighttime astronomy, another good tip is to not take the photograph immediately by clicking the capture button (if you're using a tripod), as your interaction with the camera will cause the system to wobble. Instead, set a timer for 10 seconds or longer, or use a remote control to take the shot.
Photographing the sun with telescopes
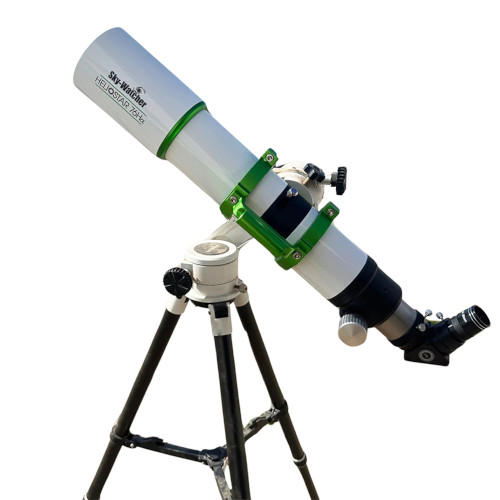
The Sky-Watcher Heliostar 76mm Solar Telescope is our best solar telescope overall in our best solar telescopes guide. It comes with a H-alpha filter and is great for detailed views of the sun. If you're a serious sun-watcher, then this telescope is for you!
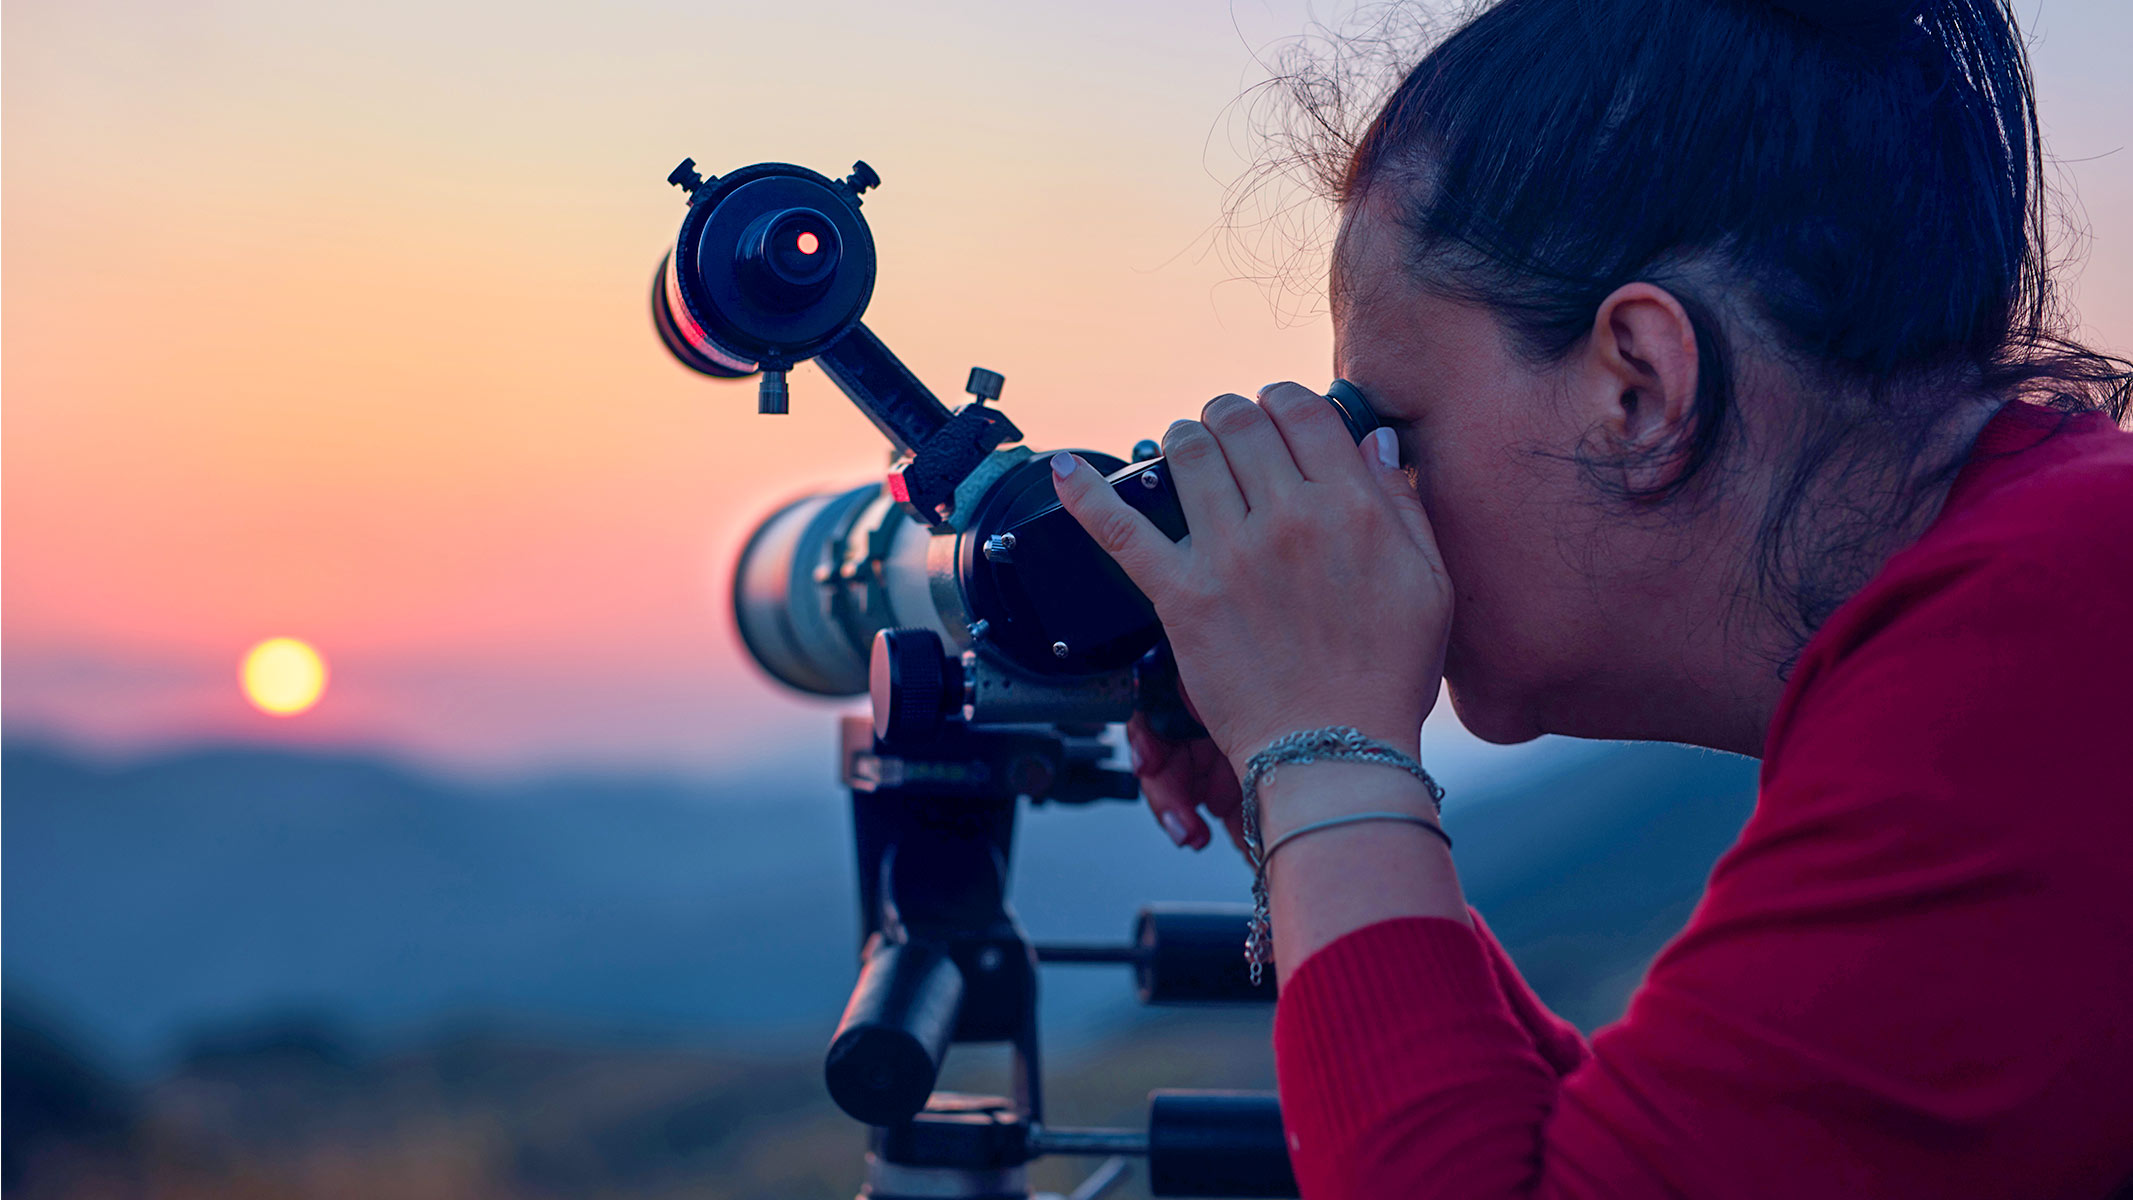
If you are feeling more ambitious, you can photograph the sun with one of the best telescopes. We won't dive much into the camera setup here, as it will be similar to that used in nighttime astronomy. You can either mount your usual camera to the telescope directly or use a purpose-made eyepiece camera. Either way, the important pieces of equipment typically sit at the other end of the telescope that's pointing at the sun.
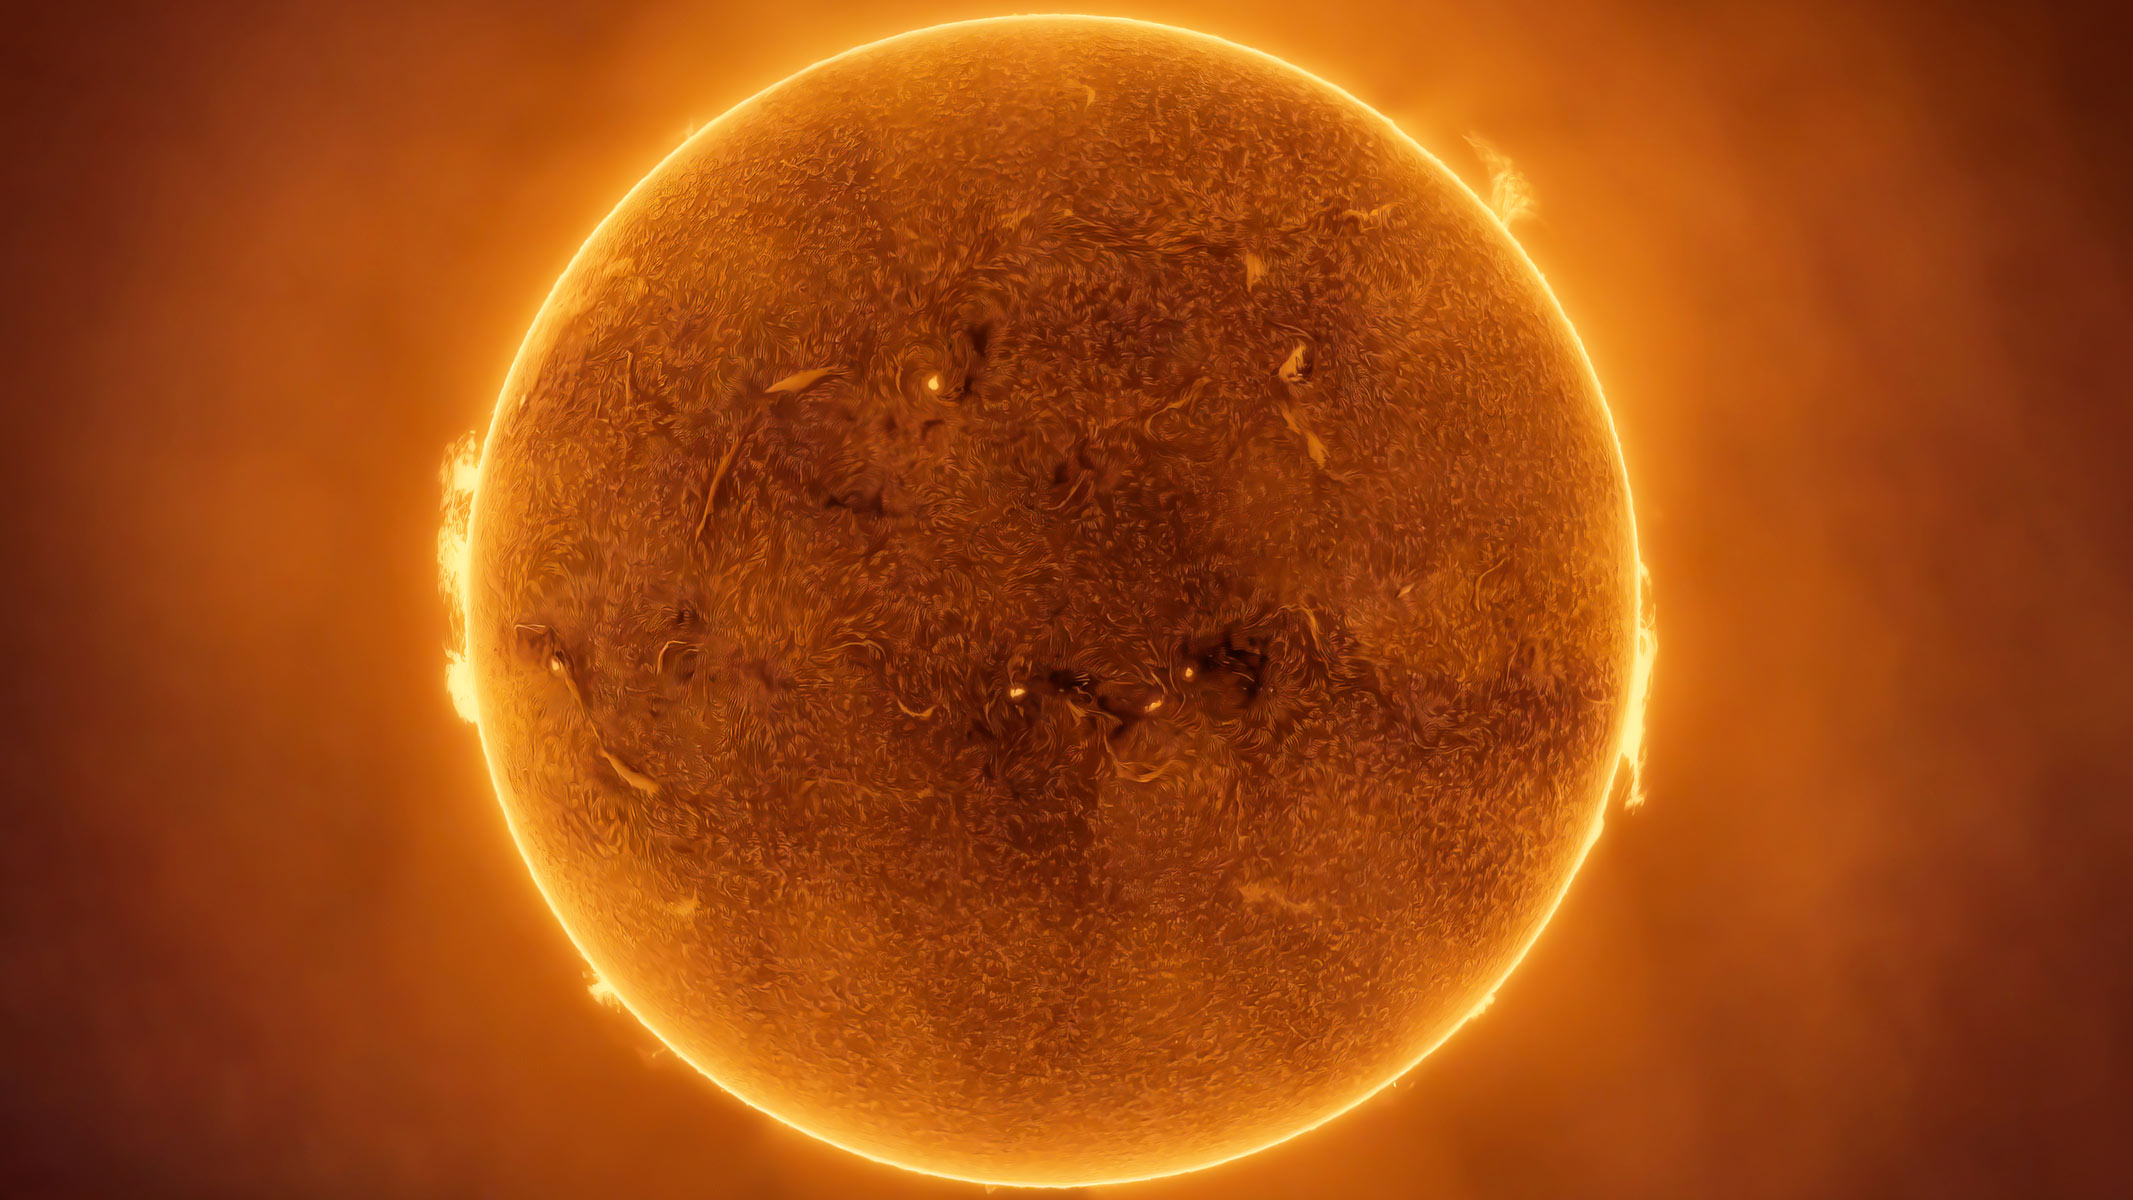
Different filters allow us to see different layers of the sun, so let's quickly recap these layers of our local star. The surface of the sun is called the photosphere. This is the layer of the sun that emits the sunlight visible to the human eye. Above the photosphere, which has a temperature of around 10,000 degrees Fahrenheit (5,500 degrees Celsius), is a layer called the chromosphere. The chromosphere is cooler and less dense than the photosphere, with a temperature around 7,200 F (4,000 C). Above the chromosphere, temperatures rapidly increase through a thin transition region, before reaching the solar corona. The corona is the tenuous outer atmosphere of the sun, with temperatures of around 1.8 million F (1 million C), which becomes visible to us during a total solar eclipse.
Just like on your camera, you can attach a purpose-made solar filter to the end of your telescope. Alternatively, you can use a dedicated solar telescope, which utilizes a system of internal filters. Filters block the majority of sunlight, allowing only a small amount of light into your telescope. Different filters allow in light from different layers of the sun, thus changing the features of interest available to your photography. The three primary filter types are white light, H-alpha and Ca K.
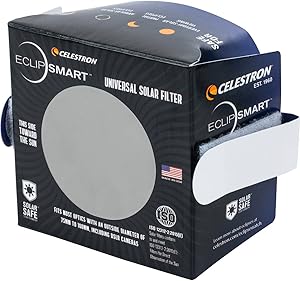
Celestron EclipSmart Solar Eclipse Filter
This is a simple and quick option for getting your camera or telescope ready to point at the sun. You should always inspect your filter before use and never use this with an optical viewfinder on a DSLR, it could permanently damage your eyes, make sure to use live view on the screen instead.
A white-light filter removes over 99.9% of the intensity of incoming sunlight, but it does not filter by wavelength. With a white-light filter, you will receive sunlight from the sun's surface. If you have a larger telescope aperture or you plan to point at the sun for a long time, an ultraviolet and infrared (UV/IR) filter is also recommended. This will not affect your photo, but it will remove excess light to prevent it from heating up your telescope system.
Unlike white-light filters, which image the photosphere, H-alpha and Ca K filters image a higher layer of the sun, the chromosphere. These filters work by filtering light by wavelength, instead of just intensity, to allow in light from a narrow part of the solar spectrum.
H-alpha is light emitted by hydrogen plasma at a specific energy level that is dominant in the chromosphere. This light is at a wavelength of 656.28 nanometers, which sits in the red part of the visible spectrum. When you use an H-alpha filter, the sun therefore appears red. H-alpha filters can be broadband (about 1 Å) or narrowband (0.5 Å). These will alter the view of the chromosphere slightly. Some filters are also tunable, which allows you to adjust the wavelength range of the filter. Ca K filters filter a wavelength of light emitted by calcium plasma at 393.4 nm, which appears blue to the human eye.
When you're using an external filter on your telescope, do not remove the eyepiece from the viewfinder scope. Whether you're using a dedicated solar telescope or an external filter on a nighttime telescope, different filters will show different features on the sun. The images below show the sun photographed through the H-alpha and Ca K filters discussed above. White-light images are shown earlier in this article.
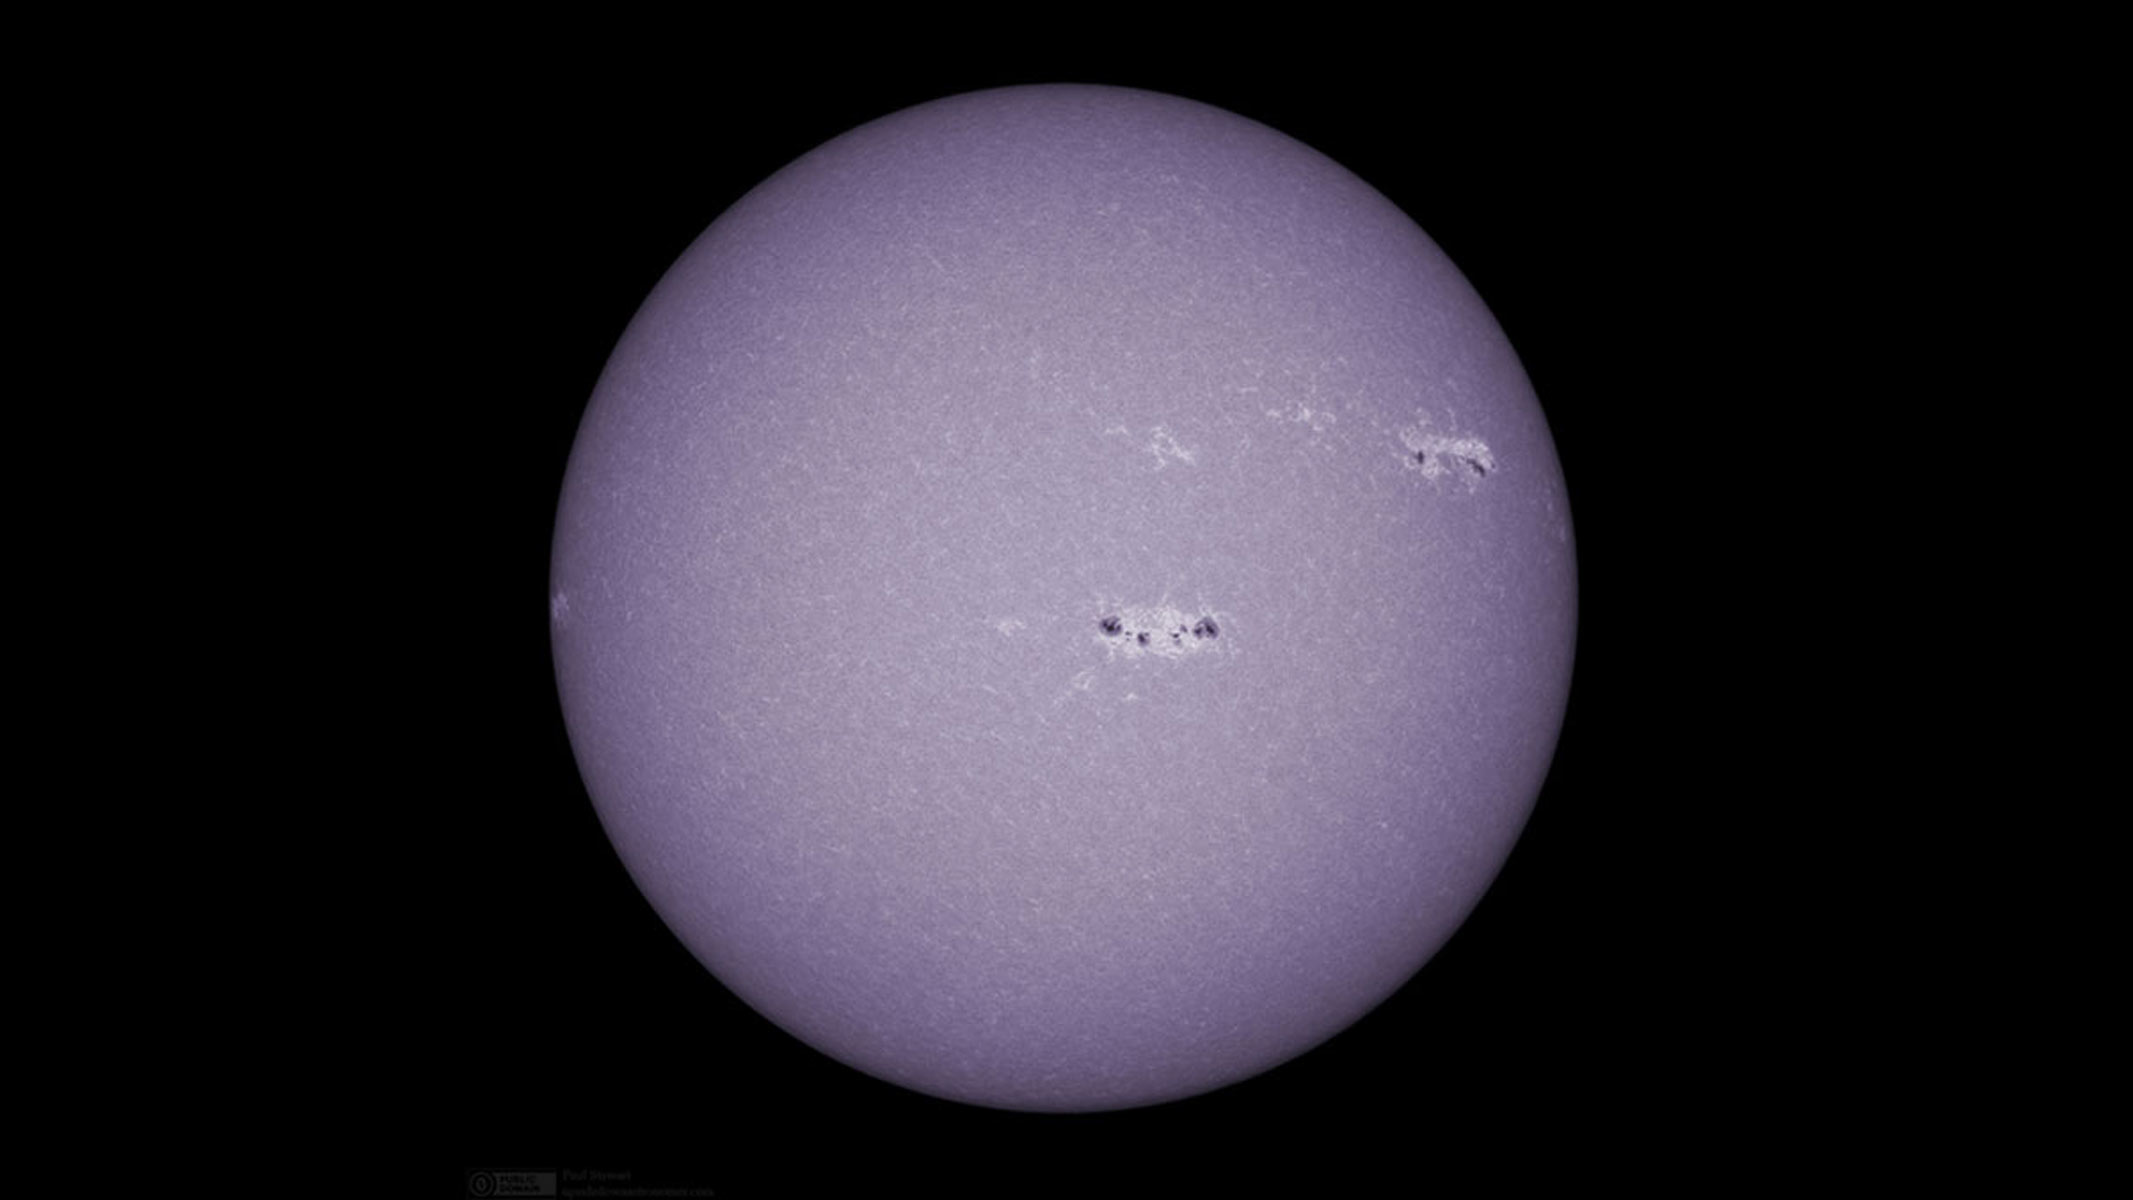
Features on the sun
Now that you have your full setup, let's take a look at the structures you can hope to see on the sun.
Sunspots
The easiest feature on the sun to photograph are sunspots. Sunspots are cooler parts of the photosphere created by strong regions of concentrated magnetic field. The intense magnetic field above sunspots is what creates solar flares and coronal mass ejections.
A sunspot looks like a dark structure with a darker inner section (the umbra) and slightly lighter (yet still darker than the surrounding photosphere) penumbra around it. Sunspots can exist for weeks or months, but they can change significantly over a few hours as new magnetic fields emerge, or cancel out, within the region. Sunspots are visible in the photosphere through white-light filters and solar telescopes. They are still visible in chromospheric filters (H-alpha and Ca K), but the contrast is not as stark.
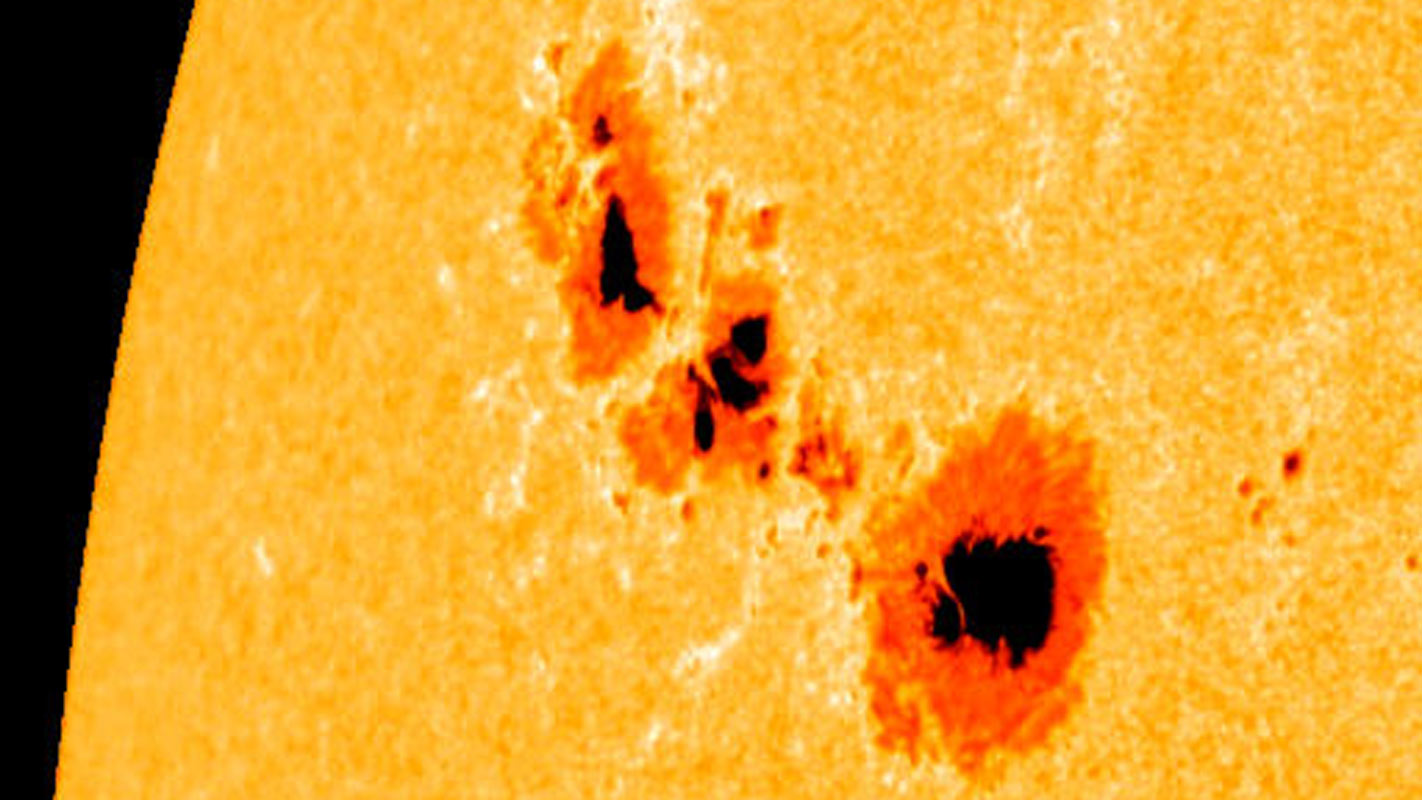
Filaments
At higher altitudes, a different type of magnetic structure is visible. Filaments are twisted magnetic structures full of chromospheric material. They are rooted in the lower solar atmosphere, but they stretch into higher altitudes in the corona. Because they are composed of material from the chromosphere, filaments are not visible with standard white-light filters. Instead, they require either H-alpha or Ca II filters to be seen. At these wavelengths, filaments appear dark against the bright solar disk.
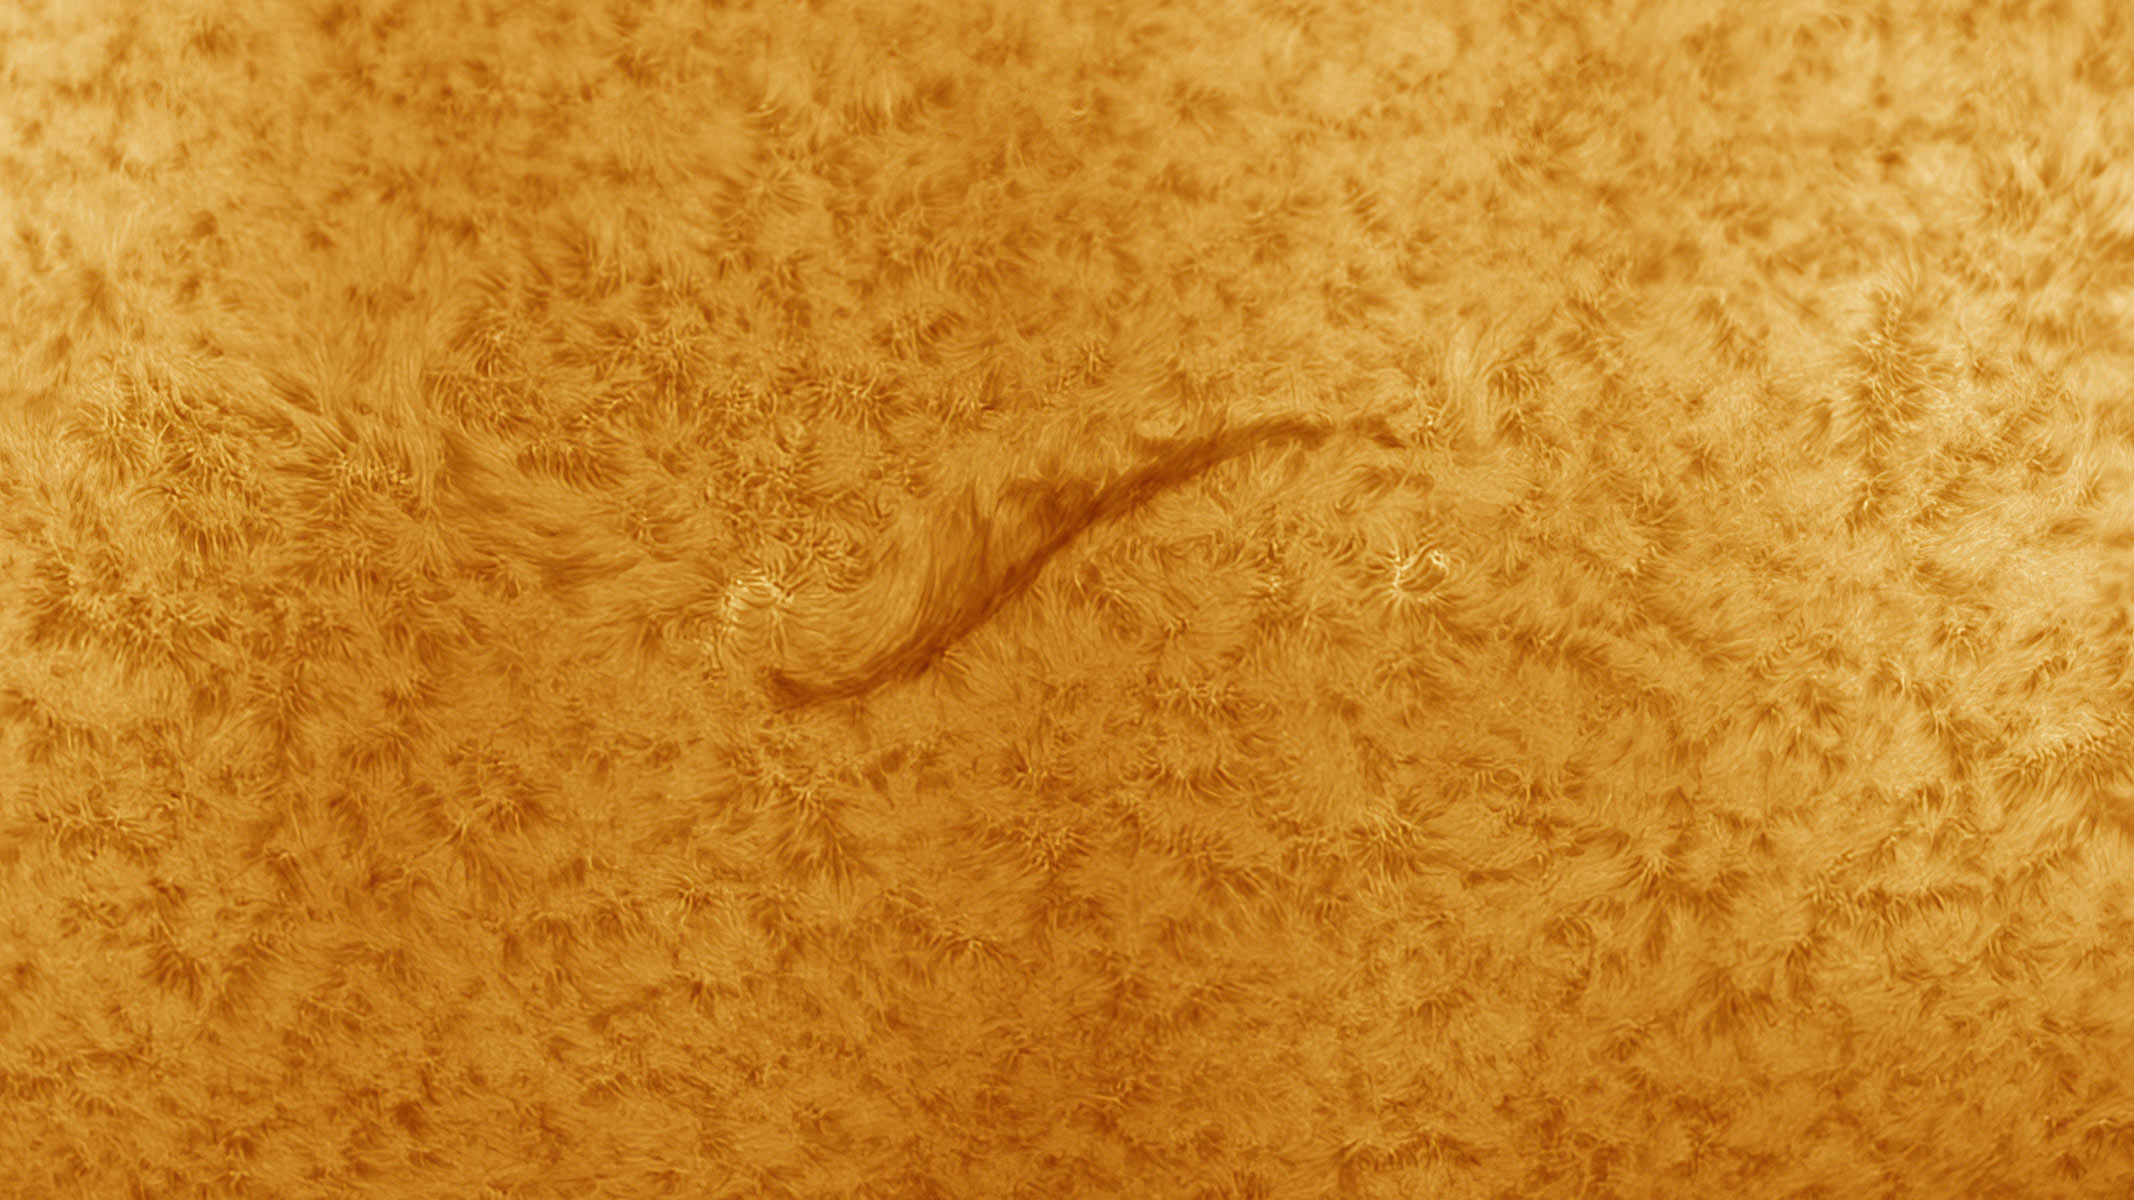
Prominences
Whereas filaments are viewed against the sun's surface, prominences are the same structure but seen over the edge of the sun. Against the background of space, prominences appear bright. They can be photographed with the same filters as filaments, and they can also be seen with the naked eye during the totality phase of a total solar eclipse. A tunable narrow H-Alpha filter will really make prominences and filaments pop against their background. You can also play around with the exposure time to change the contrast of the prominences against the dark background.
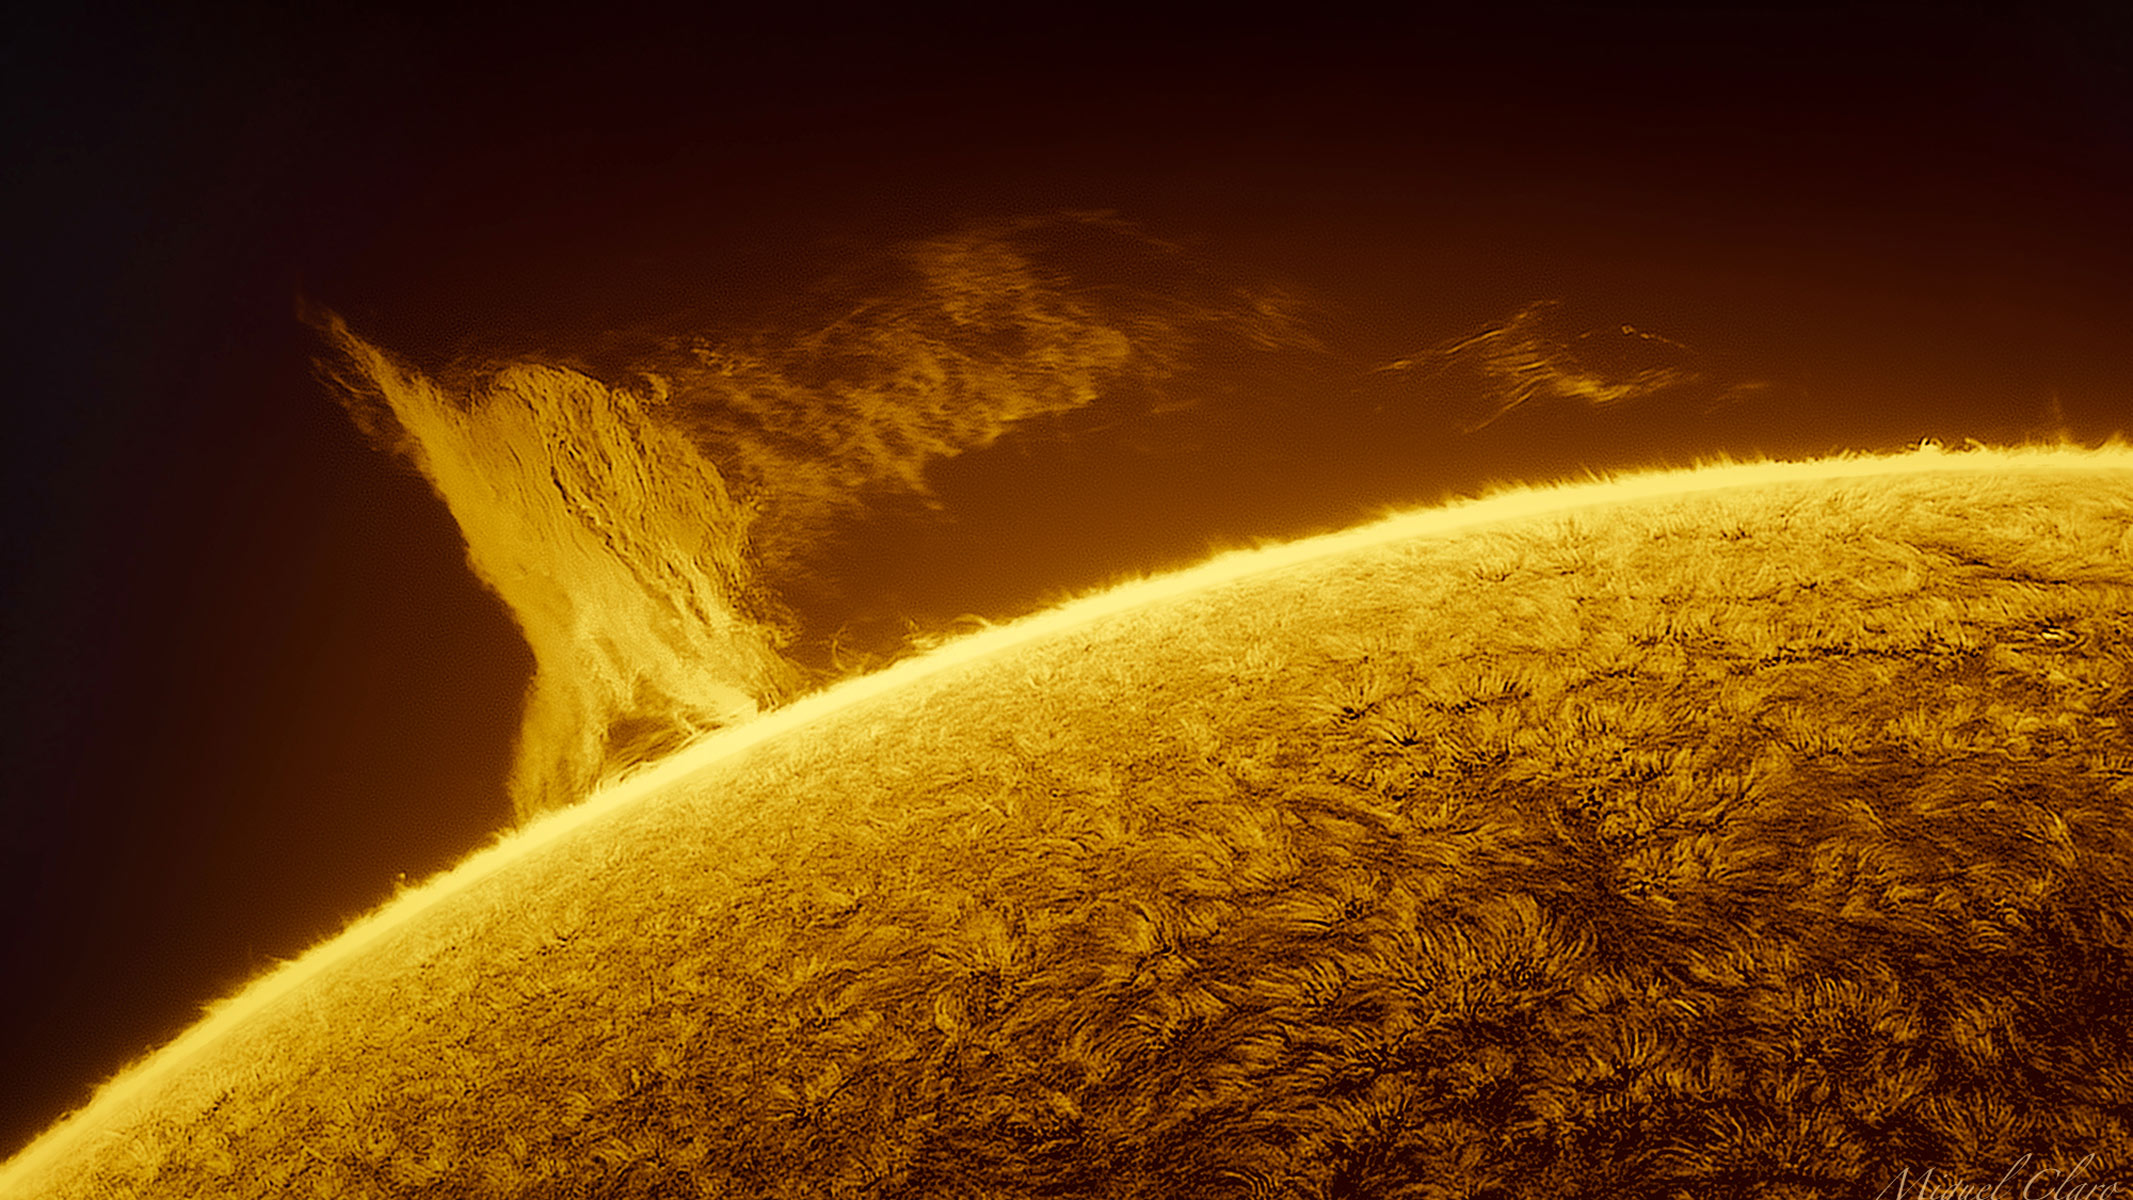
Solar eclipses
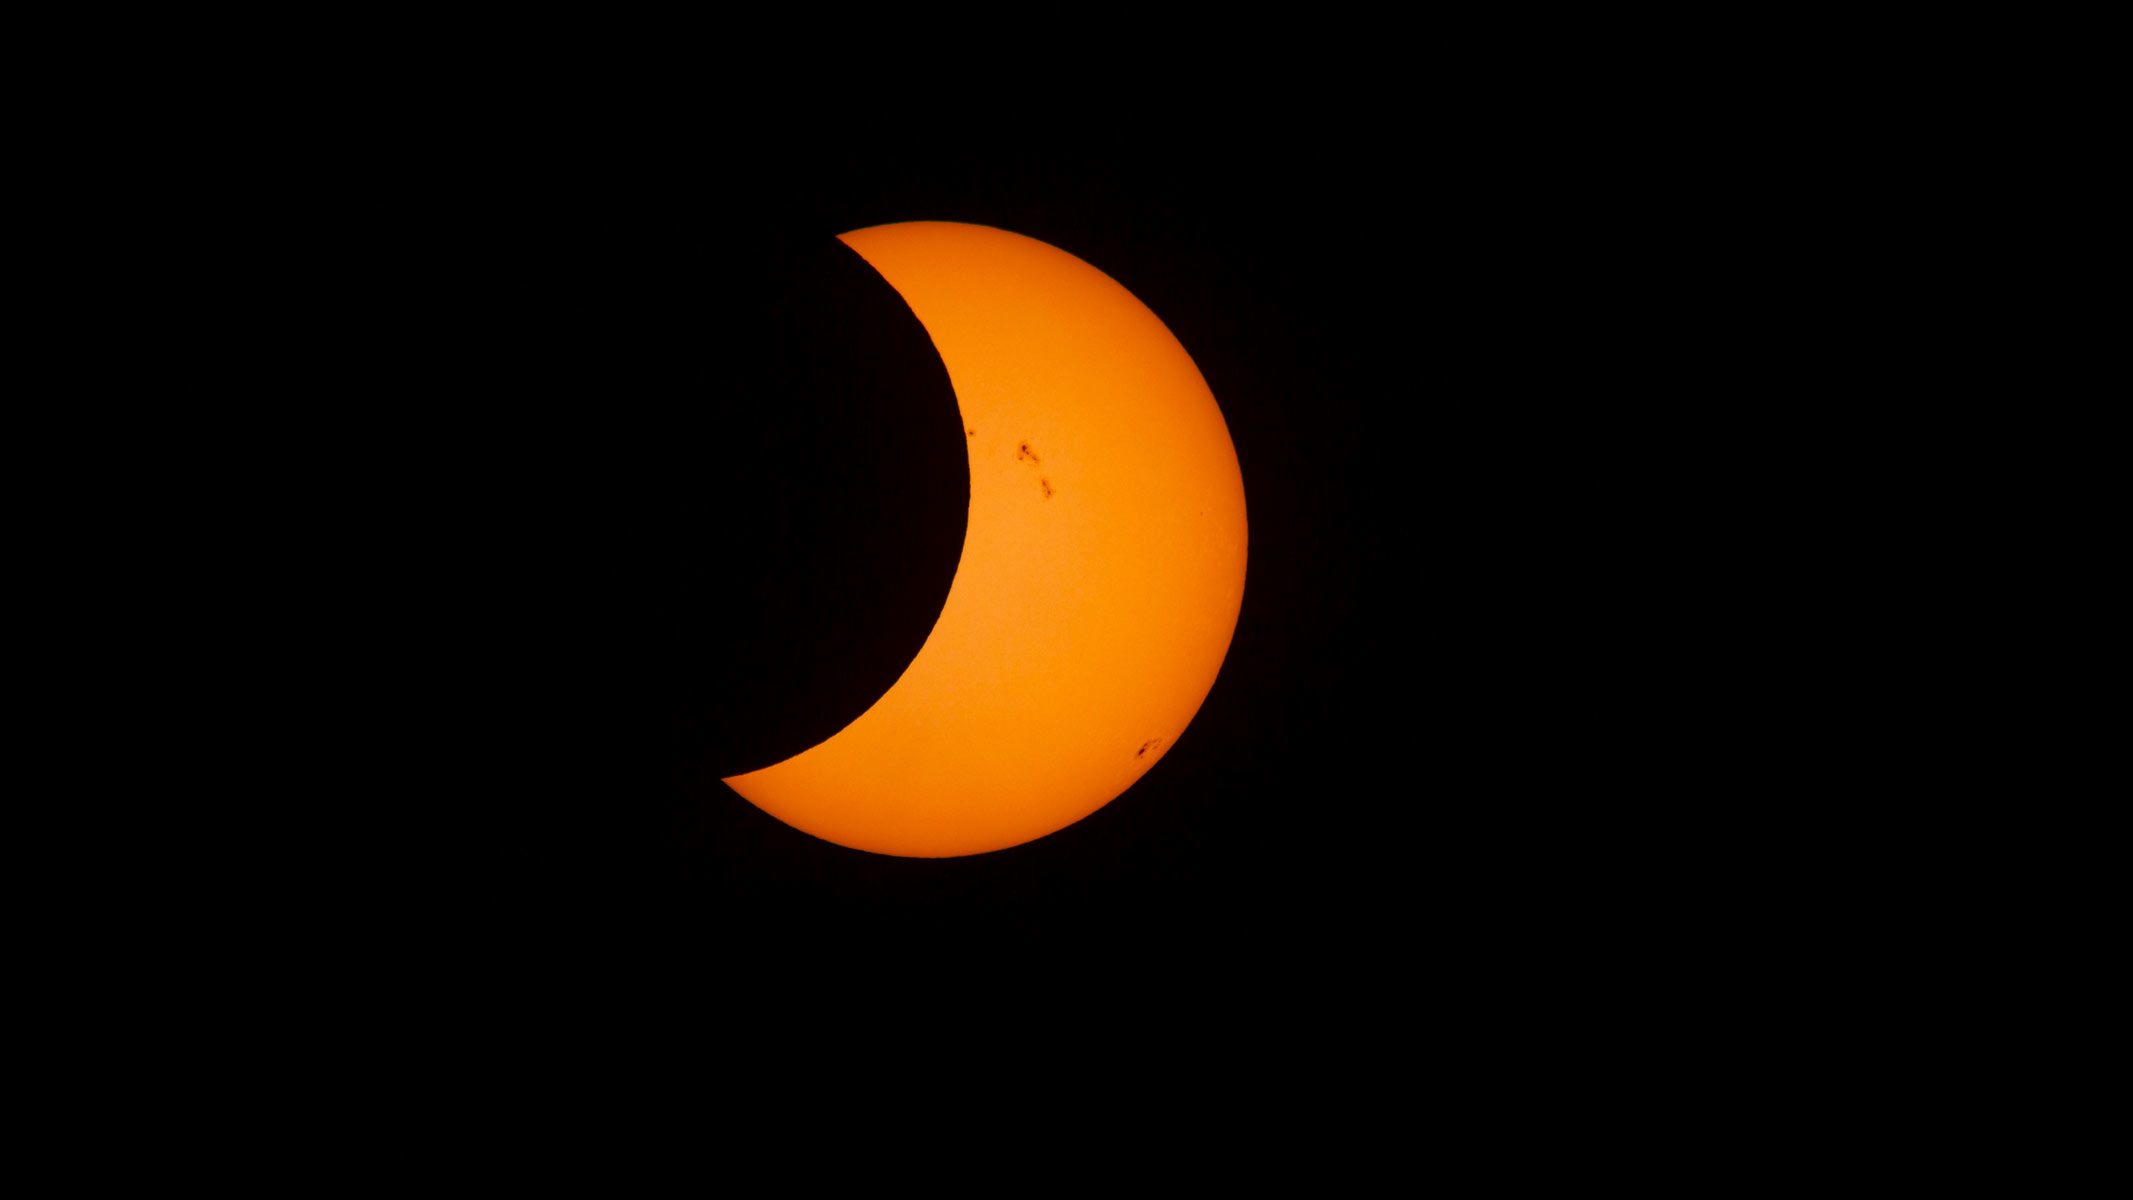
Although the advice outlined in this article can be used to photograph the sun anytime, it is also valid during the partial phases of a solar eclipse, when the sun is partially blocked by the moon. The moon's edge provides a new feature to photograph, with the intricate irregularities of craters along the moon's silhouette visible. For further advice on photographing the partial or total phases of a solar eclipse, check out our guide on how to photograph a solar eclipse.
If you want to read more about the science of observing the sun and the history of our relationship with it, check out my book "The Sun: Beginner's guide to our local star (Collins, 2023).
Ryan French is a solar physicist, science communicator and author. He is pursuing the mysteries of the sun at the forefront of modern solar physics research, using cutting-edge telescopes on the ground and in space. Ryan also works to share the wonders of the sun and space with the public, through public talks, television, and social media. Ryan's new book, "Space Hazards" is available now.
You must confirm your public display name before commenting
Please logout and then login again, you will then be prompted to enter your display name.
