Smartphone astrophotography: How to take pictures of the night sky
In our guide to smartphone astrophotography, we break down how to take photos of the moon, stars, Milky Way and more.
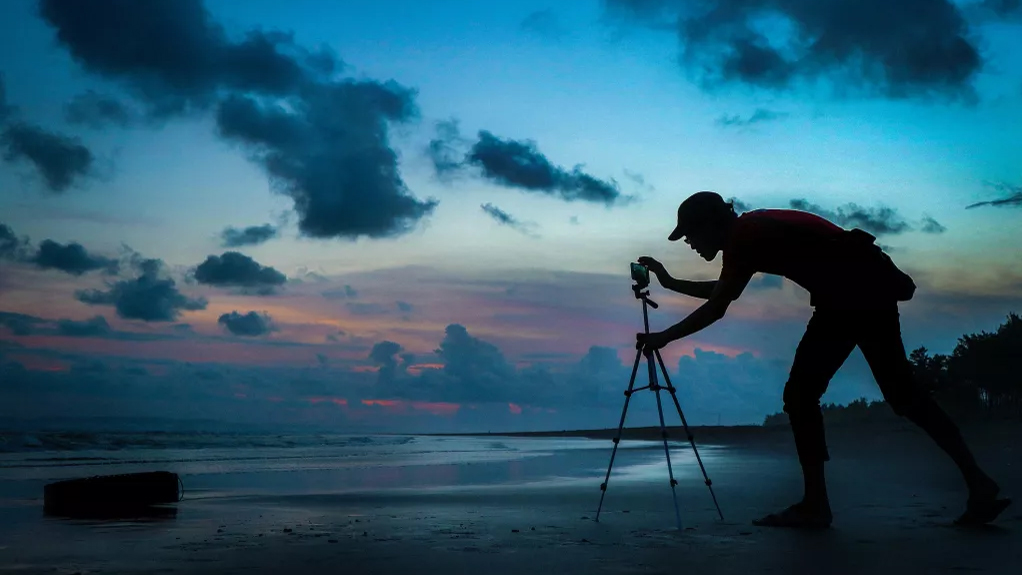
Have you ever casually attempted smartphone astrophotography, by snapping a picture of the night sky using just your cell? Most people presume that to take those incredible images we've all seen of the moon, the Milky Way and the Northern Lights you'll need one of the best cameras for astrophotography, a tripod, and expensive lenses galore. Until recently, that was exactly what was required, but advances in the sensors and processing power of smartphones have at last put starry skies within reach.
Before you start pointing your smartphone at the night sky, though, you need to understand a few things first. For starters, basic night sky photography with smartphones is, for the moment, reserved mostly for owners of the most recent flagship smartphones. We're talking here about the most expensive models from the likes of Apple, Samsung, Huawei and Google.
"Smartphones are so highly capable today – the sensors have improved so much, the noise control on the sensors is remarkable and many smartphones have very well made, very fast lenses," says Tom Kerss, a freelance astronomer and astrophotographer at Stargazing London who just published Northern Lights: The definitive guide to auroras. However, there are some night sky photography projects you can do with any smartphone, especially if you have a small tripod and/or a telescope ,and maybe some of the best photo editing apps too.
Whatever smartphone you have, here’s everything you need to know about astrophotography using a smartphone in five easy steps:
Keeping your smartphone still
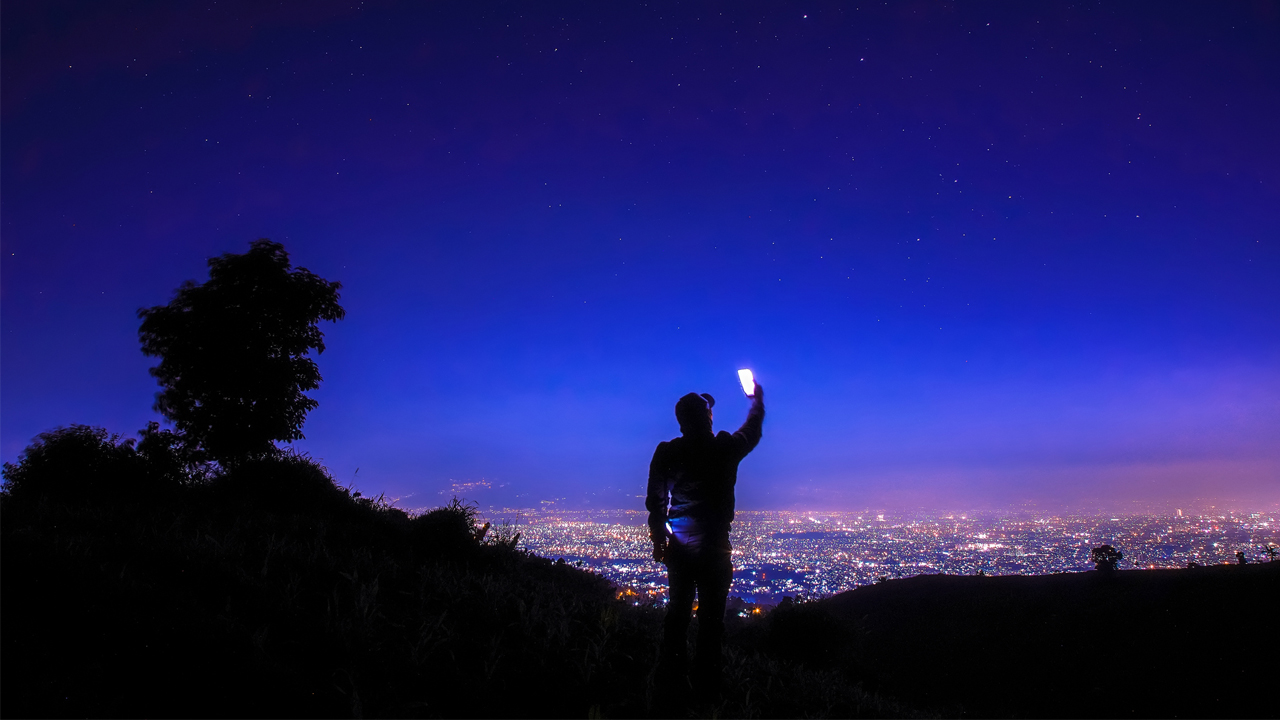
"If you want to capture things in the night sky, whether it be the Northern Lights or the Milky Way, then think about getting a tripod adapter for your phone, or resting it on something," says Kerss. All wide-angle images of the night sky require long exposure photographs. That means you must keep your smartphone completely still. You don't have to spend big here; a cheap, small tripod and a smartphone holder will do just fine, but you can find some very pricey tripods that have a smartphone holder on them, such as the Peak Design Travel Tripod.
Whatever you choose to keep your smartphone steady, it’s all too easy to introduce a big vibration to a smartphone just by depressing the shutter button on the screen. So instead either use a Bluetooth remote or your smartphone's voice assistant ("Hey Siri, take a photo" or "Ok Google, take a picture") so you don’t have to physically touch your smartphone. In a pinch you can also use a shutter delay of 10 seconds, which you’ve probably used before to take group selfies.
Using ‘night mode’ and shoot in raw
So-called 'night mode' has been in fashion for smartphone cameras for the last few years. Enabled by bigger sensors that are more sensitive to light, flagship smartphones can now take excellent photographs in low-light conditions, such as twilight. So what about in 'no light'?
Breaking space news, the latest updates on rocket launches, skywatching events and more!
Automatically enabled when the smartphone detects a lack of light, ‘night mode’ is essentially the taking of long exposure photos. "You’ll get a nice sharp Milky Way at 30 seconds," says Kerss.
Smartphones with ‘night mode’ also tend to offer manual settings where you can set the ISO and shutter speed. If yours doesn’t, or you want finer control, there are many camera apps that offer just that, such as Camera+ 2 for Apple and Camera FV-5 for Android, which can also capture in raw for easier photos editing later.
"One of the great things about a lot of flagship smartphones today is that they're marketed towards photographers and a part of that is making raw data available," says Kerss. Raw images, often recorded as DNG files, have a lot more color information than JPEG files or compressed files. "So when I'm processing those images on my computer later I can see a lot more shades, shadows and highlights and I can recover more of the dark or bright regions of the image than I would be able to from a compressed image," says Kerss.
Capturing star-trails, meteors and satellites
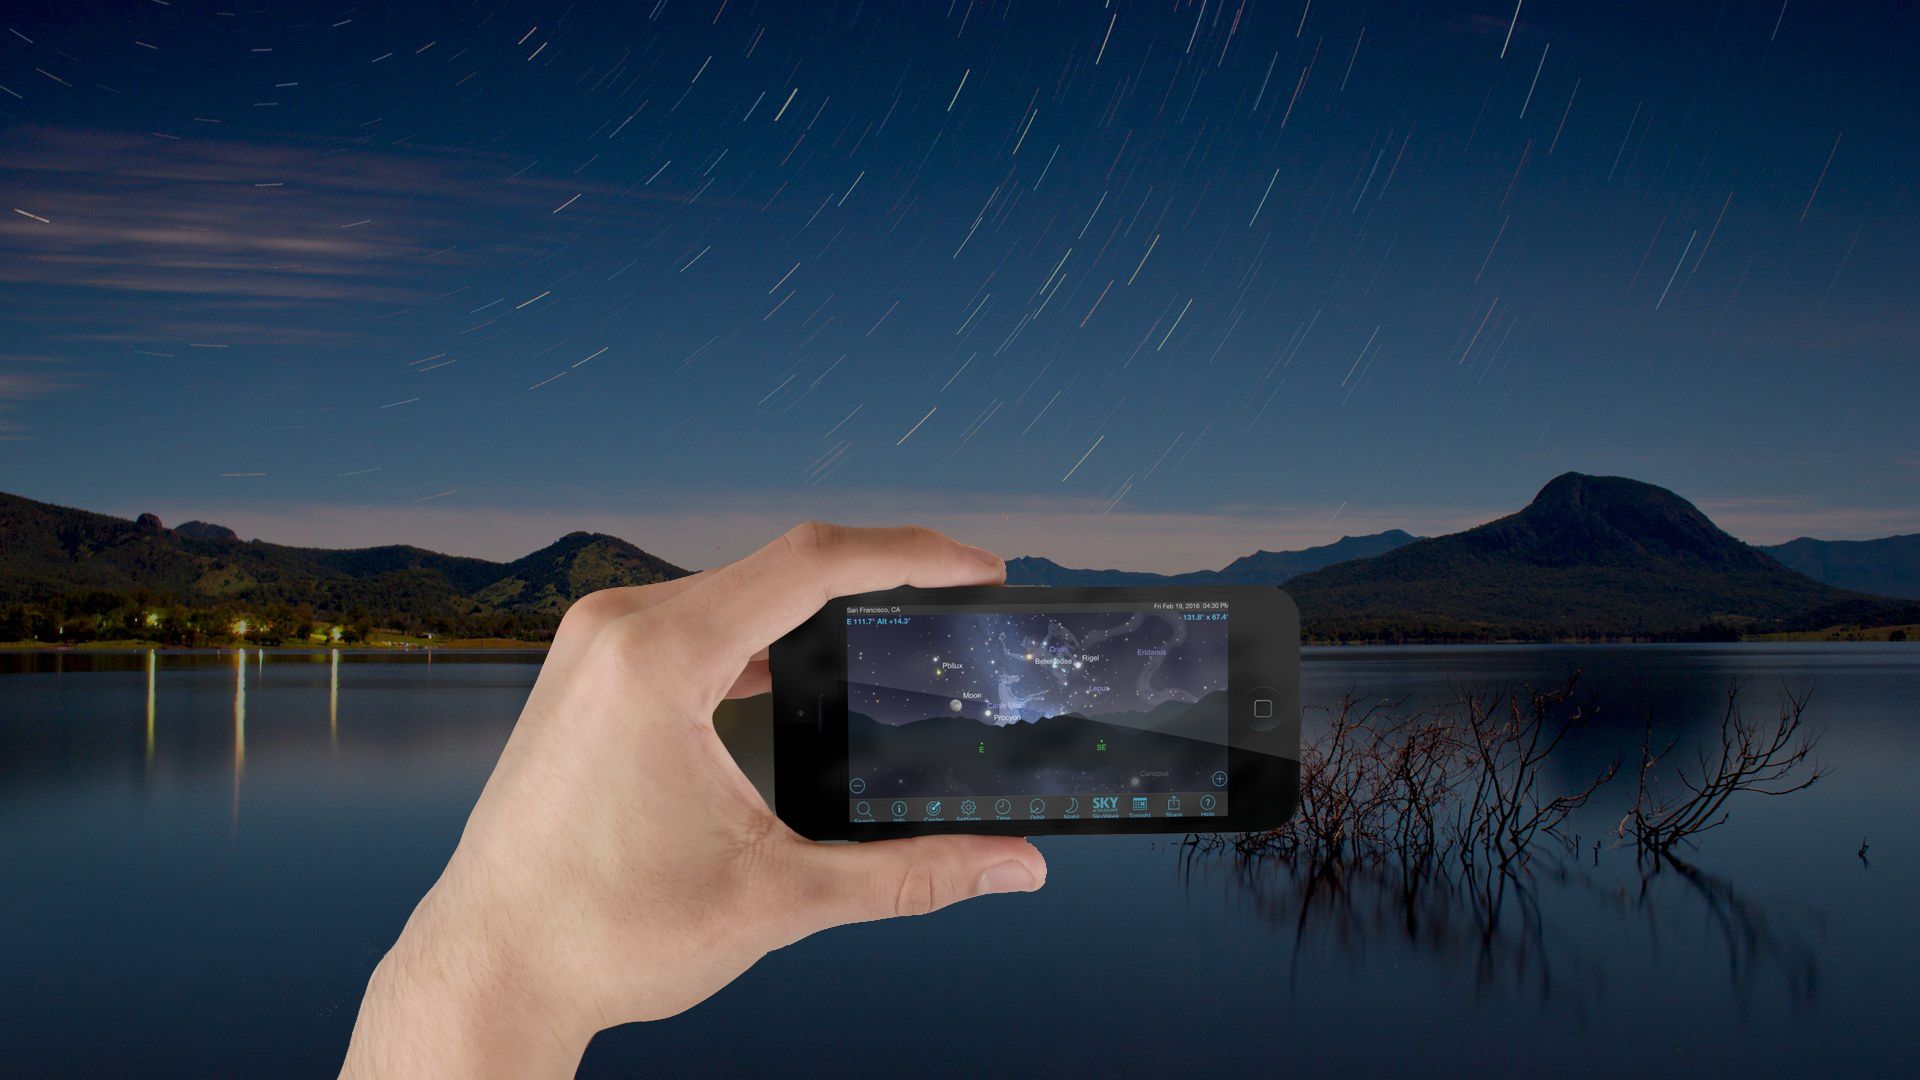
Go look in your smartphone camera’s options – perhaps under ‘more’ or ‘light painting’ – and you may find something called ‘star trails mode.’ It’s basically the ‘bulb’ mode from your camera. If you don’t have one, download the NightCap Pro app, which offers the same options and more. When ‘star trails’ mode is activated your smartphone will measure the light conditions and adjust itself to take a decent night sky photo, then do it again. And again and again, overlaying each photo with the last until you get ‘star trails’ as the Earth rotates and the positions of the stars appear to change. The longer you leave it, the better the final composite photo will look.
Although ’startrails’ is designed for one thing, it works equally as good for catching unpredictable meteors (which is handy if there are any meteor shower peaks predicted) as well as passing satellites and passes of the International Space Station. For the latter, use NASA’s ‘Spot The Station’ service to find out times for your location. It takes about five minutes to cross the night sky. The best star gazing apps also usually have event alerts, to tell you when something interesting is happening in the night sky above you.
Experimenting with ‘Moon mode’
This one’s a bit of a novelty, but it can produce some usable results. Often touted as a flagship feature, the presence of a ‘Moon mode’ on a smartphone camera is a giveaway that the manufacturer is providing a new all-powerful digital ‘periscope’ lens. On such cameras you just point your smartphone’s camera at the Moon, spread your fingers on the viewfinder to adjust the zoom to 10x or more, and your smartphone will use artificial intelligence to automatically recognise the Moon using feature detection and recommend ‘Moon mode' to help optimize the shot. Cue a half-decent close-up for which your smartphone already knows the detail and color sharpening settings for.
Huawei’s flagship smartphones offer a ‘Moon mode’ while Samsung’s have a 100x ‘space zoom.’ However, the results are pretty soft and basic; if you really want a close-up of the Moon then explore afocal photography...
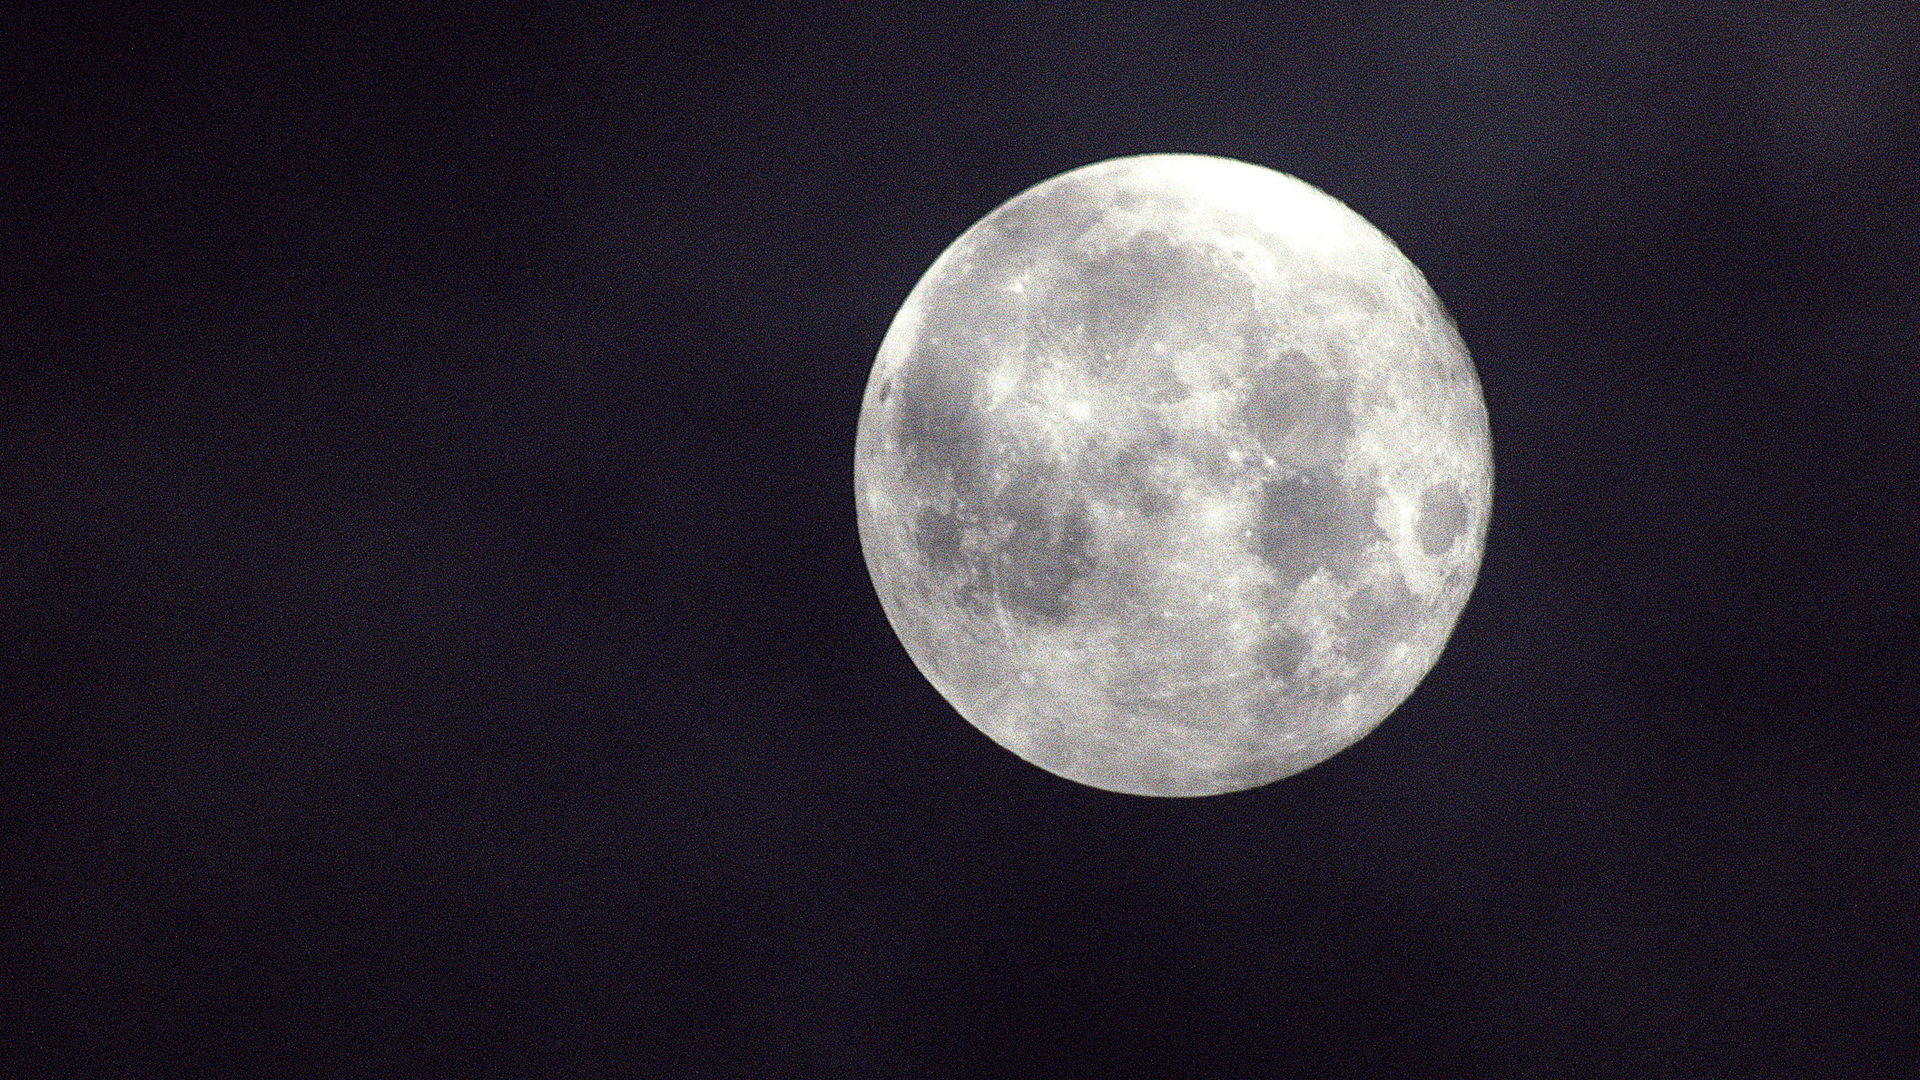
Using your smartphone with a telescope
Afocal photography is a great way to obtain excellent quality images of the Moon and more using a smartphone, though it does also require a telescope, a spotting scope or a pair of binoculars supported by a tripod. For guidance on which ones to buy, have a look at our round-up of the best telescopes and best binoculars currently available.
"If you just want to take photos of the Moon you can get started pretty much by just holding your phone up to the eyepiece of your telescope," says Kerss. That sounds easy, but in reality it’s quite hard to do because you have to position the smartphone very carefully, touch the screen to focus on the Moon (the easiest target in the night sky by far) and fix the exposure.
"If you find that the image flickers in and out of view then it's worth thinking about an afocal adapter to connect your phone to your telescope – that way you can just move the telescope to adjust the location of the image and get a perfect shot every time." Although you can get away without using them, a smartphone clamp from the likes of iOptron, Celestron, Bresser and Orion that will make things much easier.
For afocal photography it’s even more important to use either a Bluetooth remote or voice control to activate your smartphone's camera shutter since it’s all too easy to introduce a wobble that will ruin your photos of the Moon.
Top tips for getting better results
Smartphone astrophotography can be hit and miss, but with a little practice it’s possible to get some polished images that are at least good enough for sharing online. Here are some top tips for getting the best possible results:
- Always use a tripod and either a Bluetooth remote or voice control to take photos.
- Get yourself somewhere dark away from urban skyglow by using a Light pollution map.
- Know when the Moon is in the sky where you are by using a Moonrise and Moonset Calculator.
- The Milky Way is seasonal in the northern hemisphere and can only be photographed between May and October. Use the PhotoPills app to help you find it.
- Always shoot in raw image quality, which third-party camera apps offer.

Jamie is an experienced science and travel journalist, stargazer and eclipse chaser who writes about exploring the night sky, solar and lunar eclipses, the Northern Lights, moon-gazing, astro-travel, astronomy and space exploration. He is the editor of WhenIsTheNextEclipse.com, author of A Stargazing Program For Beginners, co-author of The Eclipse Effect, and a senior contributor at Forbes.
