Drone photography: Tips and tricks
Here are our top drone photography tips to help you get the most out of your airborne camera
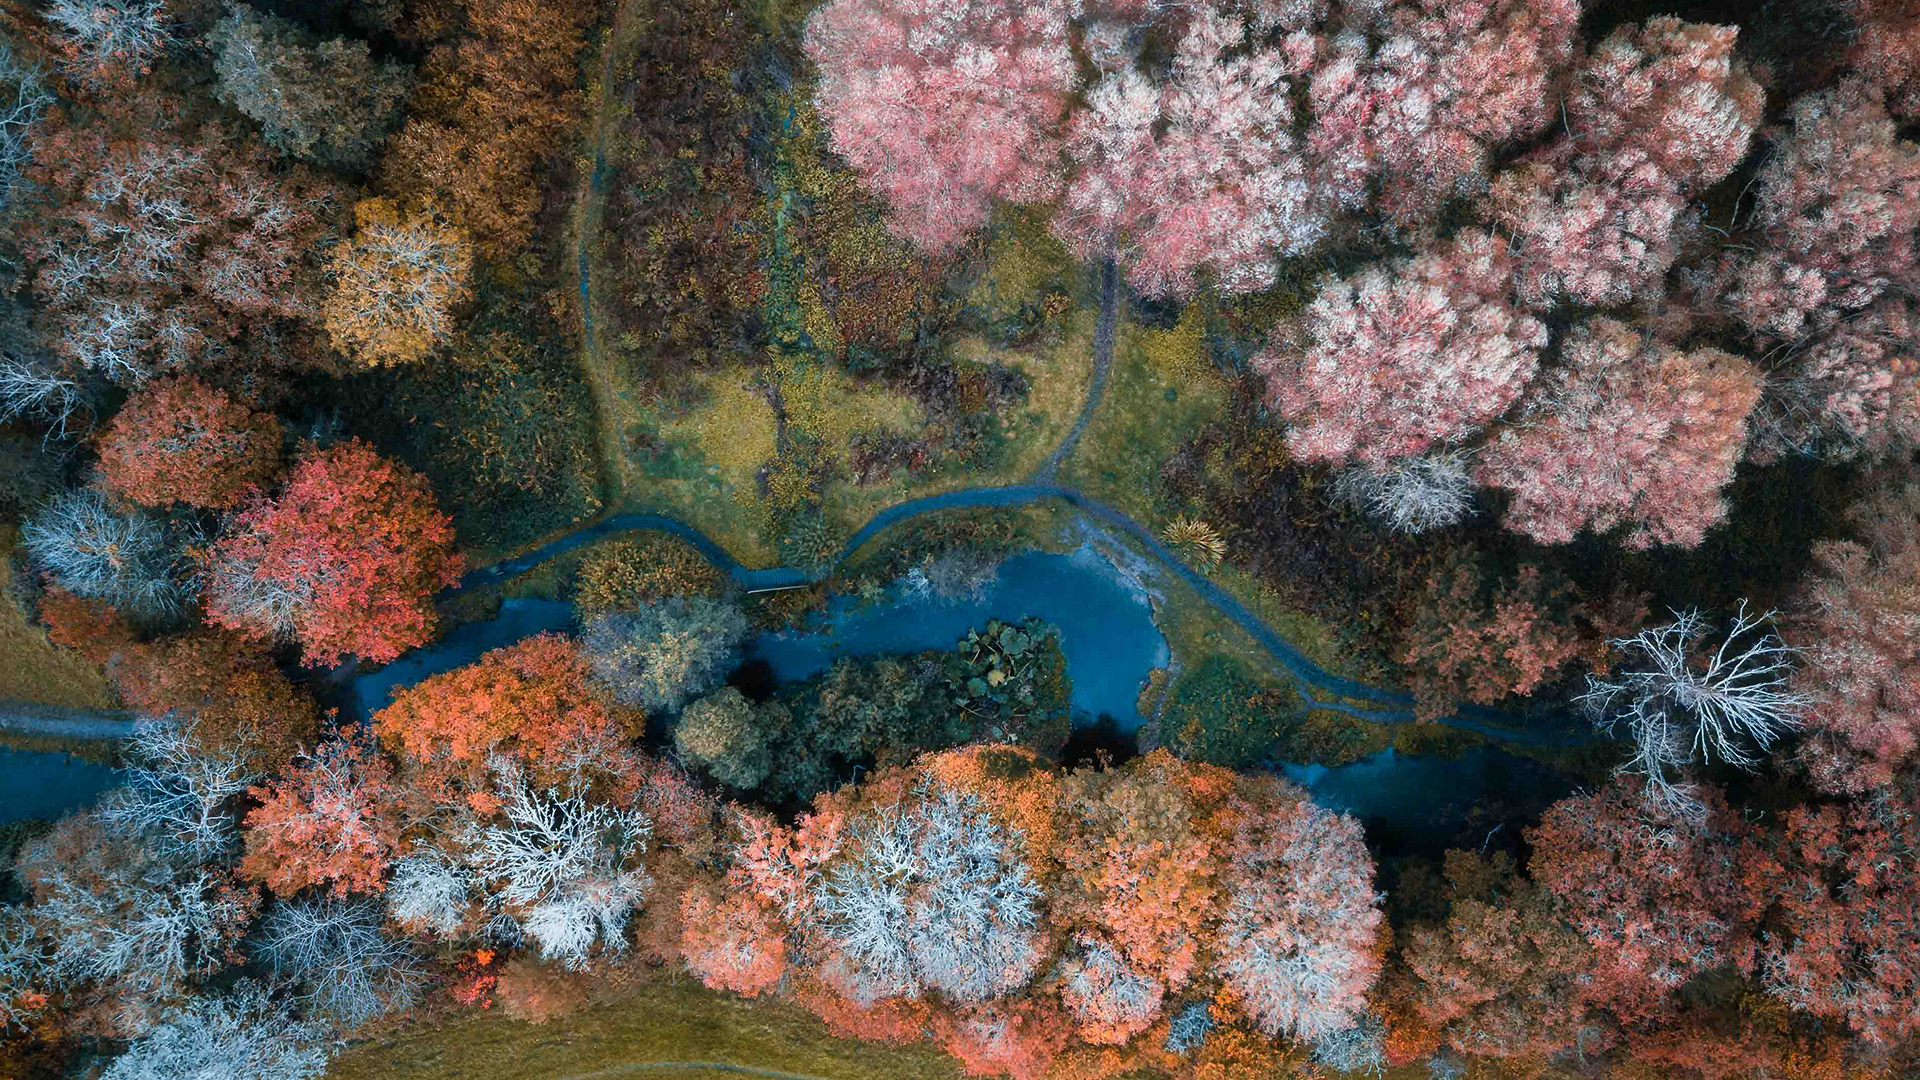
Drone photography has exploded in popularity over the last few years. Not so long ago it was only possible to photograph aerial images from aircraft or hot air balloons but, with the emergence of affordable consumer drones, we now have the ability to take to the skies and capture our own birds-eye views.
Despite this new freedom to pick up and fly a drone – in line with drone regulations, of course – simply taking to the skies and snapping away will not necessarily yield amazing results. Like any genre of photography, there are several factors that you can use to your advantage when shooting with a drone. If you want to improve your drone photography game, our top drone photography tips will guide you to capture stunning, impactful images and help take your drone photography to the next level.
This is part of a series of guides on Space.com, that have been crafted for people new to the field. If you're looking for more helpful advice, check out our piece on astrophotography for beginners and our guide to aurora photography.
Shoot in raw format
If you’re serious about your drone photography then this tip is a no-brainer – raw files allow for much greater flexibility if you plan to process your images with one of the best photo editing apps. Capturing aerial images in raw format gives you the maximum amount of information to work with when you are processing your images.
Shooting in raw allows you to capture much more data and dynamic range than JPEG images, so you can work with all of the data captured by your drone’s camera sensor. Unlike raw files, which are uncompressed lossless images, JPEG files are compressed which results in a loss of information from your images. Shooting your images in raw format will also allow you to make use of some of our other drone photography tips below.
Research and plan the location
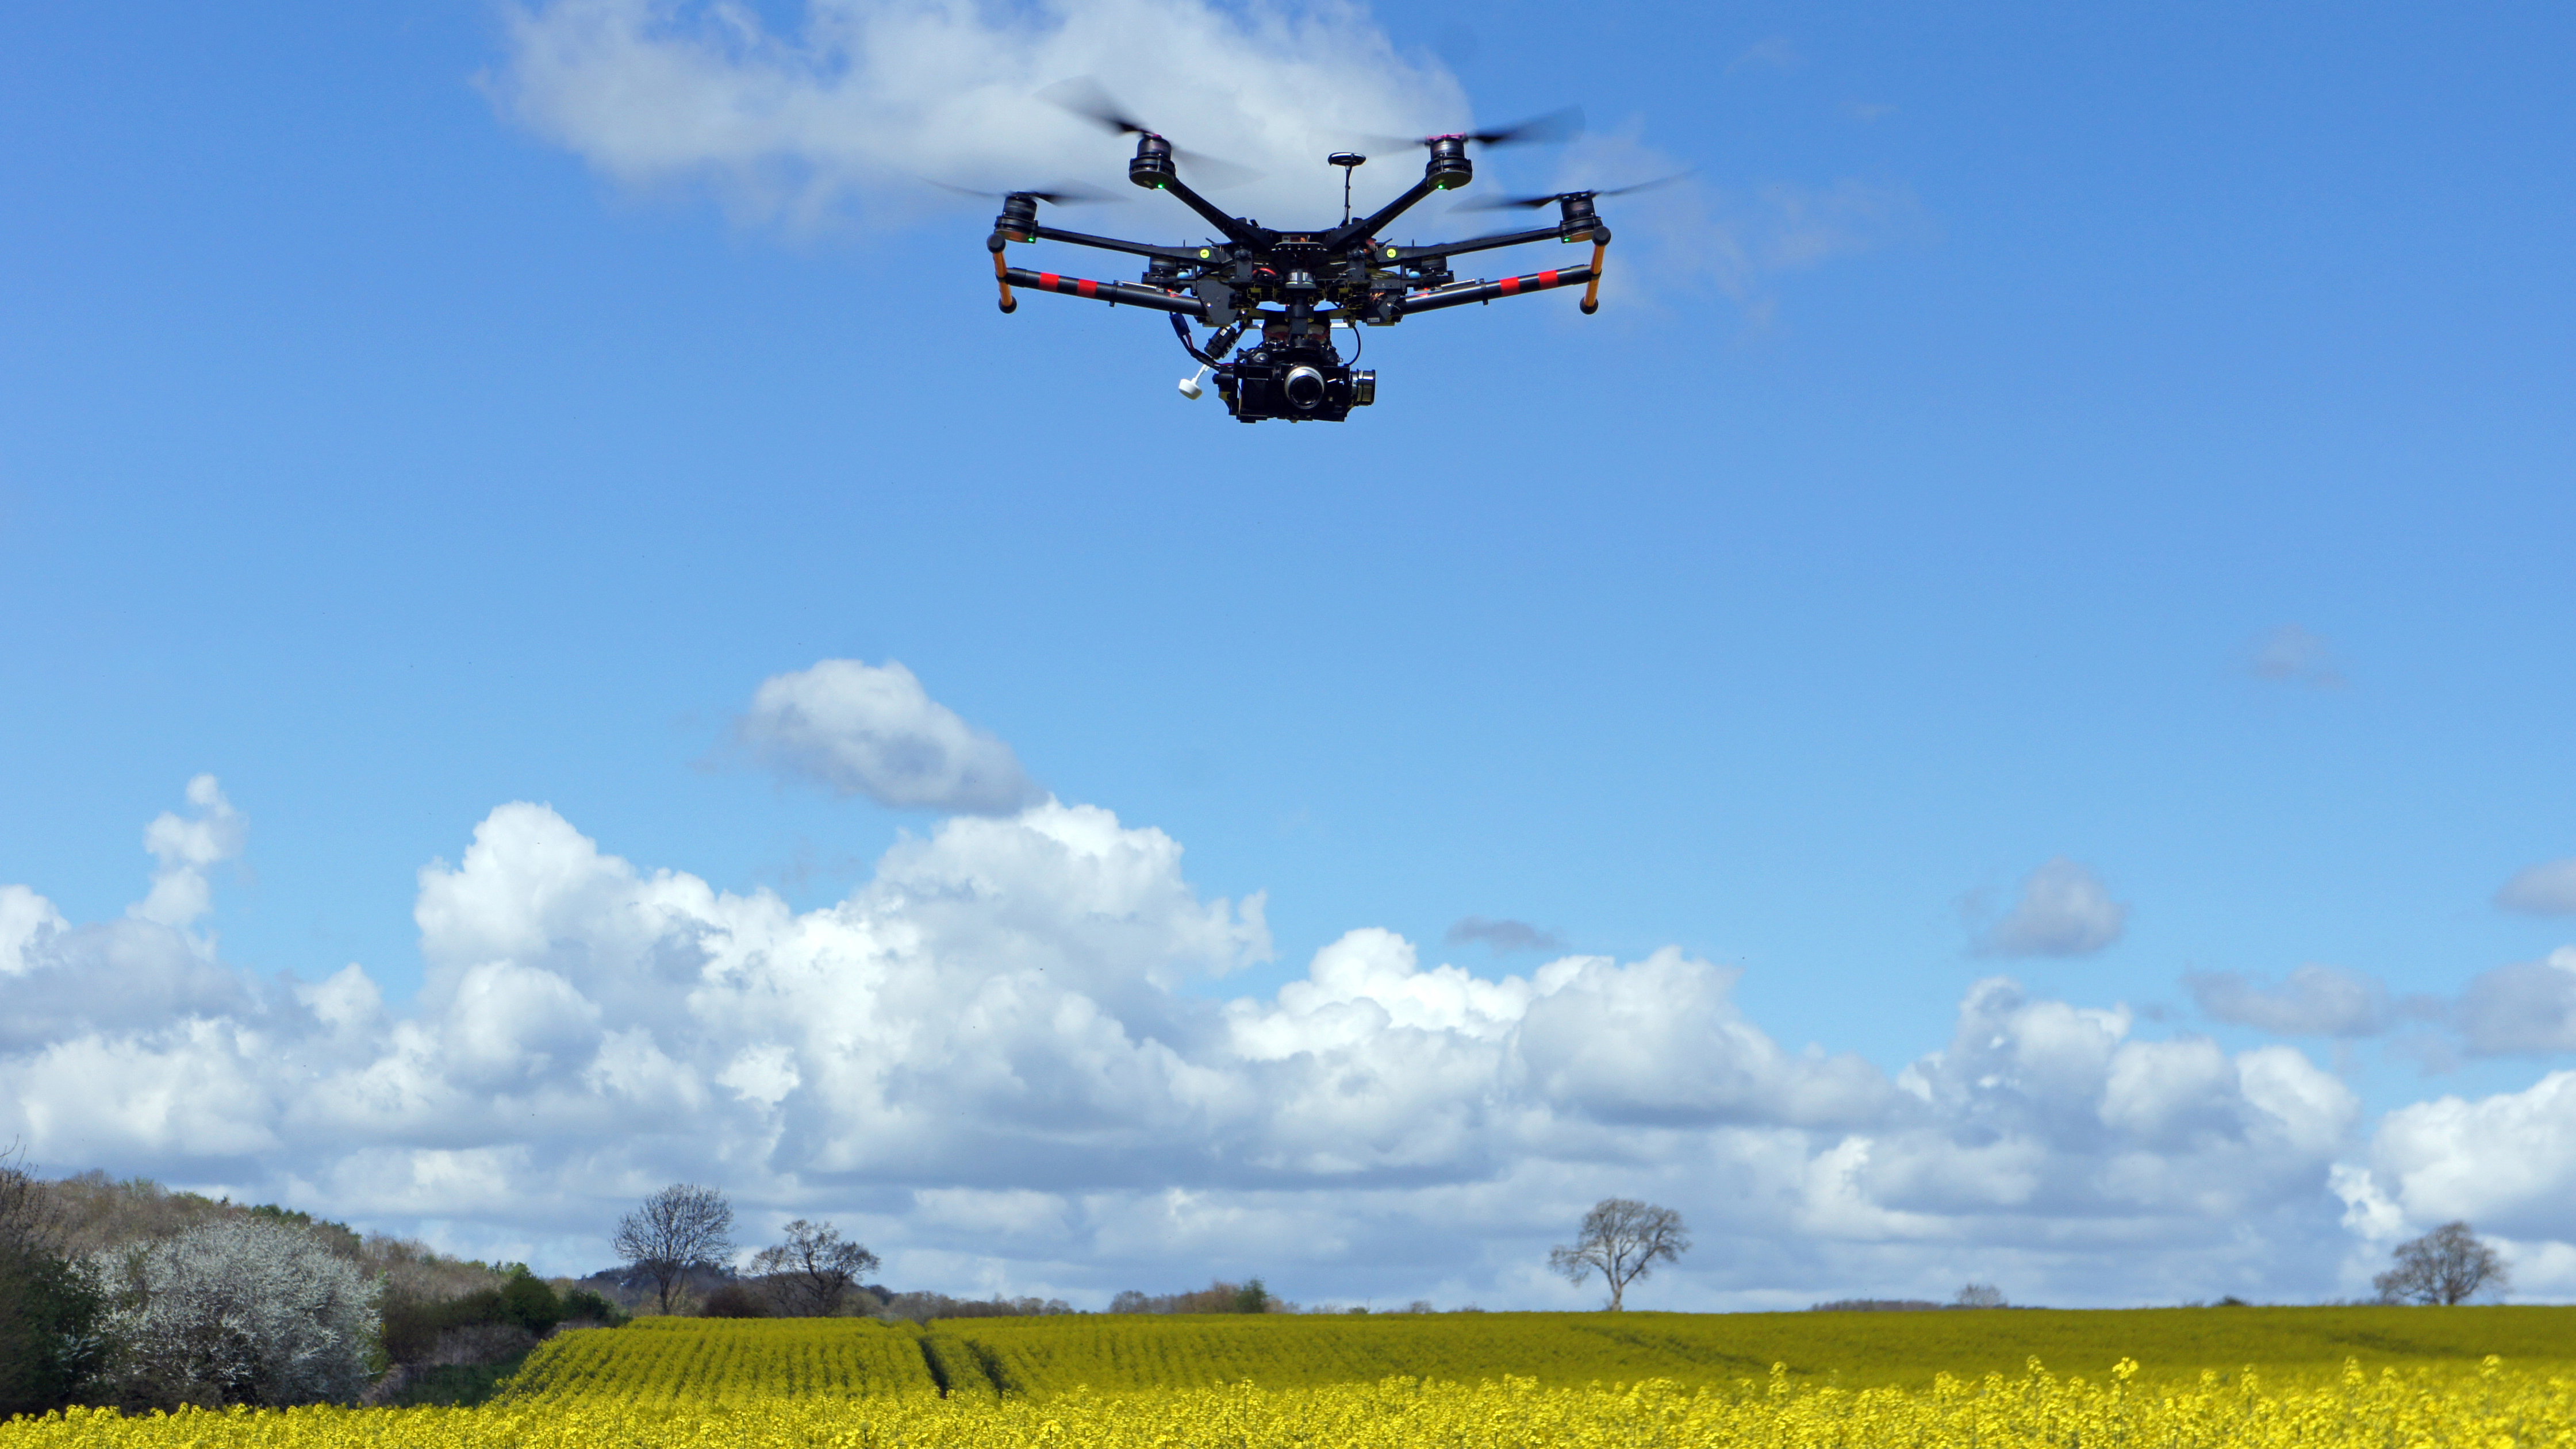
Part of the fun with drone photography is capturing views that simply cannot be seen from ground level. However, that doesn’t mean to say we can’t “see” our subject until we take to the skies. Randomly flying your drone to find a suitable subject can certainly work on occasions, but in the process you will drain your batteries and your flying time will be limited as you seek that killer composition.
Rather than just turning up at a location and hoping to capture some interesting shots, plan ahead to identify potential photography subjects and compositions. Google Maps is an excellent resource, which you can use to identify and research potential shooting locations from above, in advance of your shoot. Similarly, Google Earth is also a super useful planning tool as you can get a good idea of the topography for your intended location.
Breaking space news, the latest updates on rocket launches, skywatching events and more!
Time of day
Lighting is as important in drone photography as it is with any other form of photography. Harsh sunlight during the day can present problems like distracting reflections from buildings/water and it should be avoided if you are shooting in the direction of the sun.
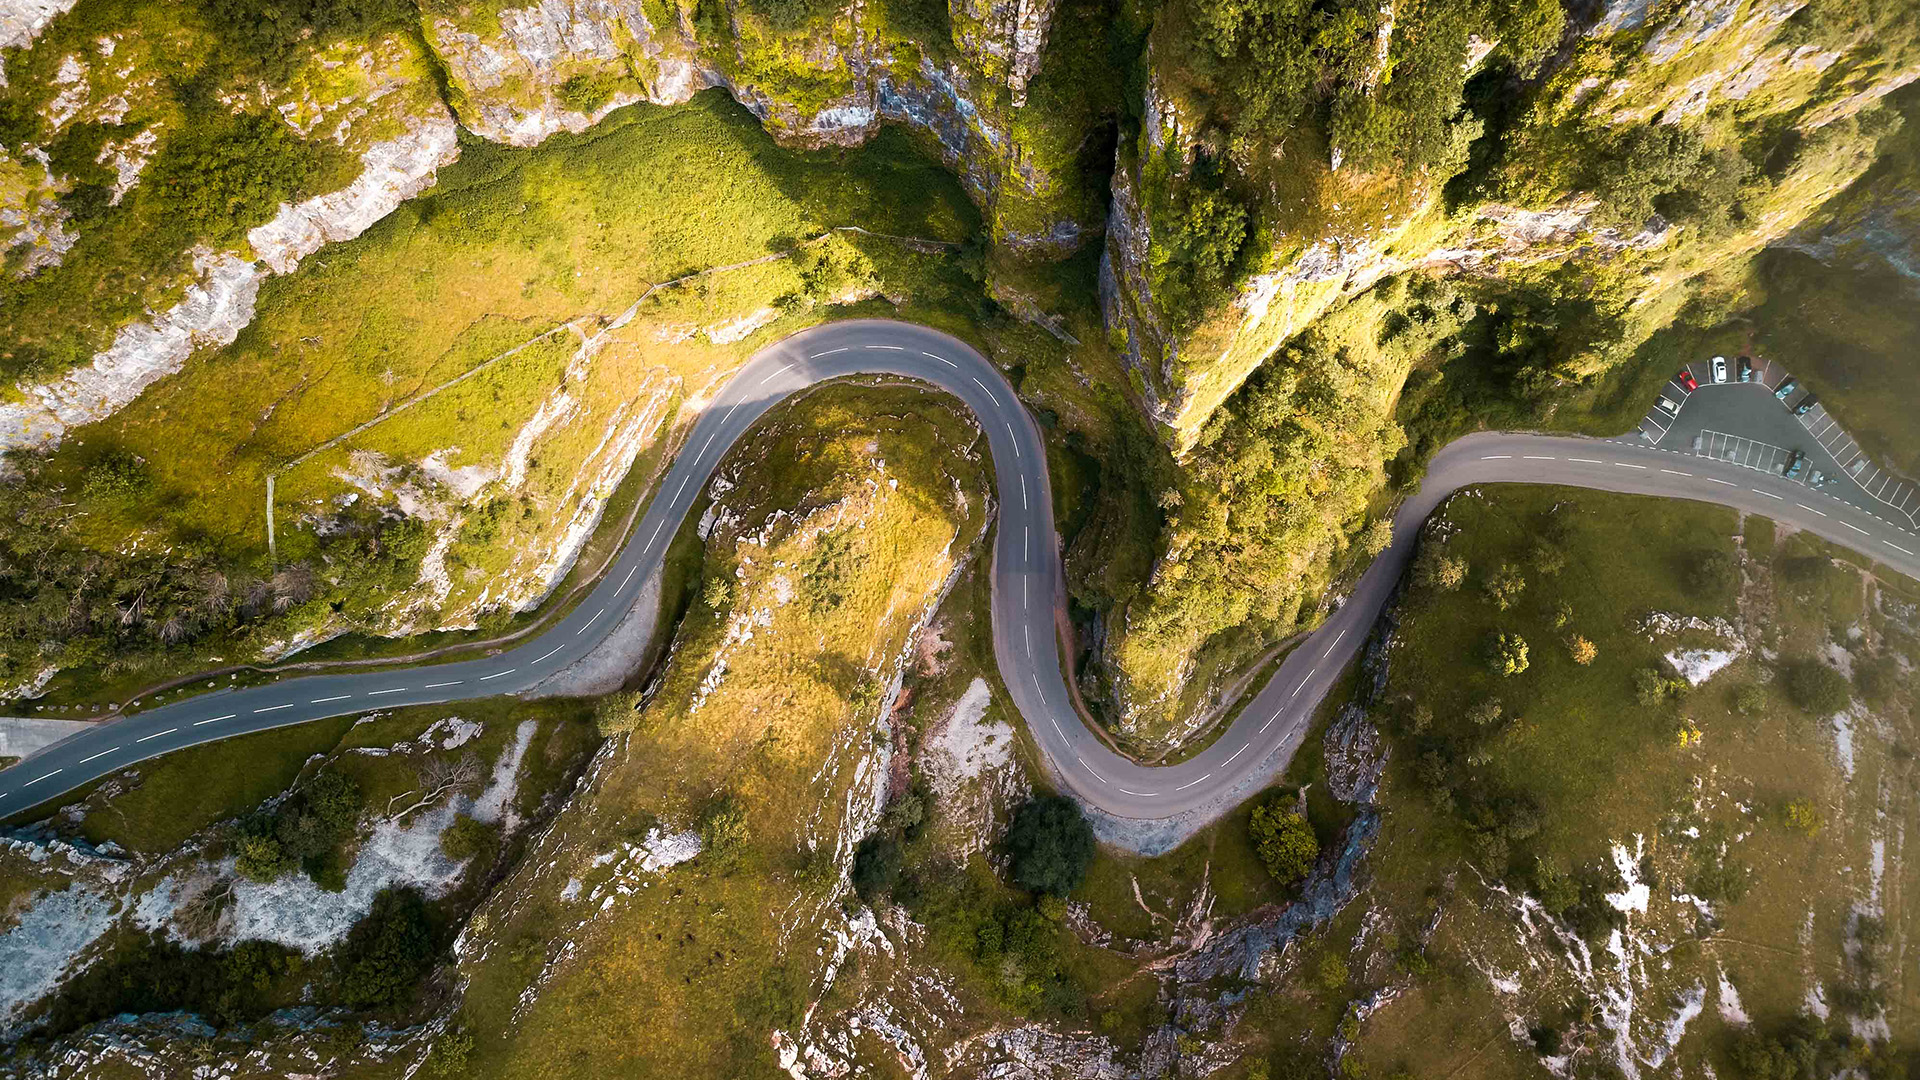
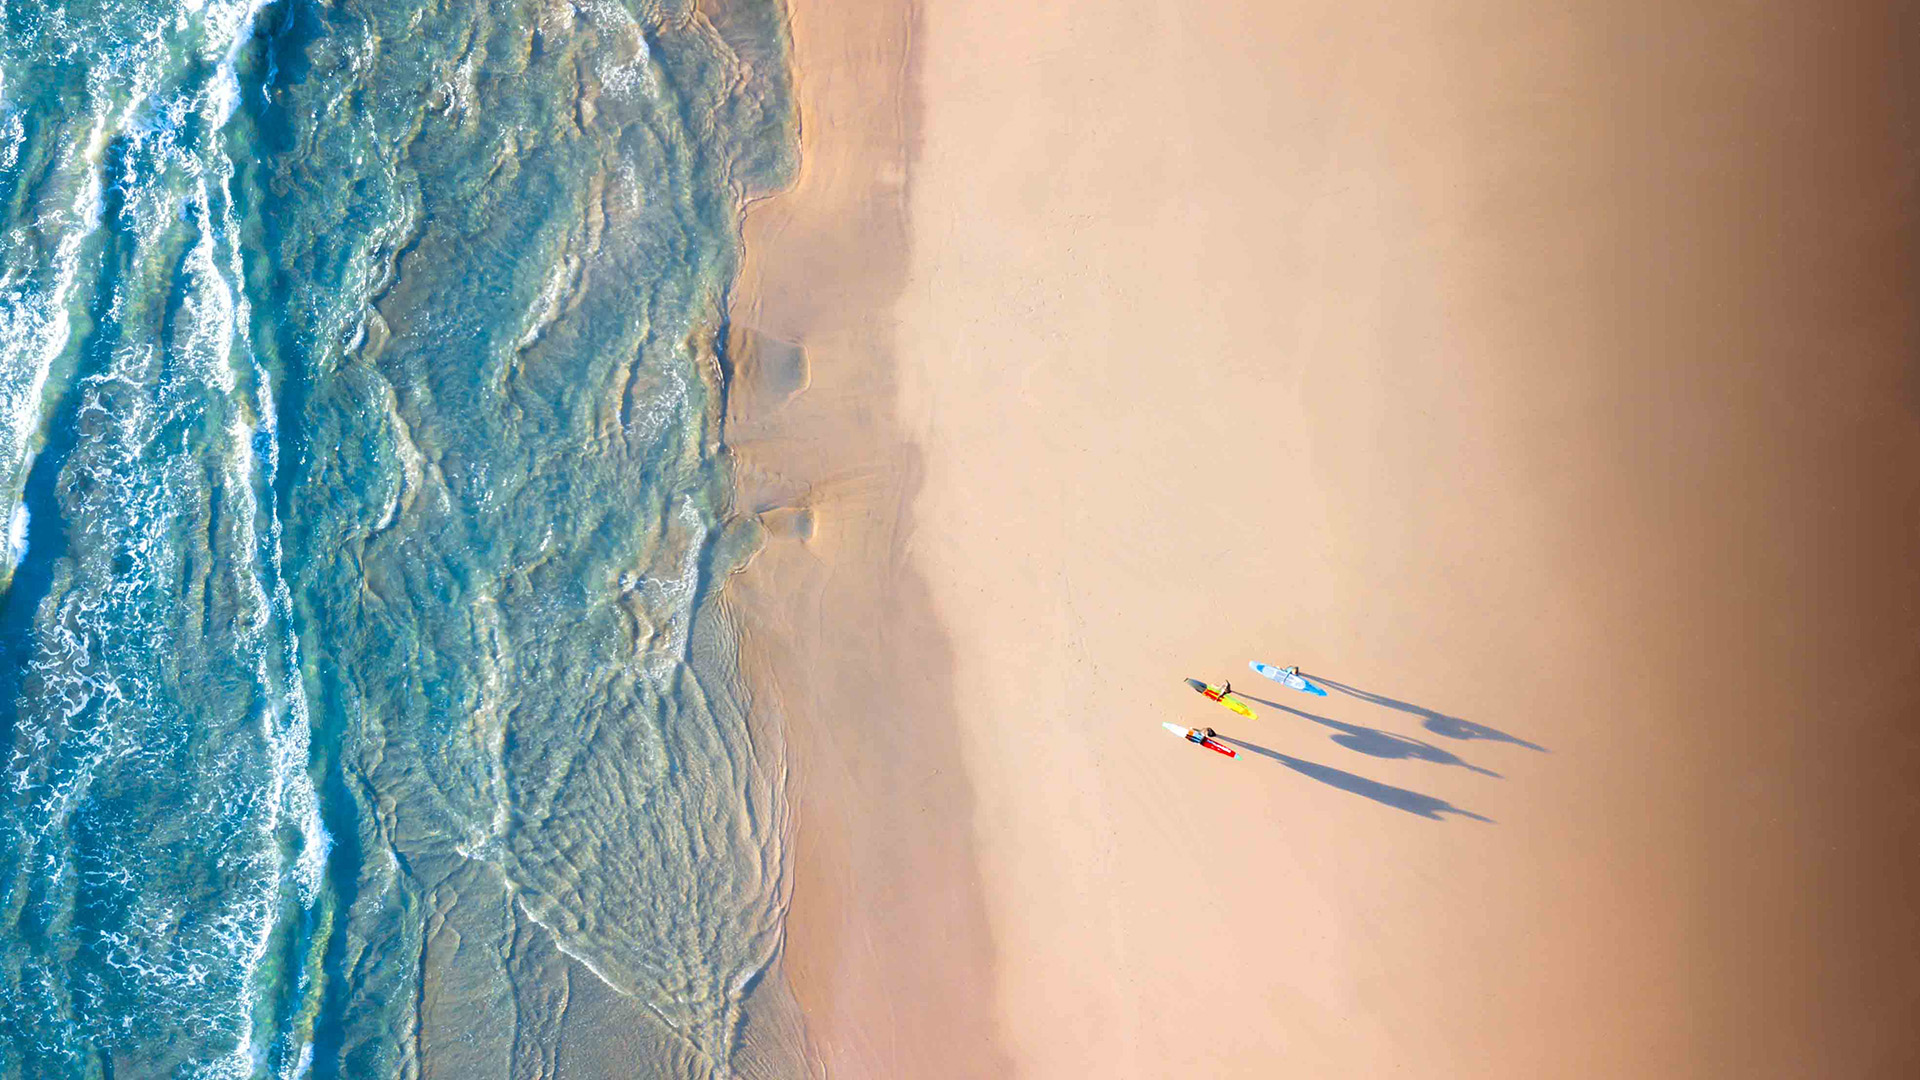
Shooting in the early morning or evenings, when the light is softer and more atmospheric, is the optimal time for drone photography. A low sun will cast epic shadows of buildings, trees and people, which can only be fully appreciated from an aerial perspective. Take advantage of the flexibility your drone gives you and get creative with the shadows! Try taking some top-down images to capture a unique take on familiar objects.
Use the Rule of Thirds
When flying your drone you have the opportunity to shoot your subject from almost any position, which sometimes presents its own problem – how to compose the shot. The Rule of Thirds is a tried and tested composition guide for terrestrial photography and it can be applied equally effectively to drone photography. Most drone models have a grid overlay function that can be enabled via the drone’s app settings.
With a 3x3 grid overlay on your controller or camera display, use one of the four corners of the central rectangle as a positioning guide to anchor your subject in the frame. Off-centre compositions are pleasing to the eye and allow you to balance the image with other elements, colors or even negative space. If your image includes a horizon, place this on the grid so that the sky fills the top third of the frame, with the landscape filling the bottom two-thirds.
General Composition
Leading lines: Including a leading line will draw the viewer’s eye into the image and helps to create a visually interesting image with depth, such as a river or rows of trees.
Experiment with height: You don’t need to fly straight up to 400ft for a good drone image. Try shooting your subject from different heights to see how it affects the image – some of the best drone images are taken from lower heights.
Look for patterns and symmetry: Repetitive patterns and symmetry in the landscape can make very interesting images. Including these elements into top-down images often produces a dramatic effect.
Keep the ISO low
Drone cameras have relatively small sensors in comparison to their DSLR and mirrorless cousins. This means that shooting at anything above ISO 100, even on modern consumer drone sensors, will introduce unwanted noise and grain to your images. Set your ISO manually to ISO 100. You may need to alter your shutter speed (and aperture if your drone supports this feature) to expose correctly, but the resulting images will be cleaner and sharper.
Stack Images for Noise Reduction
Stacking is a technique often employed by astrophotographers to reduce the random noise pattern in an image and increase detail. Shooting at ISO 100 is a great start to increase overall quality but, by taking multiple images of a scene and stacking them in editing software such as Photoshop, your image quality will go to the next level. Set your drone to shoot in “Burst Mode” – on DJI drones for example, you can select 3, 5 or 7 frames. Shooting at 5 or 7 frames in burst mode is ideal. The resulting stacked image will be noticeably cleaner and, if you like to print your images, will allow you to print bigger.
Auto Exposure Bracketing (AEB) mode
One of the most useful features of modern drones is the ability to auto-bracket your shots to increase the dynamic range of your image. If you’re shooting a high-contrast scene, such as a sunset, you may find that a single exposure simply cannot capture the whole range of light from the shadows through to the highlights. When the AEB mode is enabled, the drone will usually take between 3 and 5 shots at different exposures. In a process similar to stacking multiple images, these separate exposures can then be merged in programs like Lightroom or Photoshop to produce a final image with a high dynamic range (HDR). Alternatively, you can just use the AEB mode to take different exposures of your subject and then choose the best-exposed image for processing.
Use Filters
The only essential accessory for drone photography. Invest in a set of good quality Neutral Density (ND) and Polarizing filters, such as those from PolarPro or Tiffen, to control the light reaching your sensor. Neutral Density filters give you control over your exposures and, in the right conditions, allow for long exposure photography to stunning effect.
A Circular Polarizer is perhaps the most useful filter of all. Using one of these will reduce the glare from reflective surfaces like glass and water, saturate colors and increase the contrast of a scene to make your image pop with vibrance.
Use some or all of these photography tips the next time you fly your drone and see how your images benefit. Fly safely, have fun and don’t forget to pack those spare batteries (extra tip)!
Stuart is a landscape and night sky photographer based in Cornwall, UK. Having always had a keen interest in photography and space, he has refined his photography skills in recent years by combining the two passions to create a portfolio of beautiful landscape, night sky and drone images. Inspired by the rugged Cornish coastline, Stuart has had his work featured in several national publications, including a front page photo credit in The Times.
