How to Reduce Noise in Astrophotography
Eliminate speckling in space shots and reduce noise in astrophotography with these top tips.

Breaking space news, the latest updates on rocket launches, skywatching events and more!
You are now subscribed
Your newsletter sign-up was successful
Want to add more newsletters?
Delivered daily
Daily Newsletter
Breaking space news, the latest updates on rocket launches, skywatching events and more!
Once a month
Watch This Space
Sign up to our monthly entertainment newsletter to keep up with all our coverage of the latest sci-fi and space movies, tv shows, games and books.
Once a week
Night Sky This Week
Discover this week's must-see night sky events, moon phases, and stunning astrophotos. Sign up for our skywatching newsletter and explore the universe with us!

Twice a month
Strange New Words
Space.com's Sci-Fi Reader's Club. Read a sci-fi short story every month and join a virtual community of fellow science fiction fans!
The bane of an astrophotographer’s life is noise. Appearing as little grains all over the frame, noise can be a nuisance at best. At worst though, noise can pair itself with low dynamic range and poor image detail to render some photos unusable. But what can we do to reduce noise in astrophotography?
The first step is choosing one of the best cameras for astrophotography. Decent kit that can handle low light photography is a must for astrophotography. Using some of the best photo editing apps such as Photoshop and Lightroom is equally useful for removing any noise that is captured during the shooting process whilst keeping your main subject intact.
In this article, we'll look at what kit and shooting techniques you should be using to reduce noise. Anyone looking for more general advice should check out our beginners guide to astrophotography – otherwise, read on for our top noise-reducing tips.
Which camera to choose for low noise
For astrophotography there are a few rules of thumb when it comes to getting a good camera. Most importantly you want a camera that is capable of handling high ISO sensitivities without introducing too much noise from other factors, like readout and post-processing in camera. Full-frame sensors, on the whole, are generally better for landscape images, and can offer more significant reductions in post-processing noise, although cropped sensor cameras can have a small advantage when it comes to noise, as they are better at reducing dark current noise (which scales with pixel area).
It's also useful to have a camera that has a tilt or vari-angle screen, something that flips out. It makes it much easier to compose shots without having to contort yourself to look through the viewfinder. Optical viewfinders are largely unhelpful when capturing astrophotos because they do nothing to aid the view of the night sky. However, EVFs (electronic viewfinders) seen on mirrorless and some other types of cameras have the ability to replicate what the traditional rear screen does including automatic exposure adjustment, meaning it'll brighten up the view electronically so that you can more clearly see the composition of your scene. It means you can compose your scene without having to take a test shot with an extremely high ISO just to see your composition.
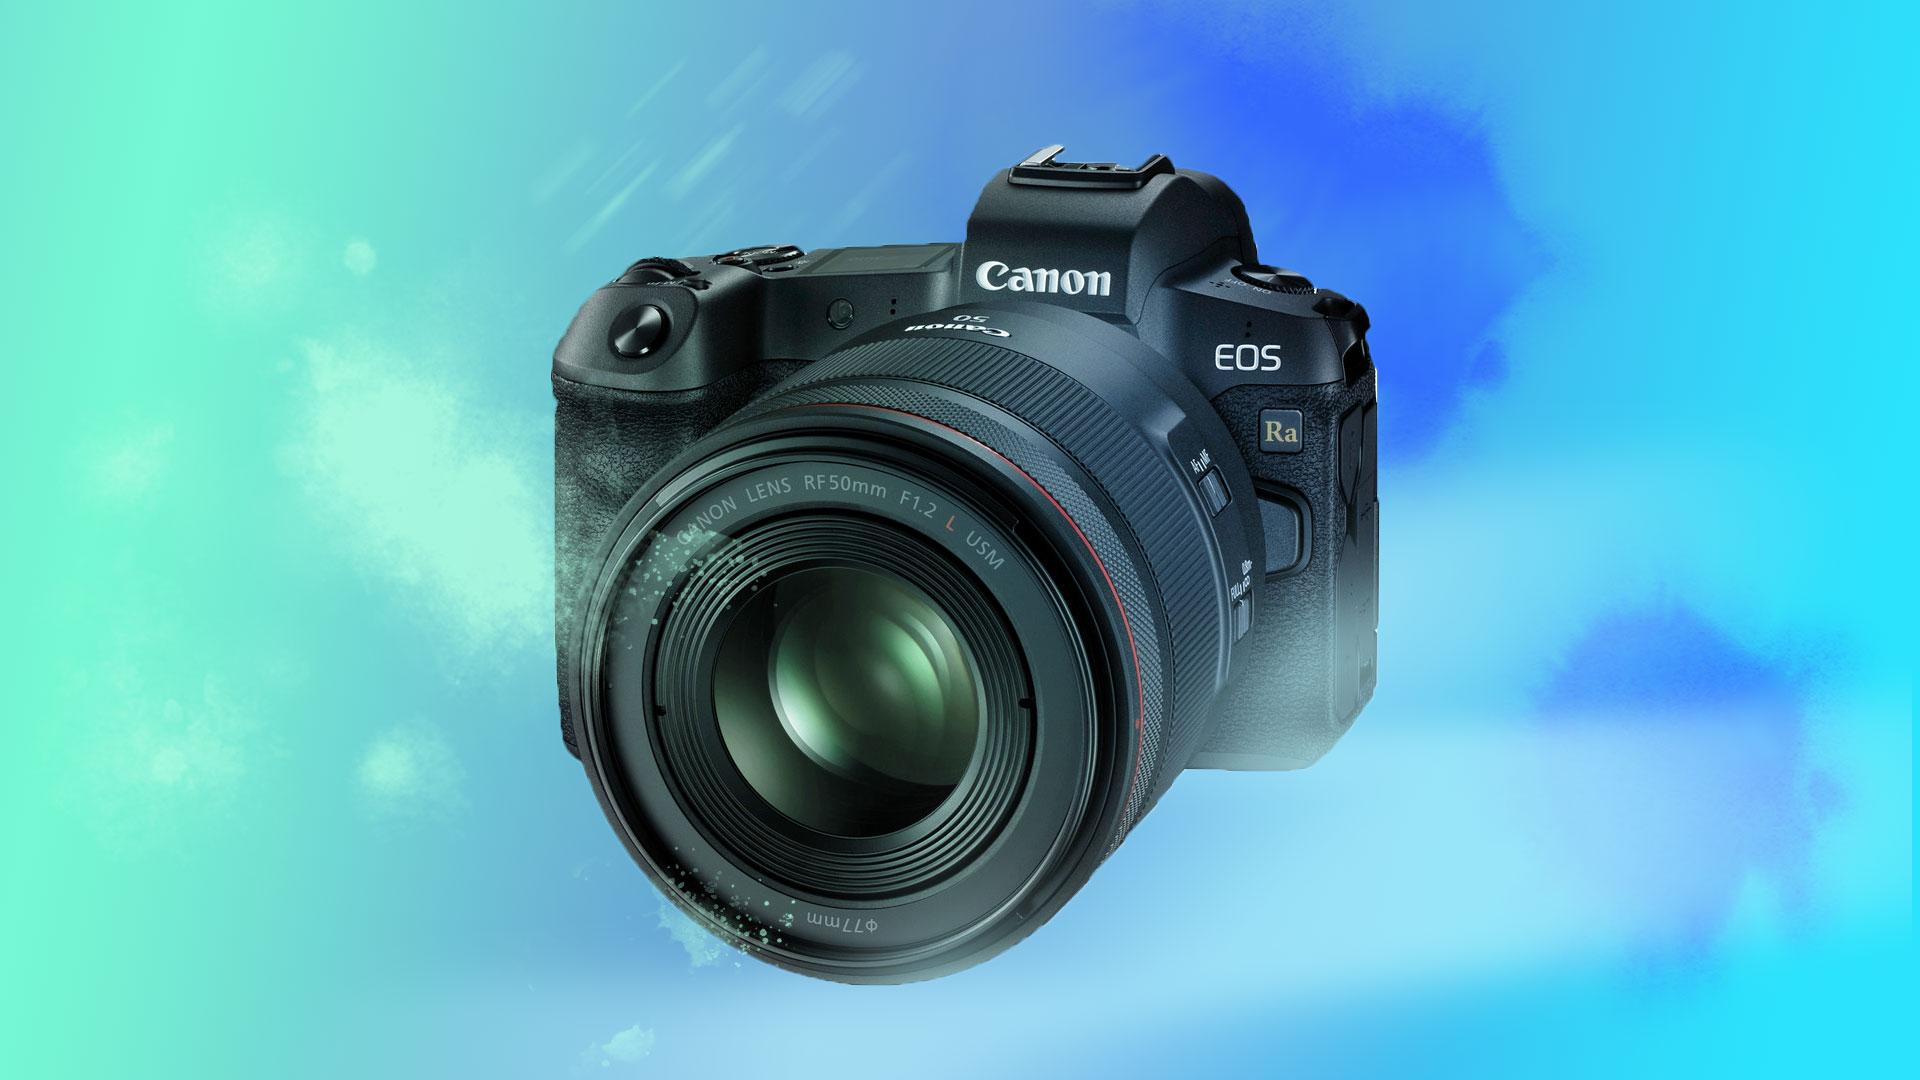
Some good recent examples of cameras ideal for astrophotography are: the Canon EOS Ra (an astro specialist), Sony A7 III or Nikon Z6 (both have incredible high ISO performance), and the FujiFilm X-T4 (good all-rounder). However, older models such as the Nikon D750, and the D810A (another astro specialist camera) are also good for those on a budget.
Choosing the Right Lens
The ideal lens for astrophotography is one that suits your individual needs, so if you prefer to shoot night skies with landscape views a wide-angle lens might be your best option to fit everything in one shot. However, if you want to get into deep-field astro without buying one of the best telescopes around (which tend to be expensive) then a telephoto lens might be what you’re after.
Breaking space news, the latest updates on rocket launches, skywatching events and more!
In astrophotography we're constantly capturing dim, distant stars that are millions of light years away, so we need to reduce obstructions of that light as it passes through the lens and onto the image sensor. That's why it's a good idea to choose a lens with a wide maximum aperture, something like f/2.8 or wider will do.
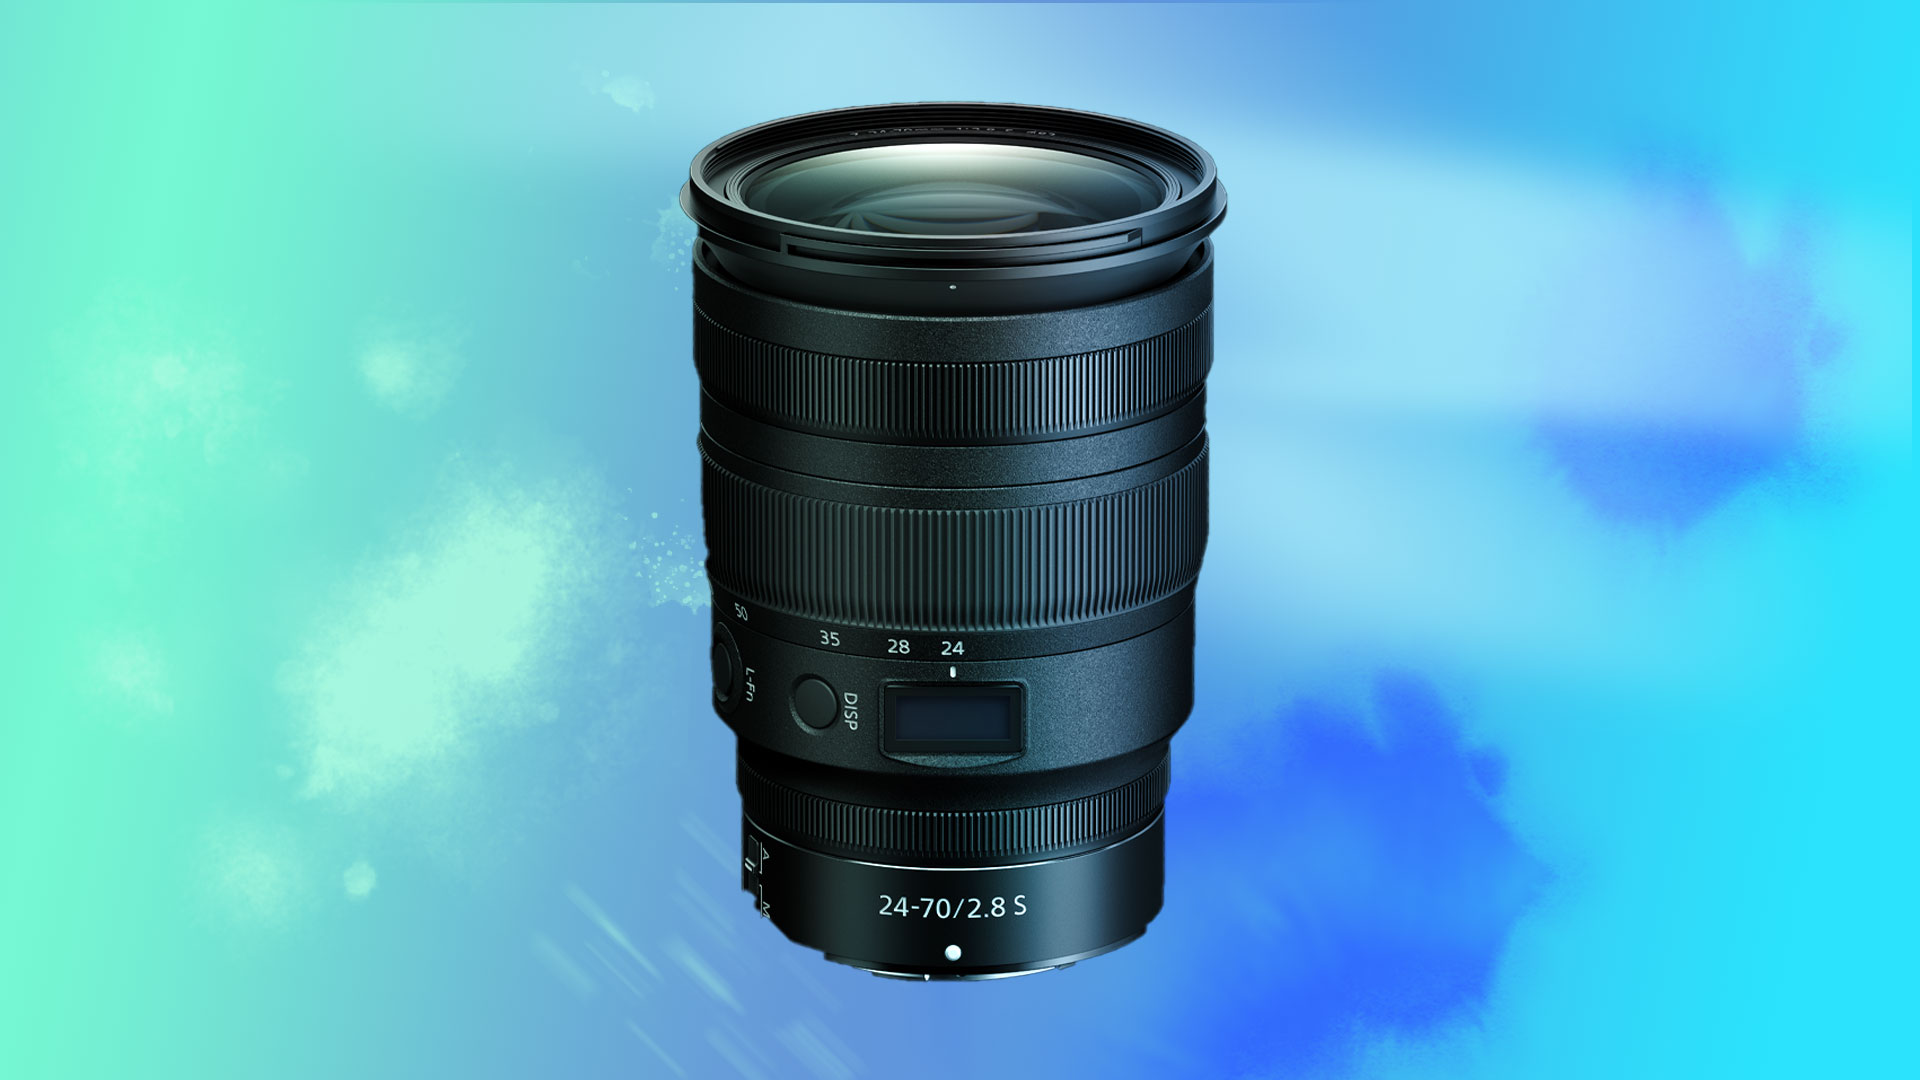
More light through the lens means we can keep other settings such as exposure length and ISO sensitivity to a minimum to enhance the quality of our image. We'd recommend something like a 24-70mm f/2.8 lens if you’re getting started because it gives flexibility in composition with the zoom focal length range but it also offers a generous wide aperture to maximize light input. Ultra wide-angles are also helpful for wider views still, such as the Nikon 14-24mm f/2.8 or the Canon 14mm f/2.8L. Telephoto lenses with wide apertures such as a 70-200mm f/2.8 are also a good option but remember to use a star-tracker on your tripod to move your camera in-time with the earth’s rotation to avoid motion blur and star trails during long exposures. Most camera manufacturers and third party lens producers offer these standard types of zoom lenses, but they are expensive - especially when you add in the cost of a star tracker too.
To Keep Noise Low, You Need a Tripod
You would never leave home to photograph the stars without your camera but another essential piece of kit is a decent tripod. A good tripod forms a stable, sturdy base on which to plant your camera. By keeping the camera still we are able to shoot long exposures, get more light onto the sensor, and can therefore lower the ISO sensitivity. If you’re travelling some distance on foot then look for a lightweight tripod such as one made from carbon fiber - like the Benro Mach3 TMA37C - and don’t forget that you’ll need a decent, adjustable ballhead to allow you to tilt your camera as needed.
The Best Techniques for Reducing Noise
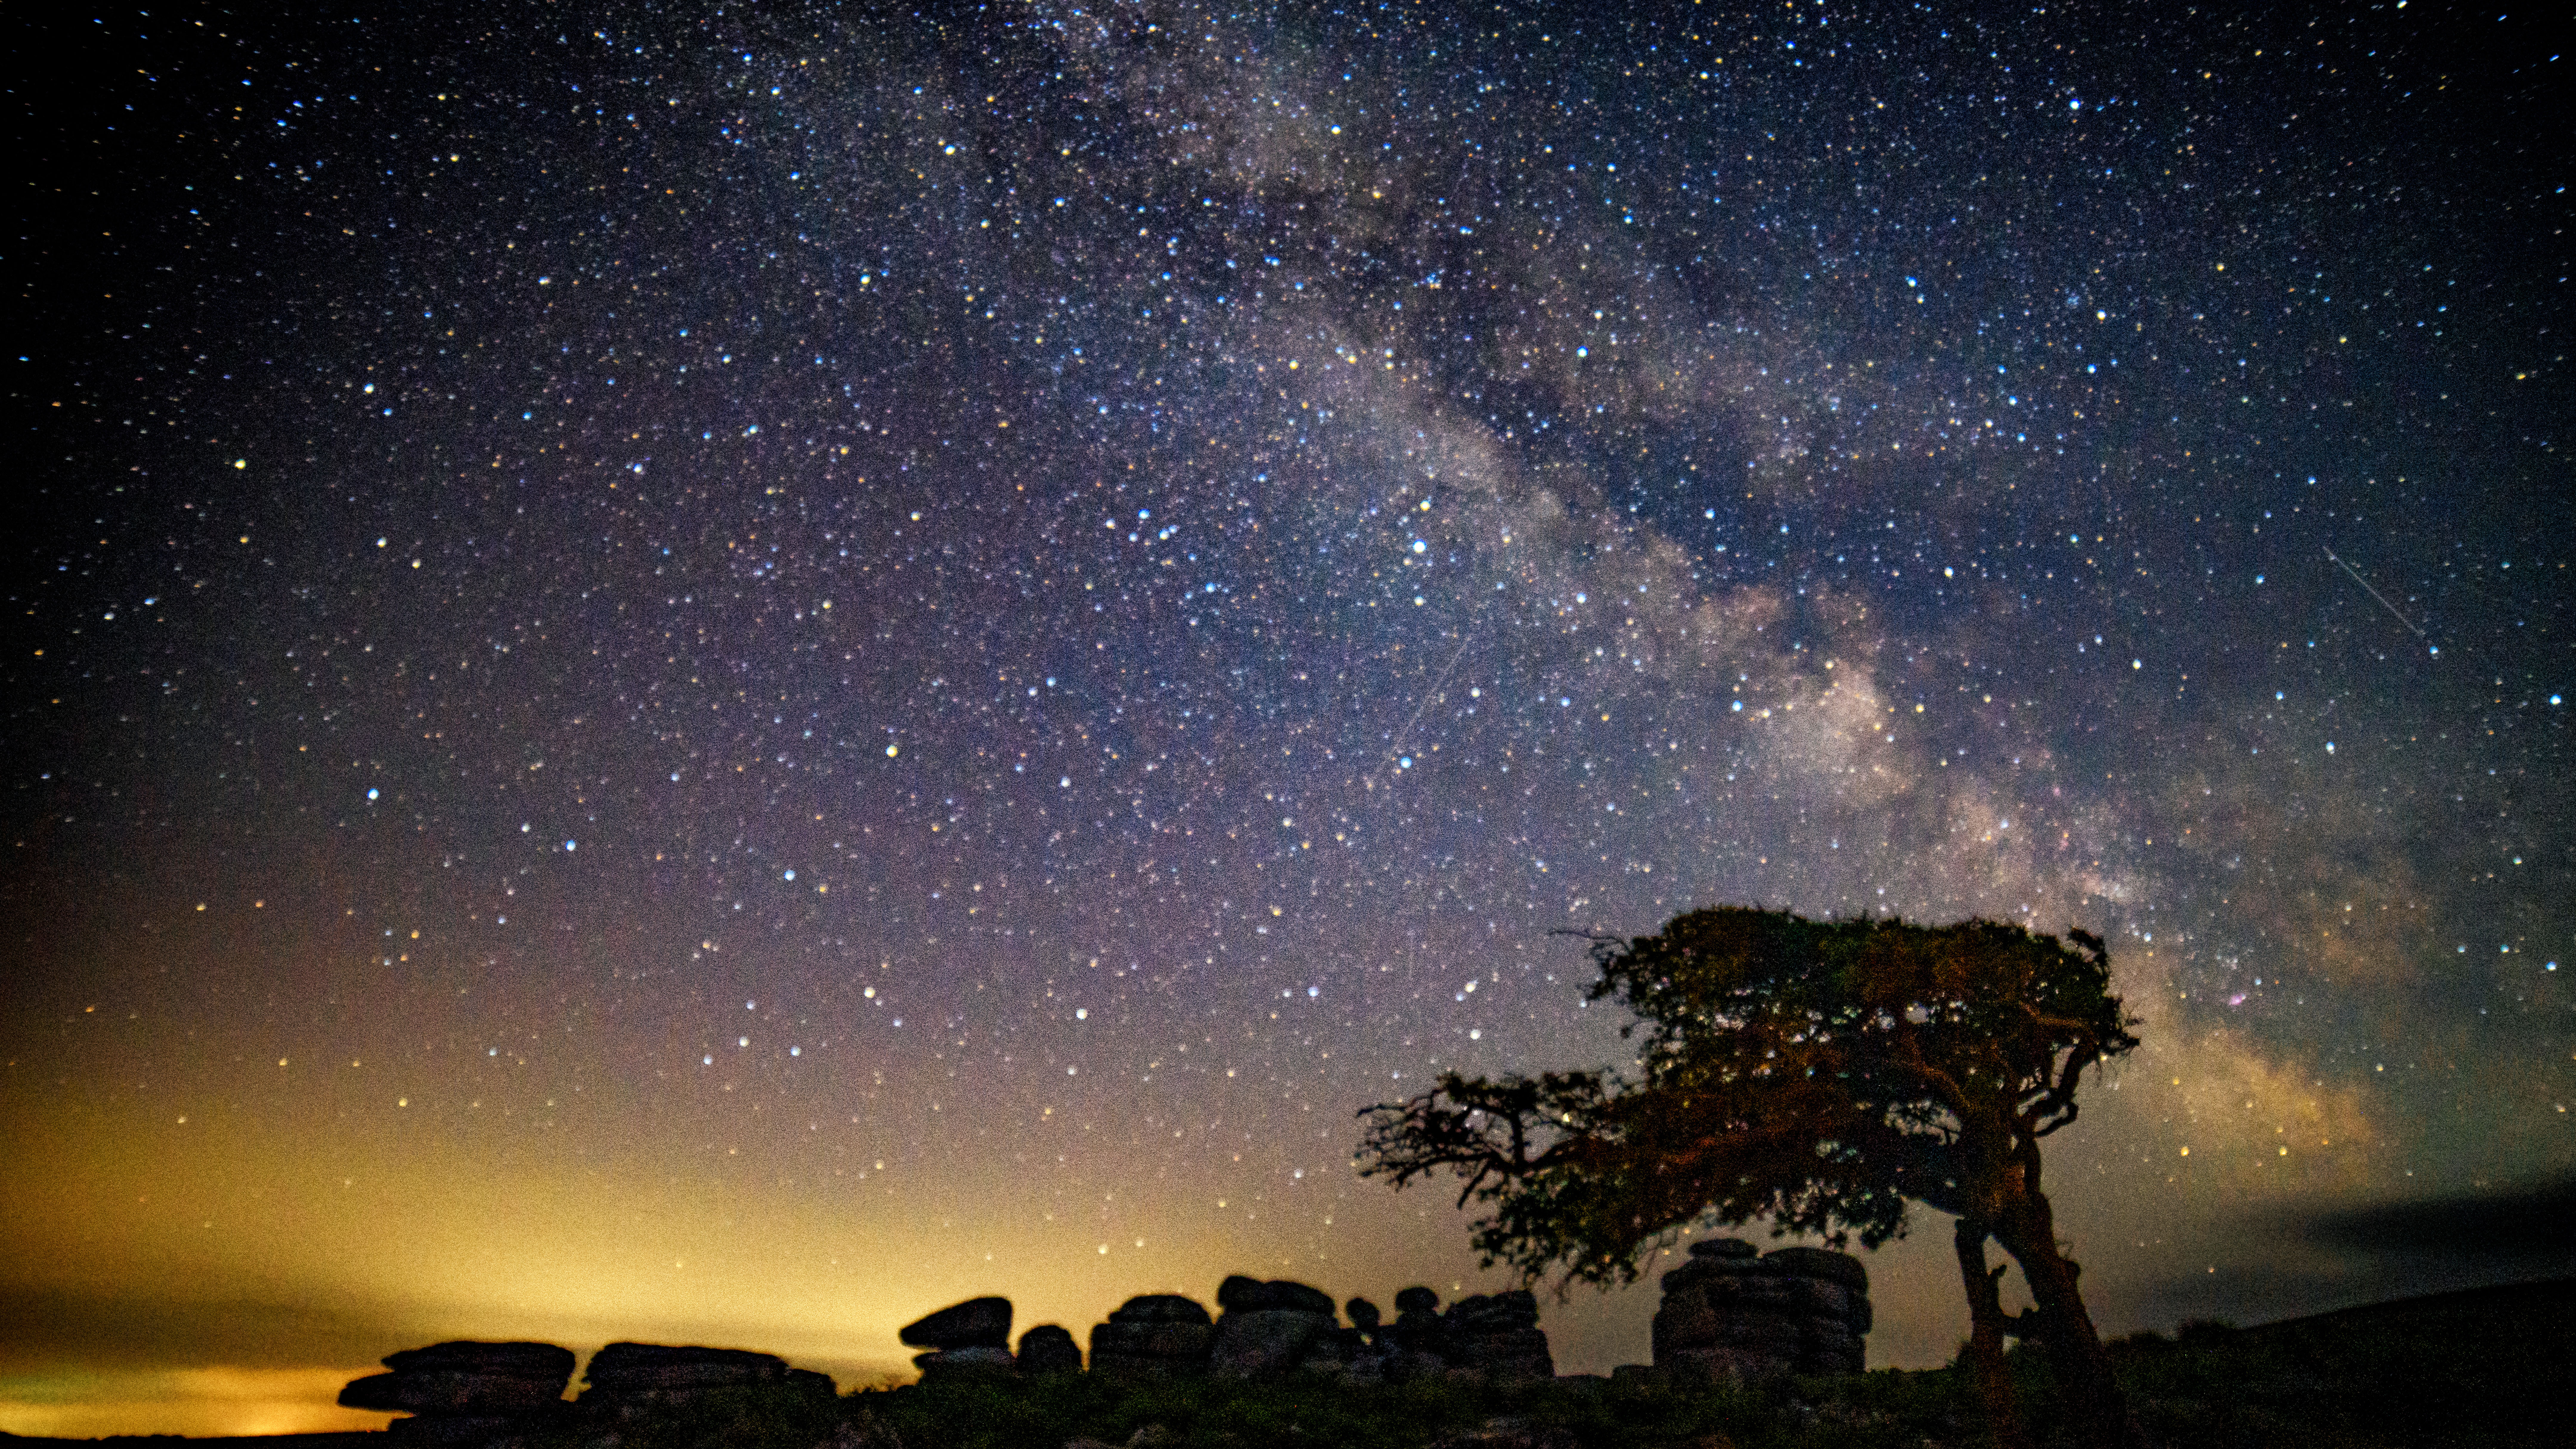
What we should aim to do in astro work is to keep noise to a minimum by balancing the three parameters of the exposure triangle: aperture, shutter speed, and ISO sensitivity. Narrow apertures restrict light so we need to keep this as wide as possible - most are shot with an aperture no narrower than f/4 (which is often the widest for most kit lenses). The shutter speed you set depends entirely on the type of astro work you're doing. If you're capturing the milky way with a wide-angle lens then up to 25-30 seconds will be fine before you start to notice planetary motion blur as the earth rotates, after this the stars will start to form trails in the sky making things a bit messy. If you're taking longer exposures and want to keep things sharp, you'll need a star tracker.
Say star trails are what you're after though, well, shutter speeds over three or four minutes are still difficult to achieve due to thermal interference caused by things like post-process heating and other factors (although it's possible with the right kit). We find it's better to capture several shorter exposures over a period of time to then combine them in image editing software in post-production. You can take consecutive images automatically with the use of an external intervalometer that plugs into the camera, or if your camera has it, using the built-in interval timer feature.
High ISOs can introduce noise and also reduce detail and dynamic range, so to get the highest quality photograph possible commonly held wisdom is to keep this as low as you can. Only turn this up to where it needs to be once your other settings (aperture and shutter speed) are locked in.
Long exposure noise reduction is a feature that can remove this fixed pattern noise by taking a second dark frame with the shutter closed (or image sensor “switched off” for cameras without shutters). We rarely use this feature because it doubles exposure times, so a 30 second exposure now becomes a 60 second exposure because of the extra dark frame. The feature works well in reducing this thermal noise build-up though, and removing hot spots if photosites are dying or dead, but it might be quicker to edit this in post-production later. You may find that most modern DSLRs and mirrorless cameras have noise reduction switched on as default.
Post Production Editing Tips
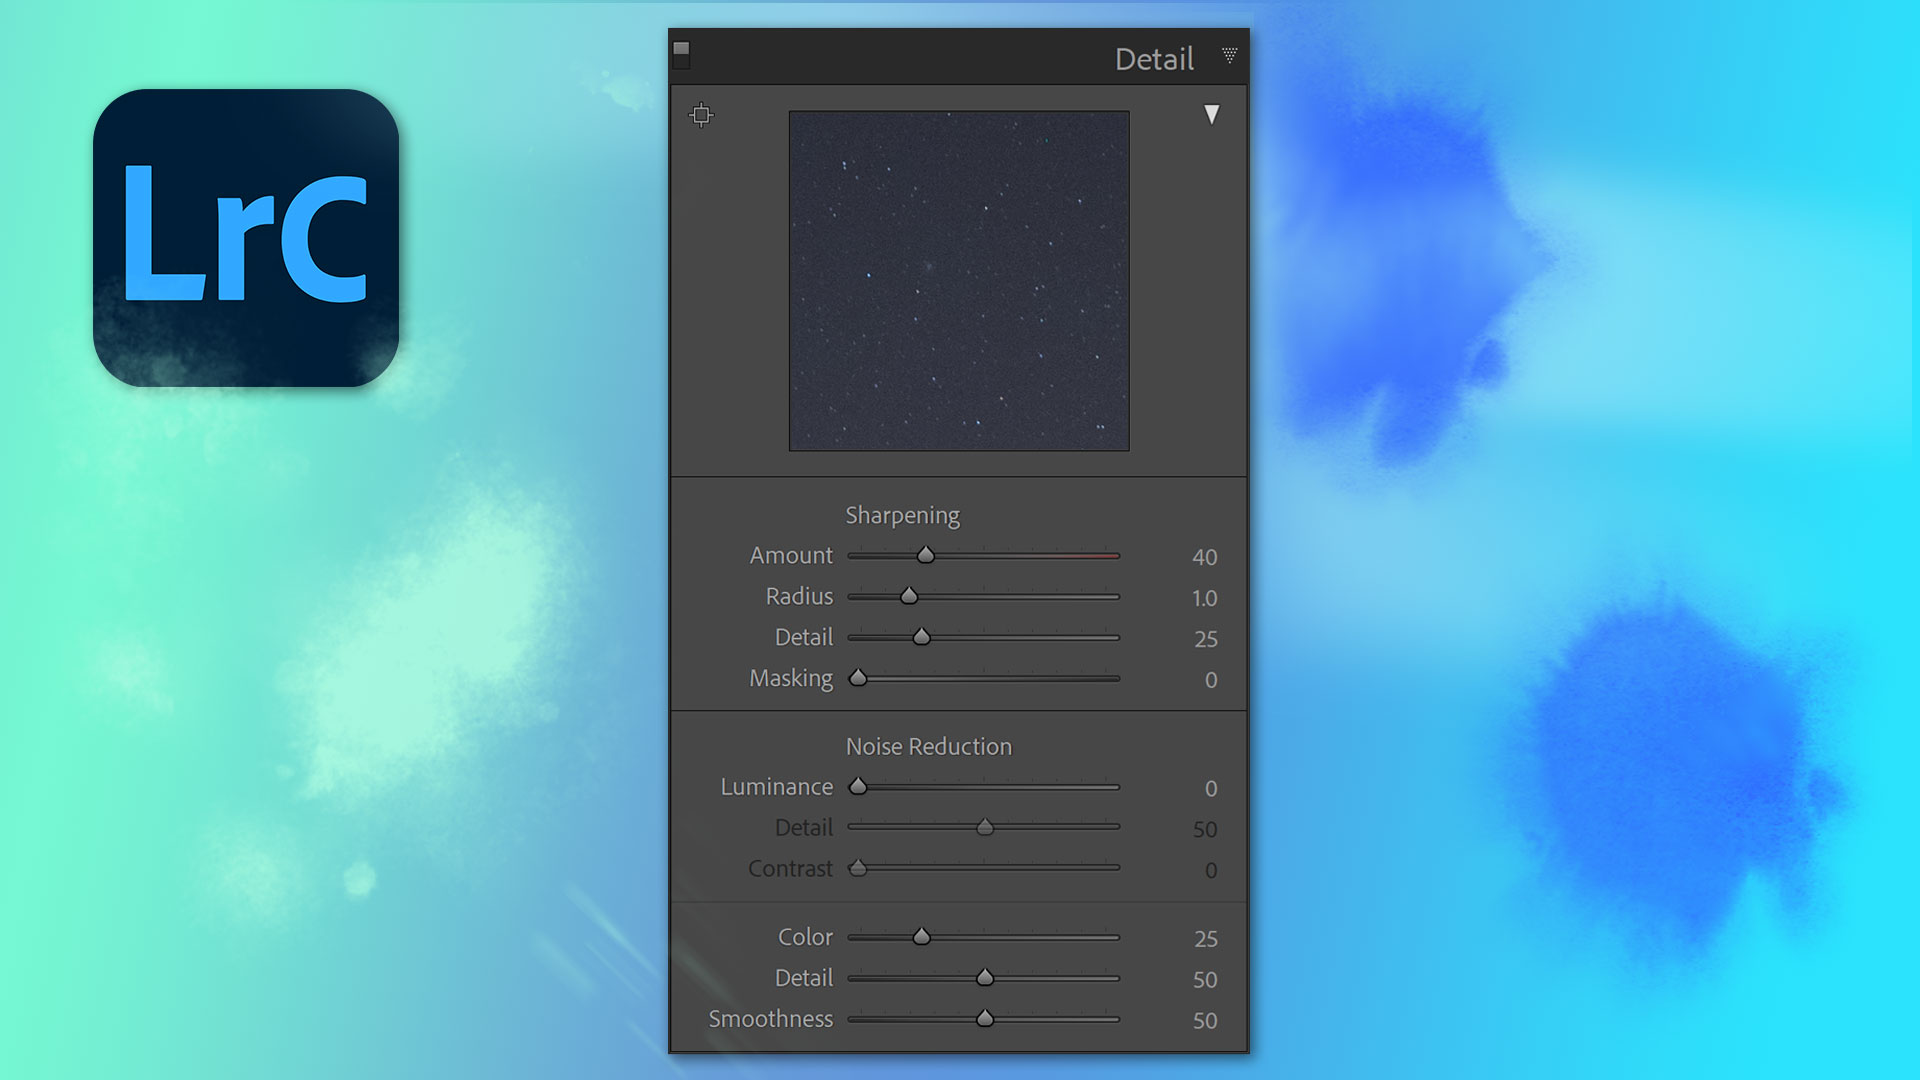
Two of the industry standard image editing softwares that many photographers use are Adobe Lightroom and Adobe Photoshop. Both have noise reduction features which are powerful and helpful in cleaning up a majority of noise-related issues. In most cases we like to use Lightroom Classic to clean up noisier shots because it’s easy to batch process multiple images, but for particularly rough images that need saving (or perfecting to something special) we turn to plugins. Topaz Labs has an AI-powered noise removal software called DeNoise AI which works both as a plugin and as a standalone software for batch processing, but there are many other options on the market.
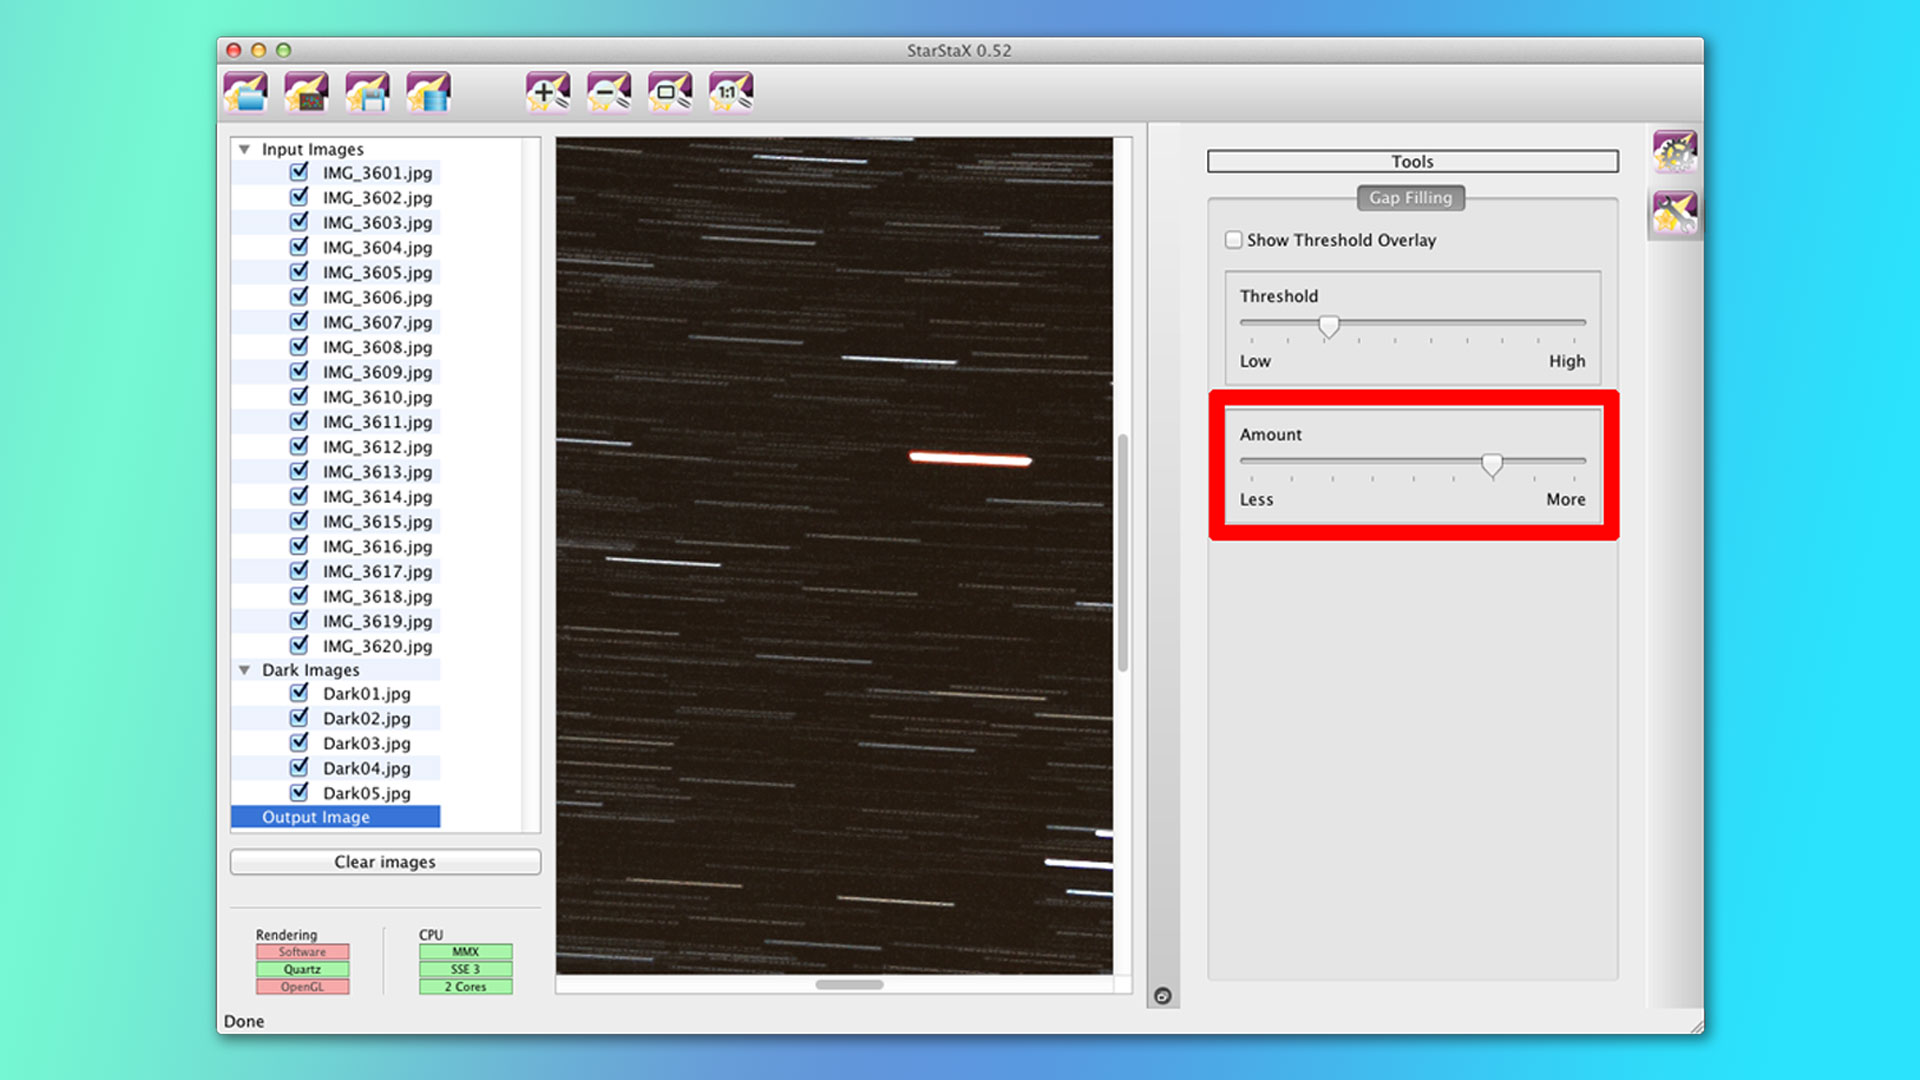
Adobe products are paid for with a monthly subscription though, so for those on a budget you may want to turn to something astro-specific or free. StarStaX is a great piece of software that allows multiple photos to be combined to create star trails. This is useful when using an intervalometer to capture multiple shorter exposures because you can then combine images together using the software to make it appear like a much longer exposure has been used, without the problem of thermal interference.
Other astro-specific software such as StarTools or Nebulosity are also good but they often lack the ability to edit more generally, for example, only concentrating on the processing of deep sky astrophotography, which makes general editing of lunar and planetary images more convoluted.
Jase Parnell-Brookes is the Managing Editor for e-commerce for Space and Live Science. Previously the Channel Editor for Cameras and Skywatching at Space, Jase has been an editor and contributing expert across a wide range of publications since 2010. Based in the UK, they are also an award-winning photographer and educator winning the Gold Prize award in the Nikon Photo Contest 2018/19 and named Digital Photographer of the Year in 2014. After completing their Masters degree in 2011 and qualifying as a teacher in 2012, Jase has spent the last two decades studying and working in photography and publishing in multiple areas, and specializes in low light optics and camera systems.
