How to photograph comet K2
Comet K2 might be visible next week: here's how to take stunning astrophotographs of it using camera gear you likely already own.
Breaking space news, the latest updates on rocket launches, skywatching events and more!
You are now subscribed
Your newsletter sign-up was successful
Want to add more newsletters?
Delivered daily
Daily Newsletter
Breaking space news, the latest updates on rocket launches, skywatching events and more!
Once a month
Watch This Space
Sign up to our monthly entertainment newsletter to keep up with all our coverage of the latest sci-fi and space movies, tv shows, games and books.
Once a week
Night Sky This Week
Discover this week's must-see night sky events, moon phases, and stunning astrophotos. Sign up for our skywatching newsletter and explore the universe with us!

Twice a month
Strange New Words
Space.com's Sci-Fi Reader's Club. Read a sci-fi short story every month and join a virtual community of fellow science fiction fans!
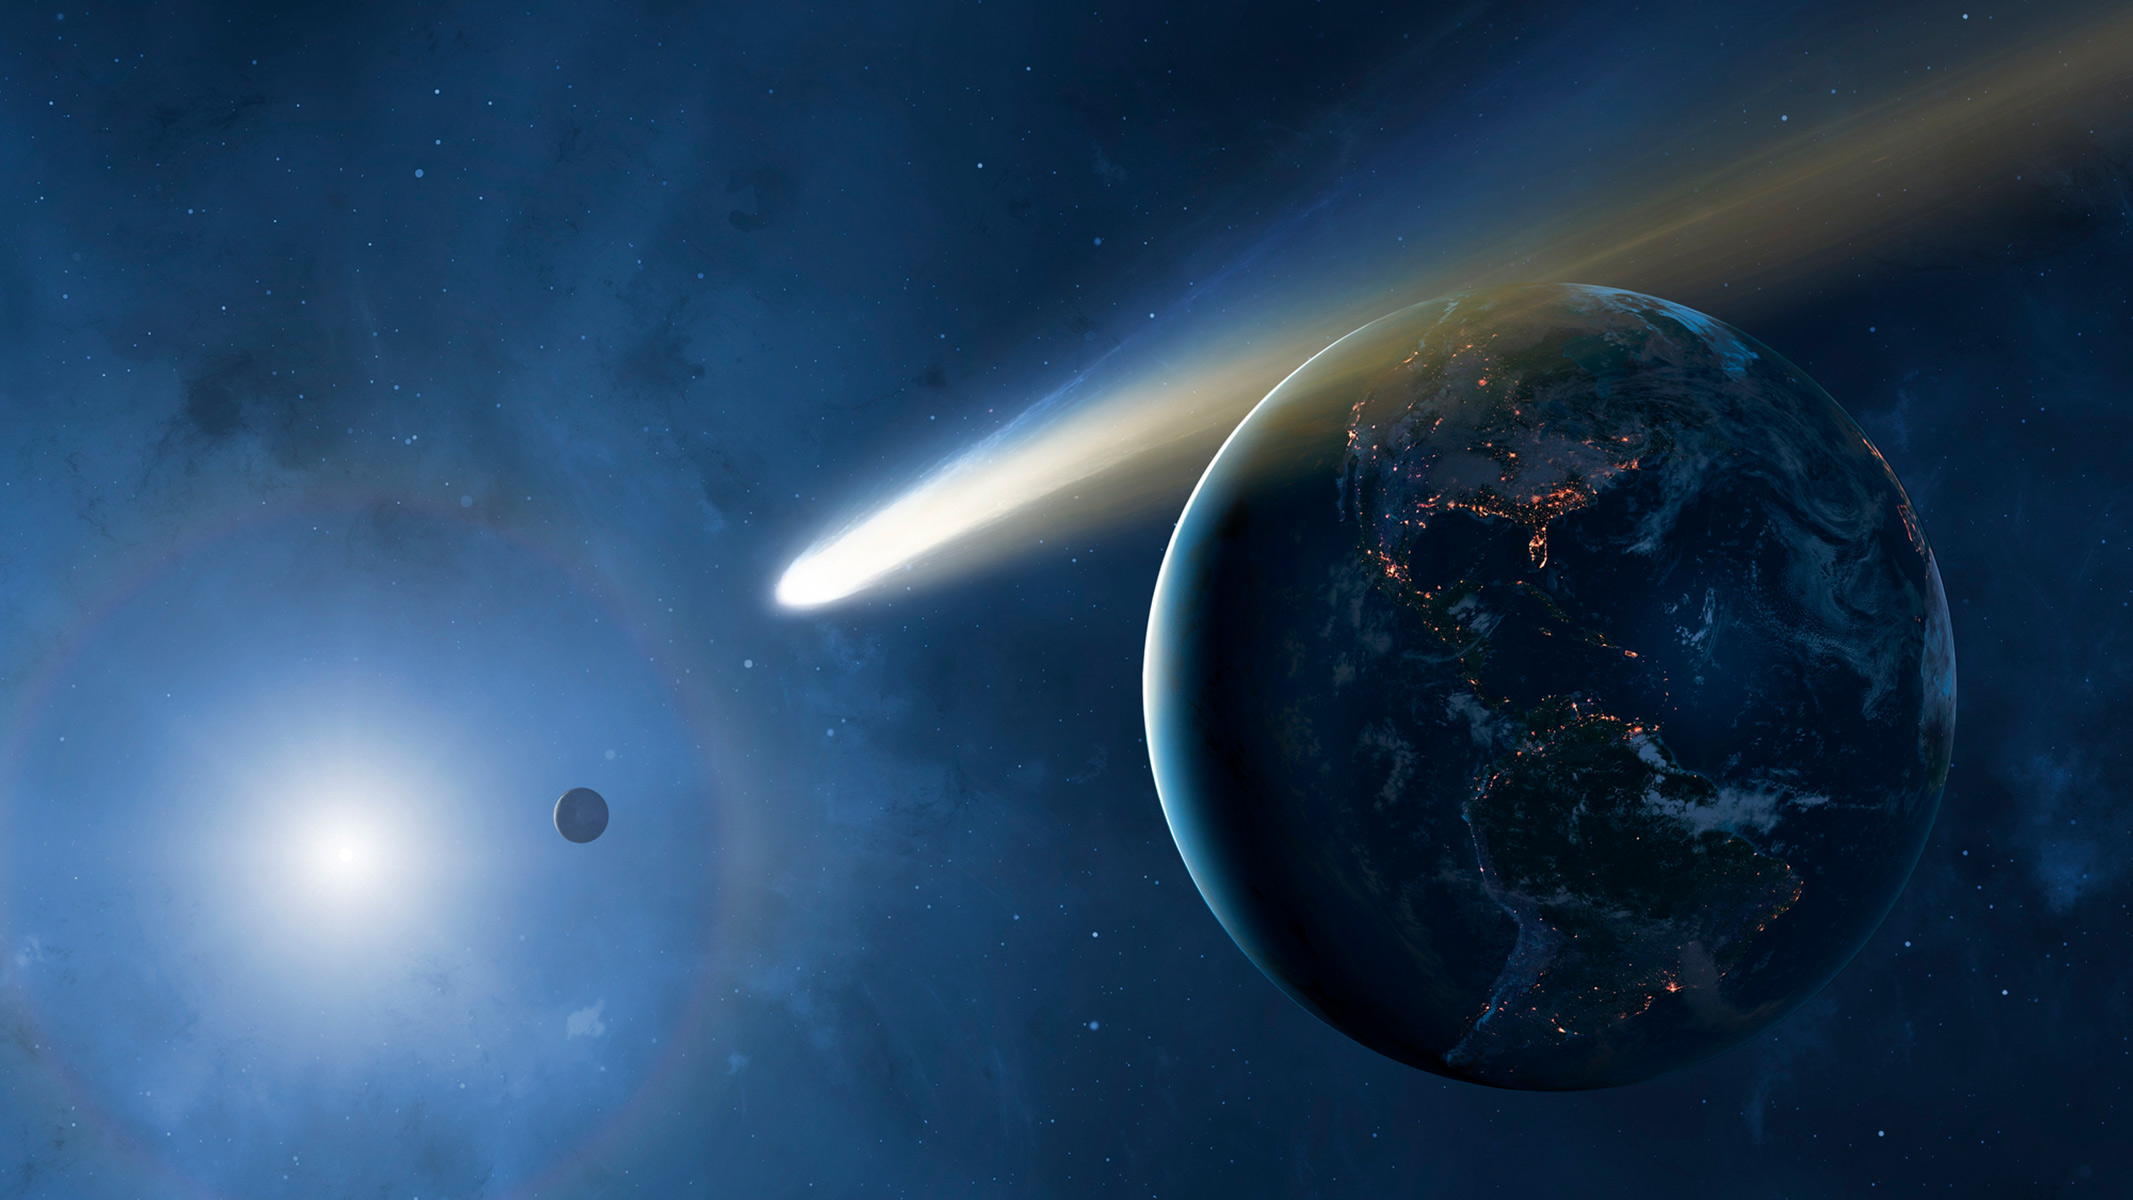
Comet C/2017 K2 (PANSTARRS), or K2 for short, is currently soaring through the skies at speeds of around 615km/sec and it will make its closest approach to Earth on Thursday July 14. An exciting time for astronomers and stargazers, as this is one of the biggest comets we've seen in quite some time.
The Hubble Space Telescope observed that K2 is around 18 kilometers in size, (which, to put it into perspective, is twice the size of Mount Everest), with the tail being millions of miles long. K2 Was originally spotted back in 2017 when it was in between Uranus and Saturn (around 1.5 billion miles away from the Sun). Due to its large orbit, this is the only chance we will have to see it, as it won't pass by Earth again for a few million years.
Will we be able to see comet K2?
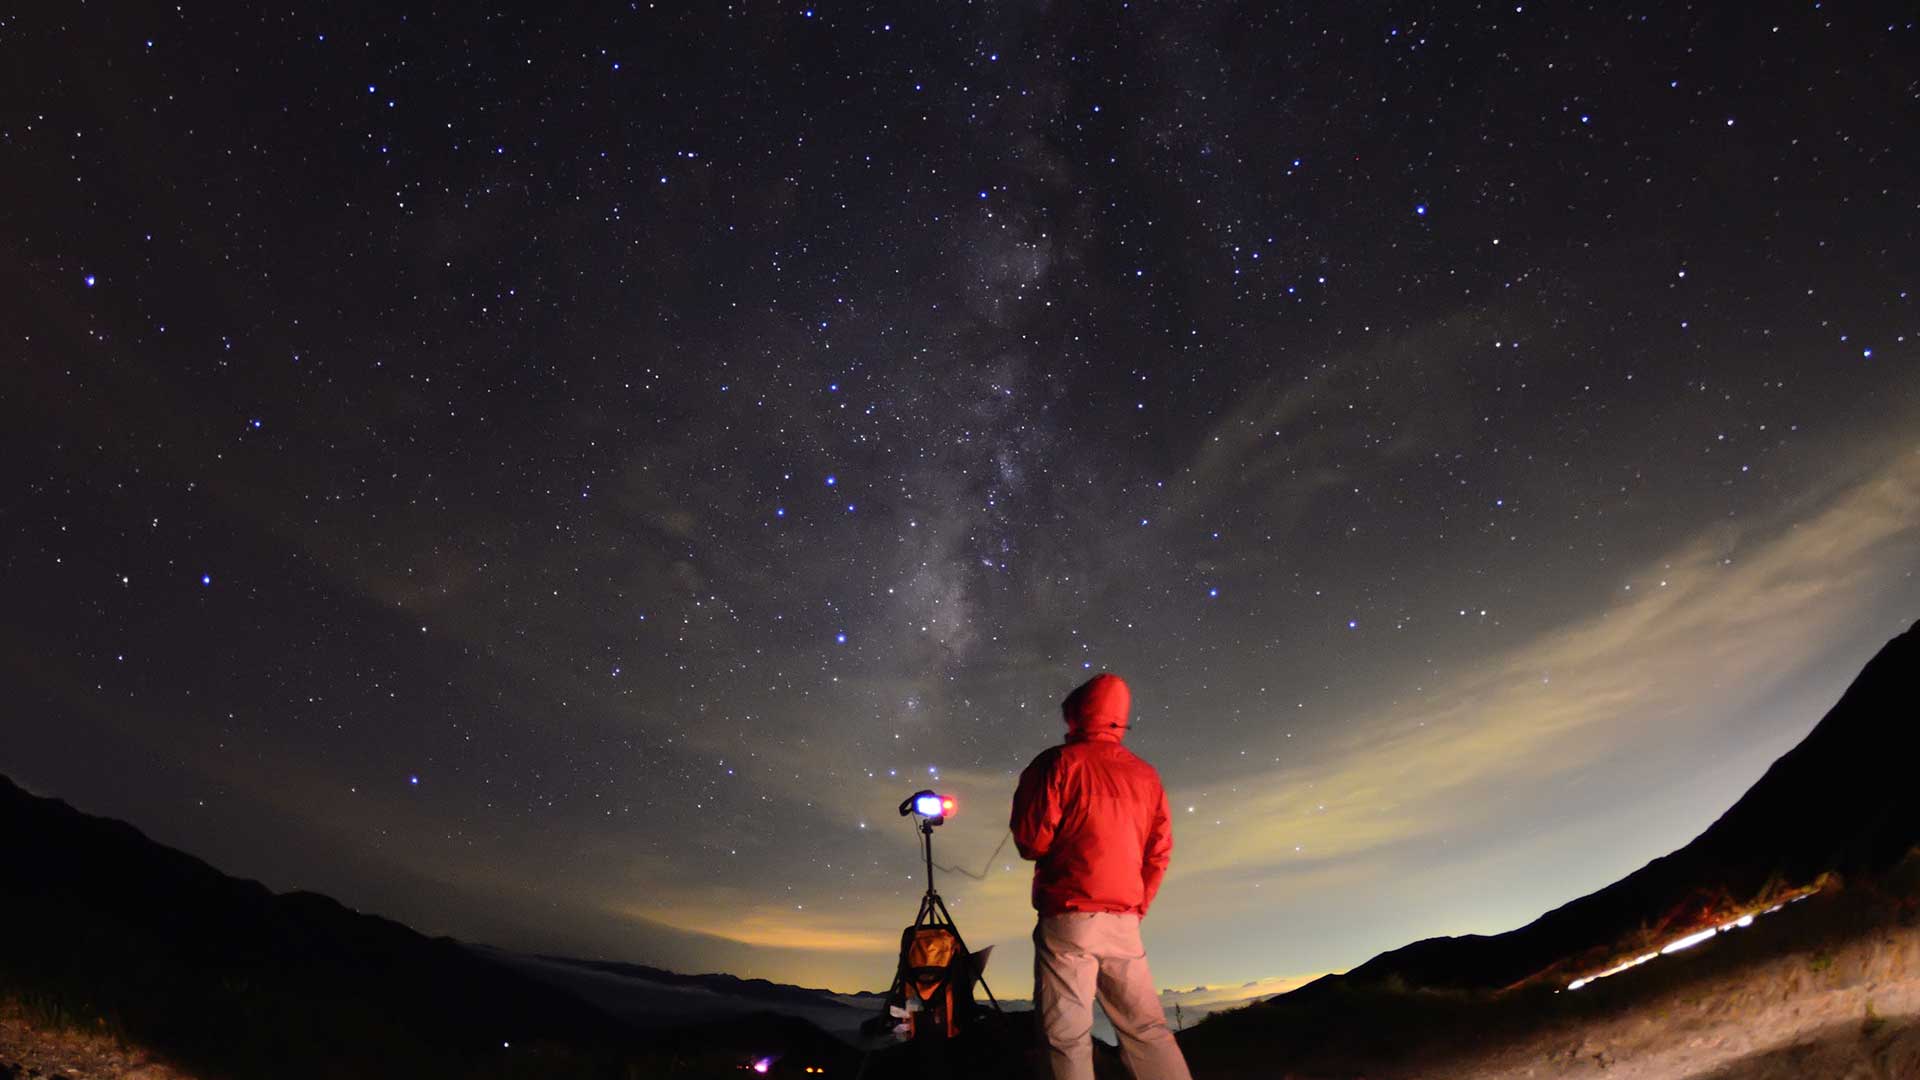
Unfortunately when it comes to comet spotting, there are no guarantees and there is a possibility you'll see very little. But there are two main factors that will determine your chance of seeing comet K2 on July 14 - the weather conditions and your equipment. If it's cloudy with low visibility, then unfortunately you're probably out of luck this time. When it comes to equipment, it will likely only be a telescope object due to it being around 270 million km from Earth at its closest point.
Even if it were closer, its brightness will likely only reach magnitude 8 or 7, so it will probably be too dim to see with the unaided eye. However, K2 will actually be passing by the Northern Hemisphere from May to September, so there is still a chance of seeing it again if you miss it on July 14.
You can also watch K2 via online public observatories, like the Virtual Telescope Project.
What camera equipment do you need to photograph a comet?
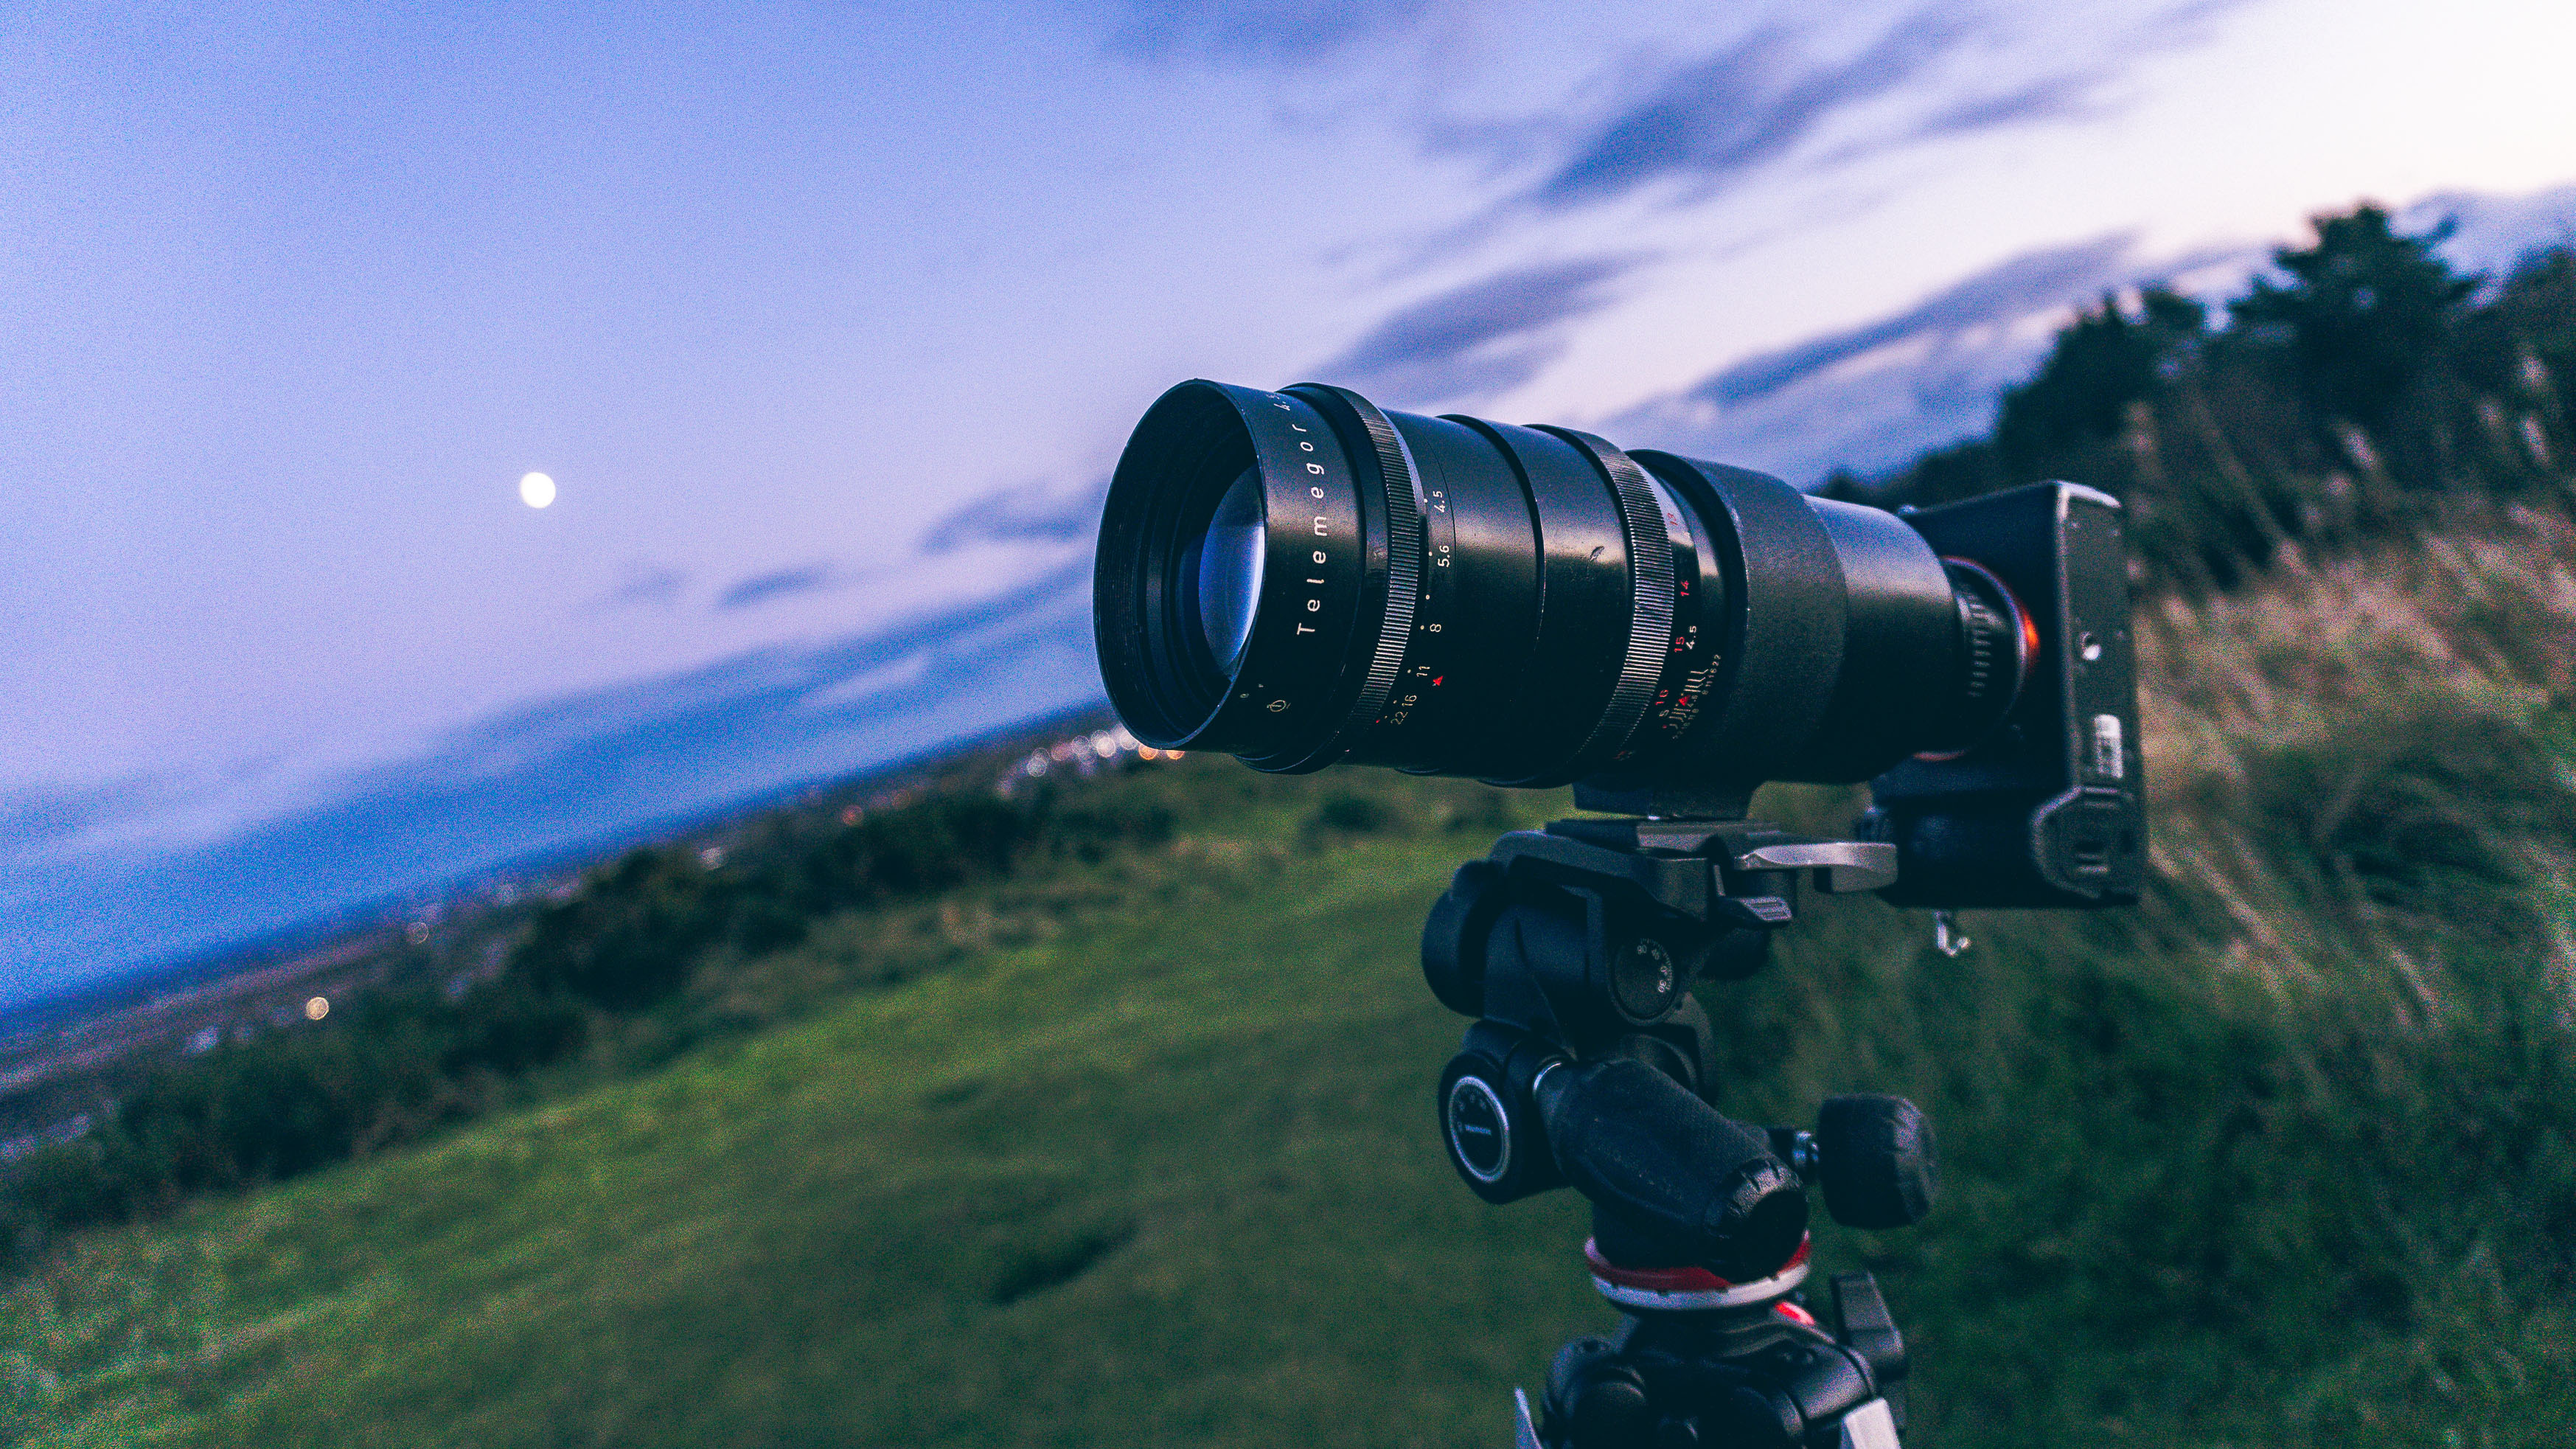
In order to photograph a comet with just your camera, one of the best lenses for astrophotography is a fast lens. This is absolutely vital as you need to let in as much light as possible. A lens with an aperture of f/2.8 or lower is usually preferable. If you are photographing a comet as part of a scene or landscape then a wide-angle is usually best, but you can opt for a longer focal length for deep space shots - just be careful of your shutter speed with longer focal lengths. One of the best tripods is one that is sturdy — essential to avoid blurry photos as you can't hold your camera still enough for long enough while the shutter is open.
On that note, a remote shutter release will also be very helpful to avoid moving the camera with your finger. Another useful piece of equipment, though not essential, would be a star tracker — this enables you to have super long shutter speeds without the risk of star trails. If your camera doesn't have in-body interval shooting, then triggering your camera remotely with one of the best intervalometers may also be beneficial. For certain further celestial objects, a lens with a focal length of 300mm or more could certainly work, otherwise, you'll want to use your telescope.
Breaking space news, the latest updates on rocket launches, skywatching events and more!
As it's likely that K2 won't be visible with the unaided eye, you'll probably need a small telescope or binoculars to be able to see it yourself. There are two ways to photograph space using a telescope — the afocal method and the prime focus method. The afocal method involves pointing your camera lens on the eyepiece of your telescope. This method is trickier than it seems, but a good way of capturing what your telescope is seeing without the need for any other attachments. You can also use your smartphone to photograph still celestial objects, check out our guide on how to do smartphone astrophotography.
Just make sure that both the eyepiece and your lens' focus is set to infinity. The prime focus method is where you attach your camera onto the telescope directly, so the telescope sort of acts like a super-powerful telephoto lens. To do this, you'll need a T Ring and a T Adapter — both of which are relatively inexpensive. Once your camera is attached to the scope, you can then utilize the focal length of the telescope as though it were a camera lens (that is, if your telescope is 400mm then it will act as a 400mm telephoto lens).
For astrophotography, a refractor telescope with a long focal length would be ideal as they are great for focusing on objects in the night sky.
How to see and track a comet
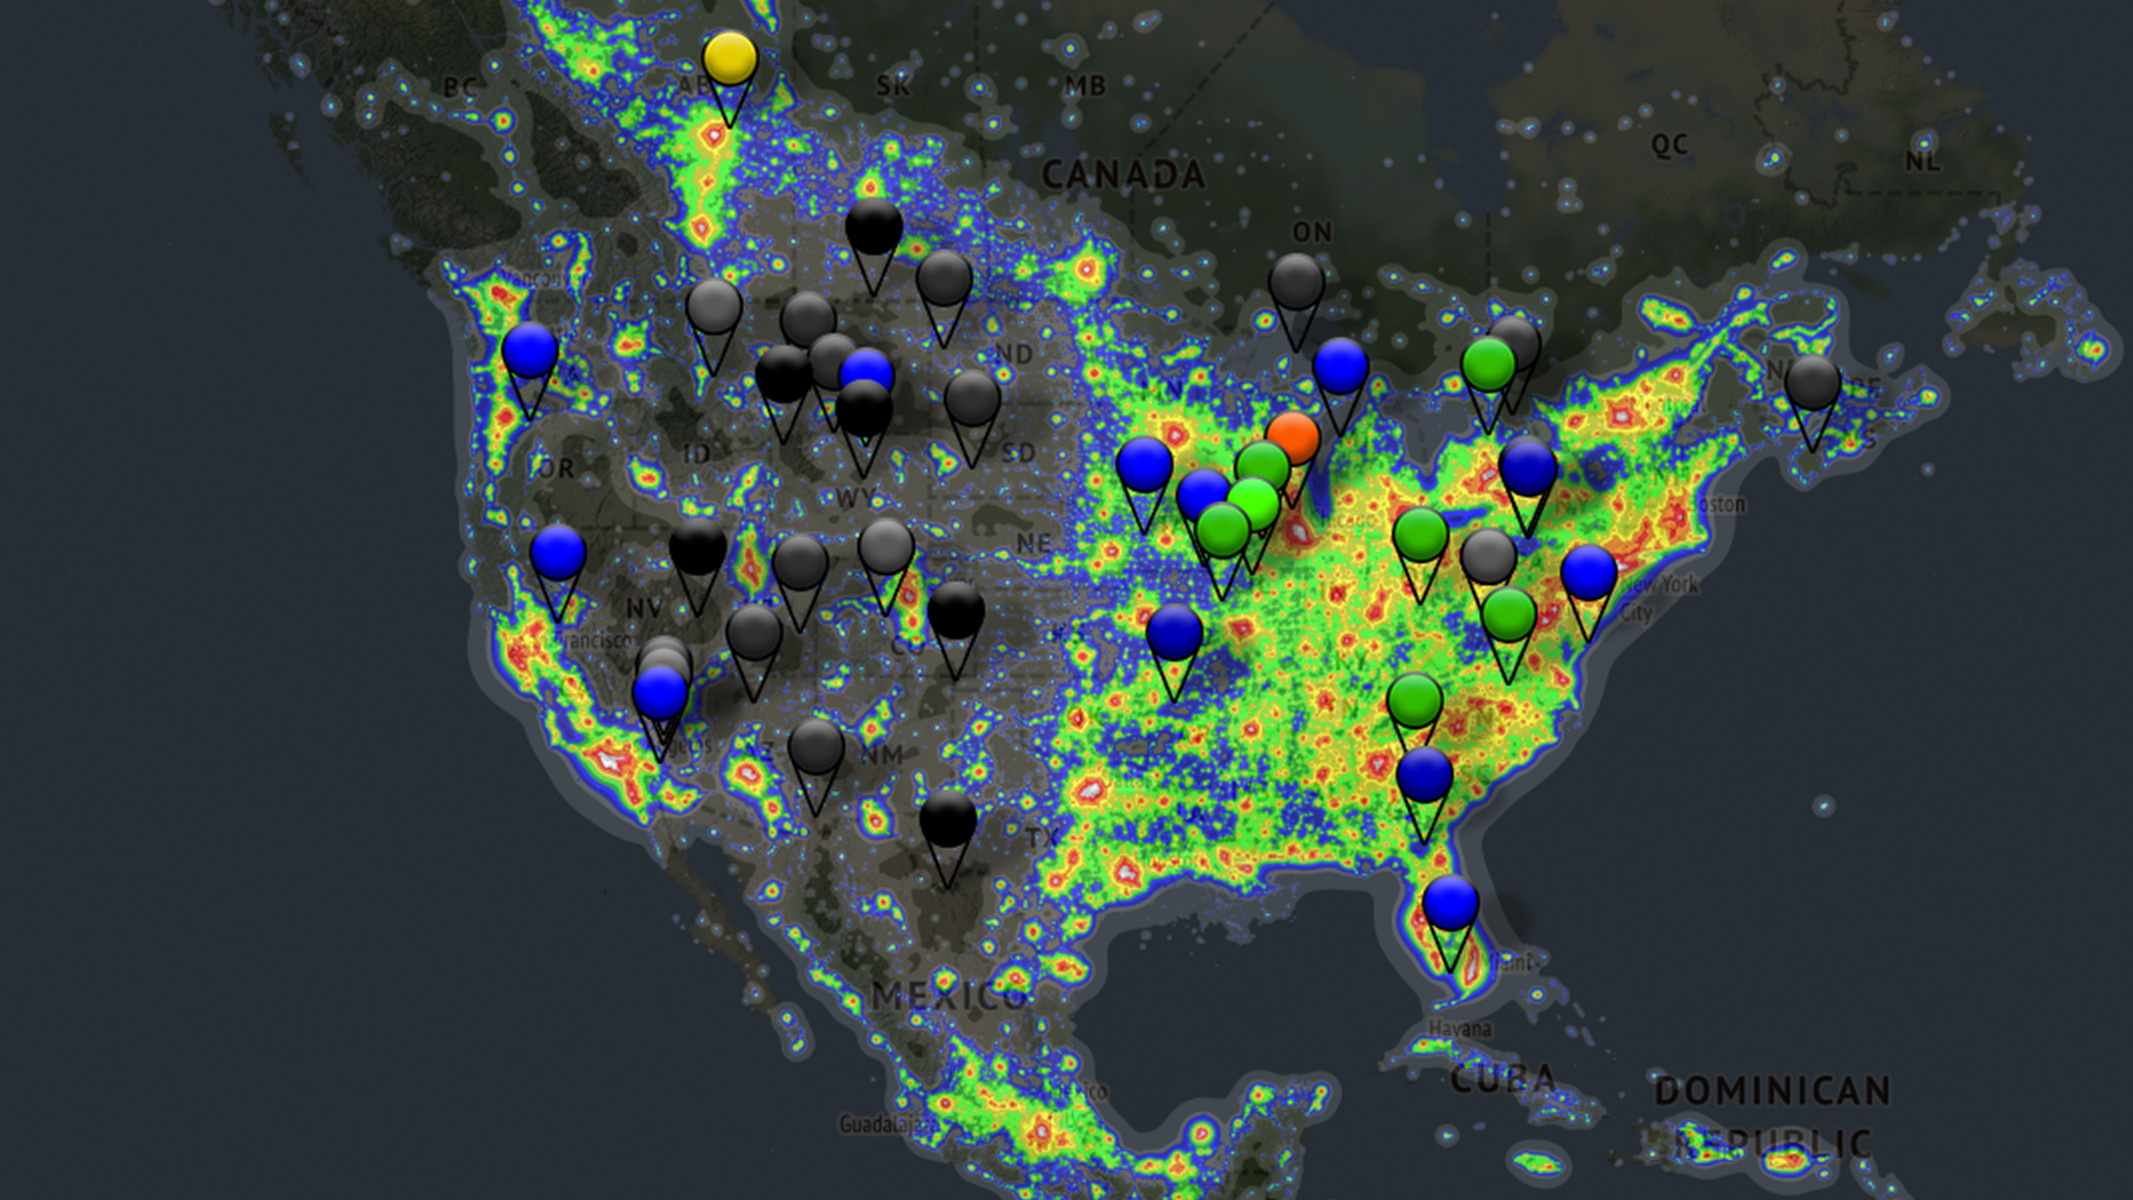
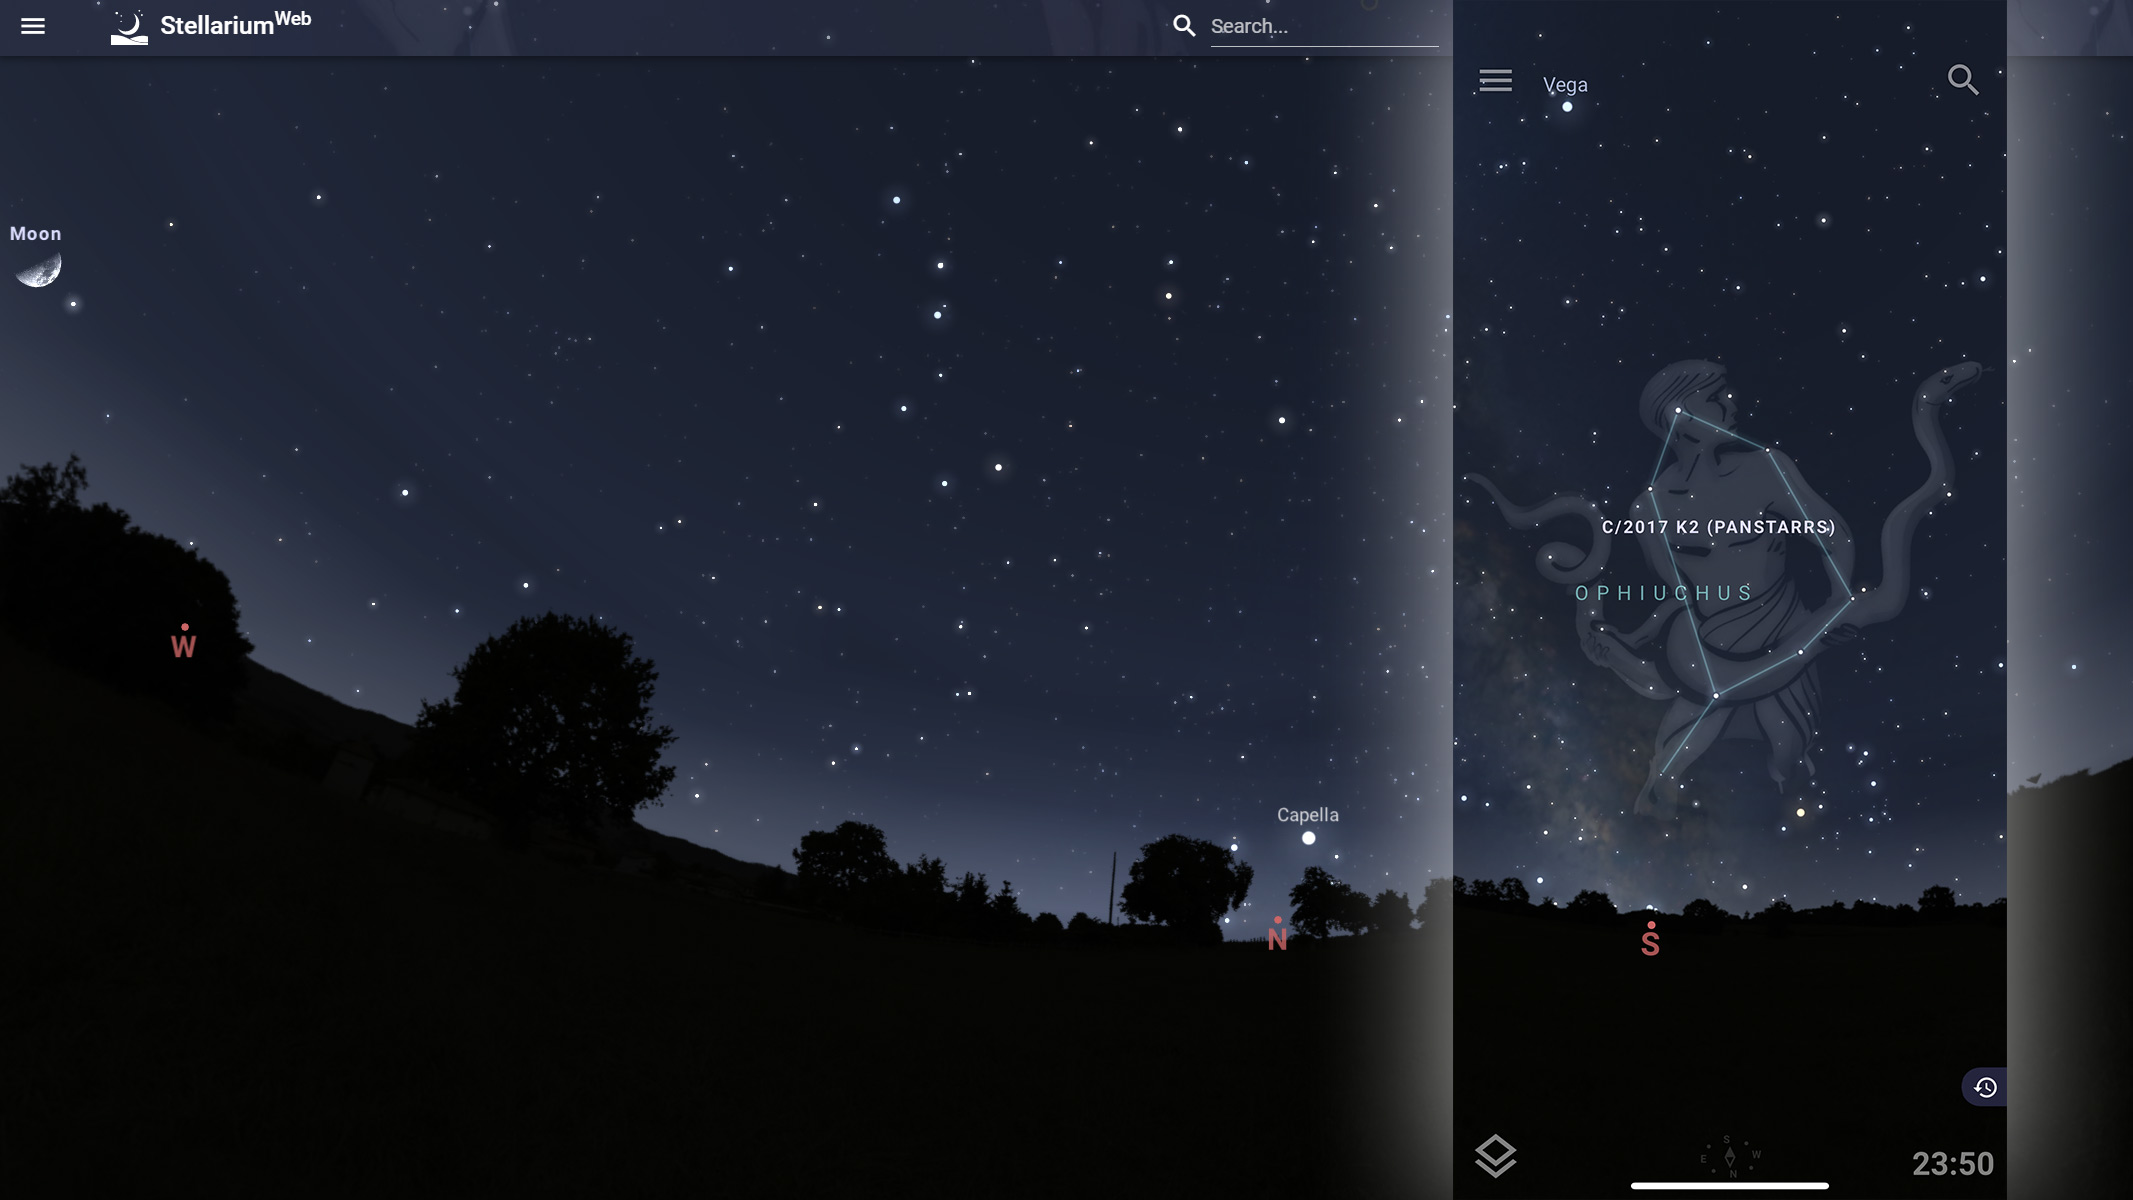
In order to successfully photograph a comet, it's helpful to know where in the sky you need to be pointing your camera! Particularly if you can't see it with the naked eye. If you have a motorized mount or star tracker for your telescope or camera tripod you'll easily be able to track celestial objects. But if not, there are some great smartphone apps that map out the sky, which is great for keeping track of comets and other heavenly bodies you may want to photograph. Some apps worth noting are Stellarium, PhotoPills and Star Walk. You are also more likely to see it when the skies are darker in a low light area — check out Dark Site Finder and Light Pollution Map to see if there are any dark sky areas near you.
What camera settings to use
Astrophotography requires fully manual settings - both exposure and focus, as your camera won't be able to focus on anything itself in the dark. For aperture, you want to use as wide an aperture as your lens is capable of to let as much light in as possible. Your ISO setting will vary depending on how good your camera is in low light situations and how much ambient light pollution there is in the area you're in.
Around ISO 1600 to 3200 would be a good place to start, then you can increase or decrease as necessary from there. For your shutter speed, use the 500 rule (500 divided by focal length) to calculate the shutter speed to use before you start getting star trails. You also want to make sure you're shooting in RAW for more post-processing control, particularly if you're going to be stacking the images. For more information, check out astrophotography for beginners.
What if K2 doesn't make an appearance?
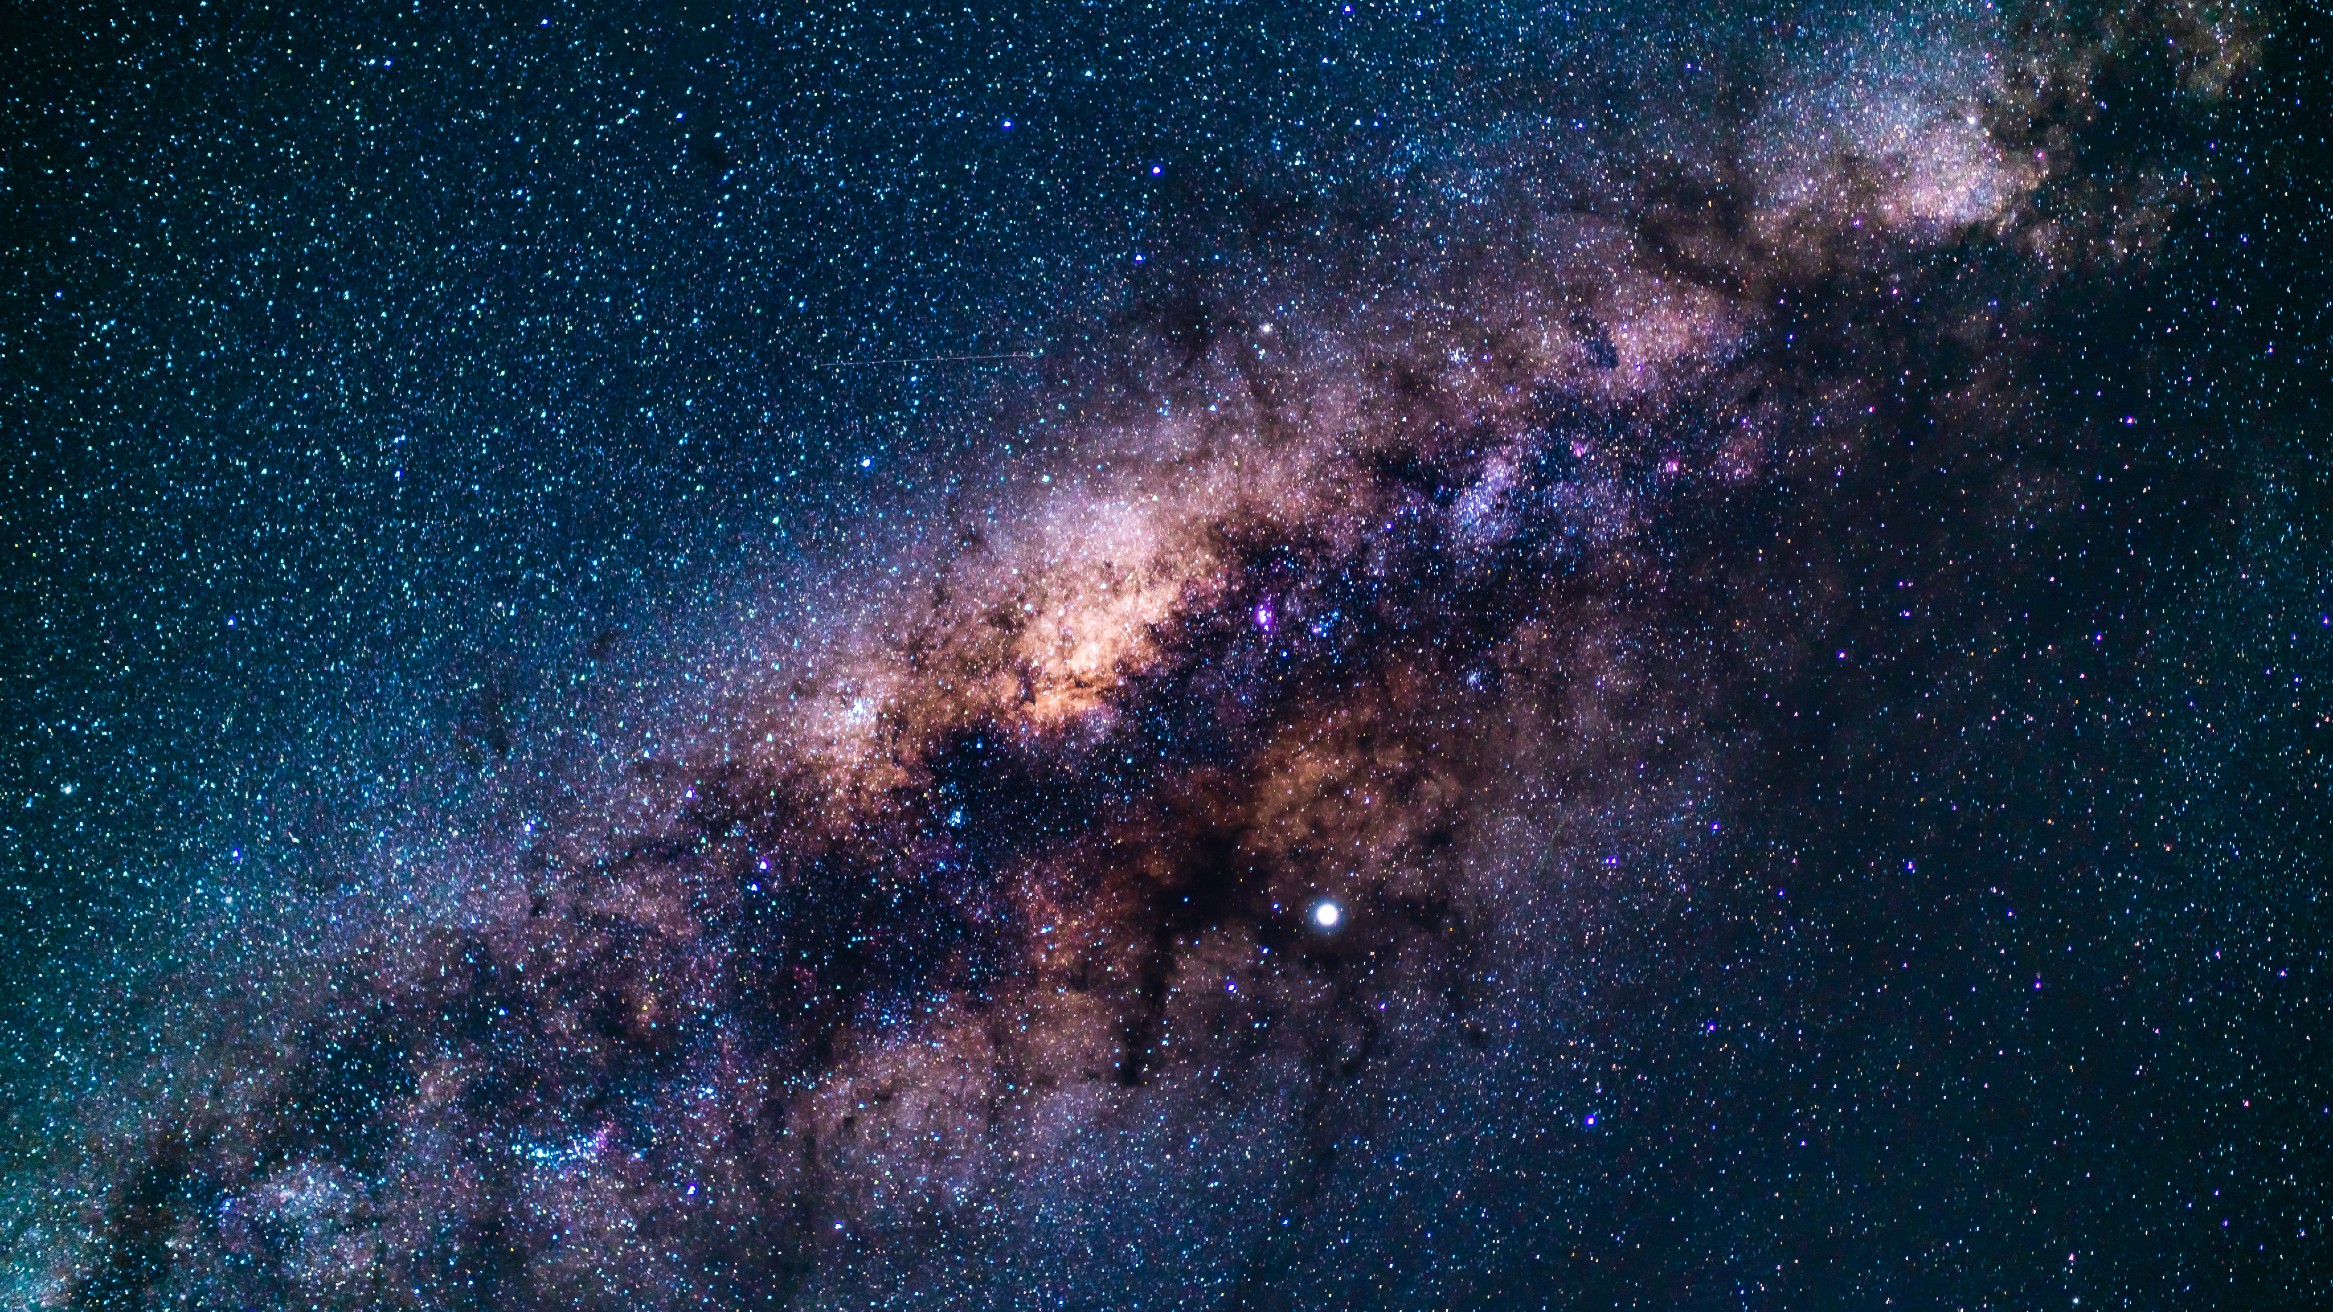
If you don't manage to spot K2 on July 14, there are plenty of other objects in the night sky you could photograph instead, and the skills and techniques outlined above will absolutely be transferrable to other comets and celestial objects. On July 13 you'll be able to see the next supermoon (buck moon), which is likely to actually make the sky too bright to see the comet, so you could take the opportunity to shoot the moonrise instead. July is also peak milky way core season, and you might also be able to catch the end of the planetary parade at the start of July.

Kimberley Lane is a landscape & seascape photographer living in South Wales. Originally using photography as a way to cope with health issues, she aims to portray a feeling of calm and peace through her images. Her work has been featured in a number of national photography magazines.
