Space Verdict
The BetaFPV Pavo25 kit is a highly capable cinewhoop FPV drone, but you still need to buy compatible FPV goggles, a quality LiPo charger, and other accessories to get up and flying.
Pros
- +
More powerful than micro whoop FPV drones
- +
Binding goggles, drone, and controller is easy
- +
Kit includes a neat shell carry case
Cons
- -
Not a complete kit
- -
Can only carry lightweight action cameras
- -
Not suitable for absolute beginners
Why you can trust Space.com
Weight: 5.15 oz/146 g (without battery and action camera)
Dimensions: 153.2 x 153.7 mm (without bumper foam)
Battery: 4S 850mAh LiPo/around 5 minutes (no action camera)
Charger type: LiPo charger purchased separately
Modes: Level, Angle, Manual/Acro
Video transmission range: Up to 2.48 miles/4 km
SMO 4K Video resolution: 4K, 2.7K, 1440p, 1080p (FHD)
Frame rates: 4K at up to 60fps / 2.7K at up to 100fps / 1440p up to 30fps/ FHD at up to 200fps
First person view (FPV) drones are traditionally self-build where you have to have some electronics knowledge and be competent at soldering. And although self-build remains as popular as ever, more and more FPV drone companies are producing ready-to-fly (RTF) and bind-and-fly (BNF) kits that remove the need to build your own FPV drone.
The BetaFPV Pavo25 is a 2.5 in (propeller size) cinewhoop FPV drone, which is a bind-and-fly model that’s easy to get up and running, but you will need to buy a few extras to do so.
We reviewed the recently released BetaFPV Pavo25 Walksnail Whoop Kit which includes the Pavo25 drone with the Walksnail Avatar digital VTX. This is the HD camera and transmission system that sends the FPV feed to compatible goggles. Most of this review will apply to all versions of the Pavo25, but be aware that there are some features exclusive to the Walksnail kit.
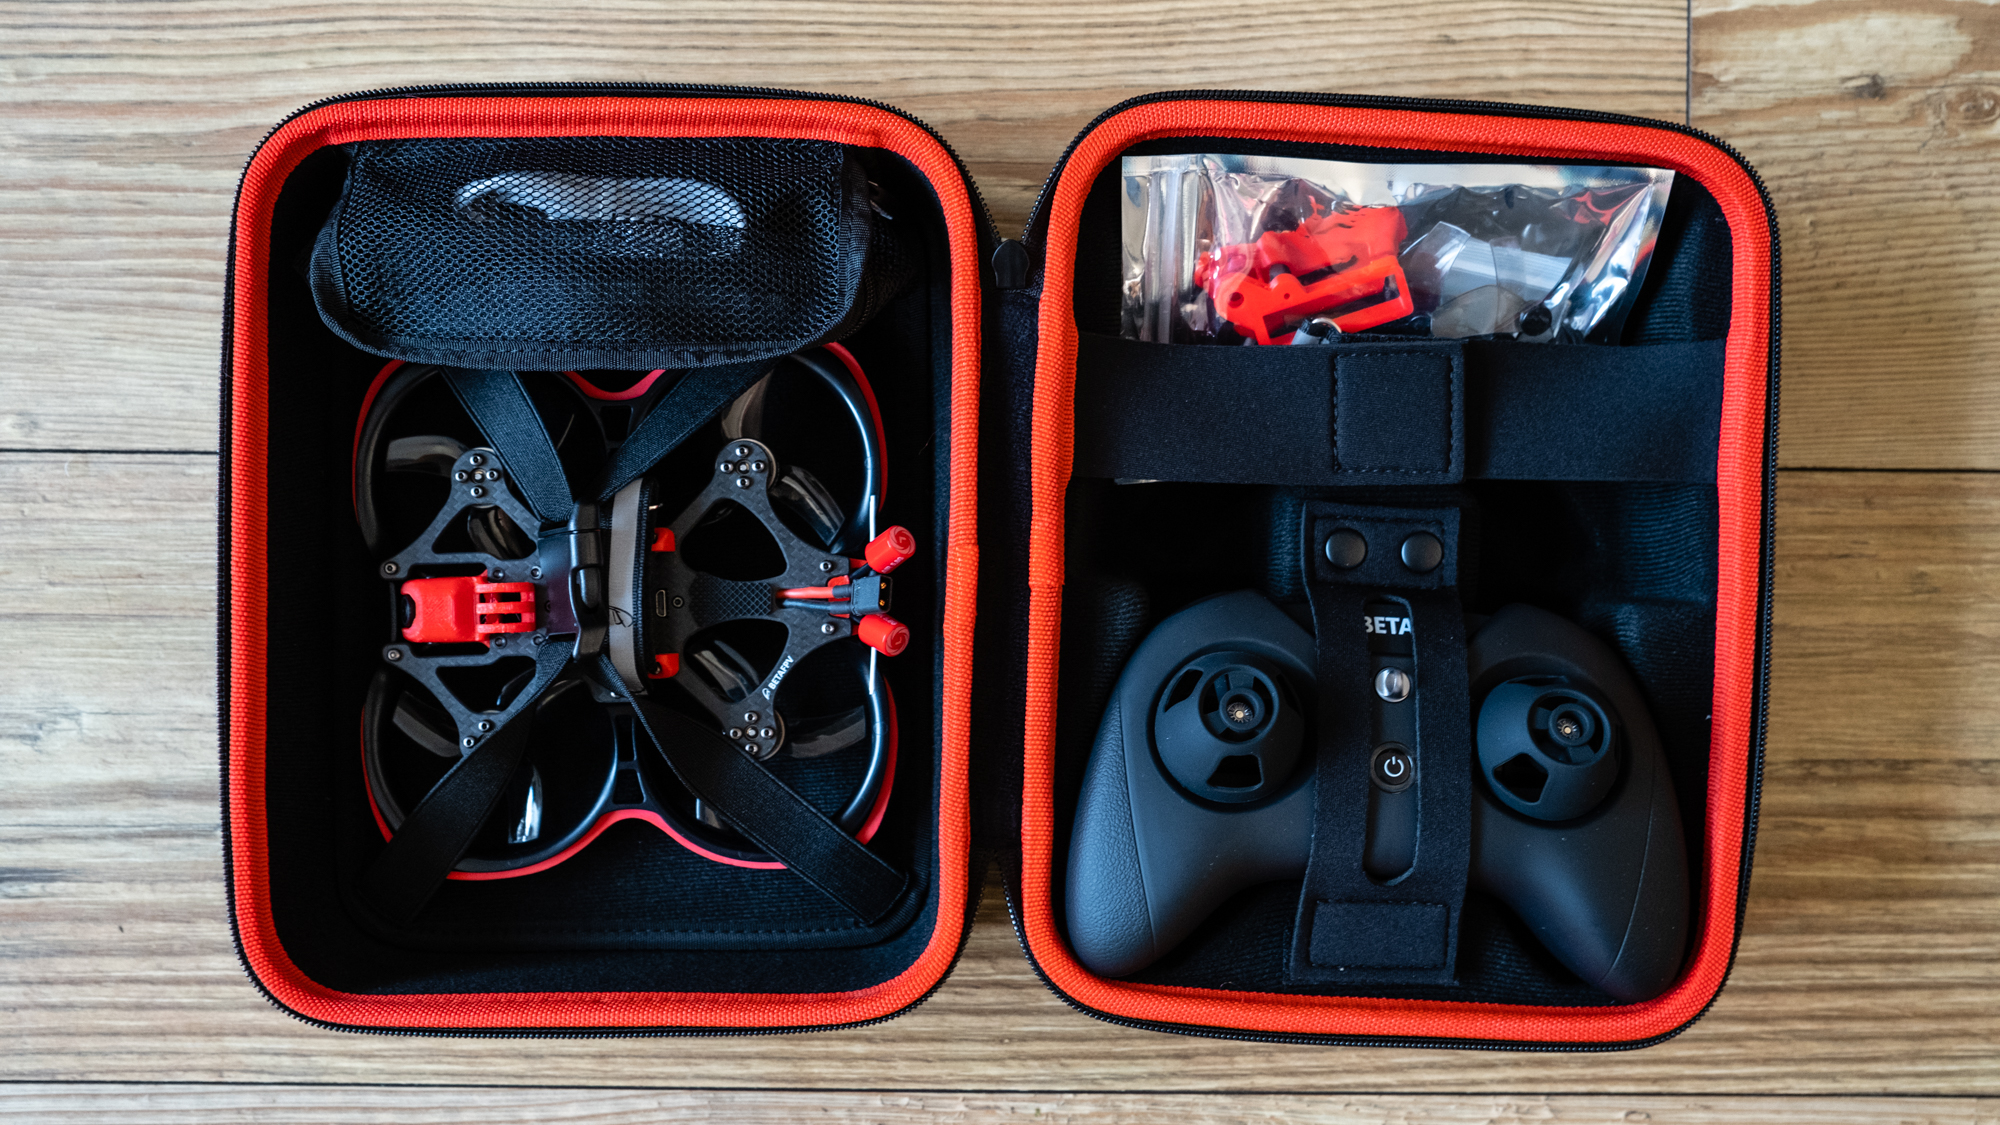
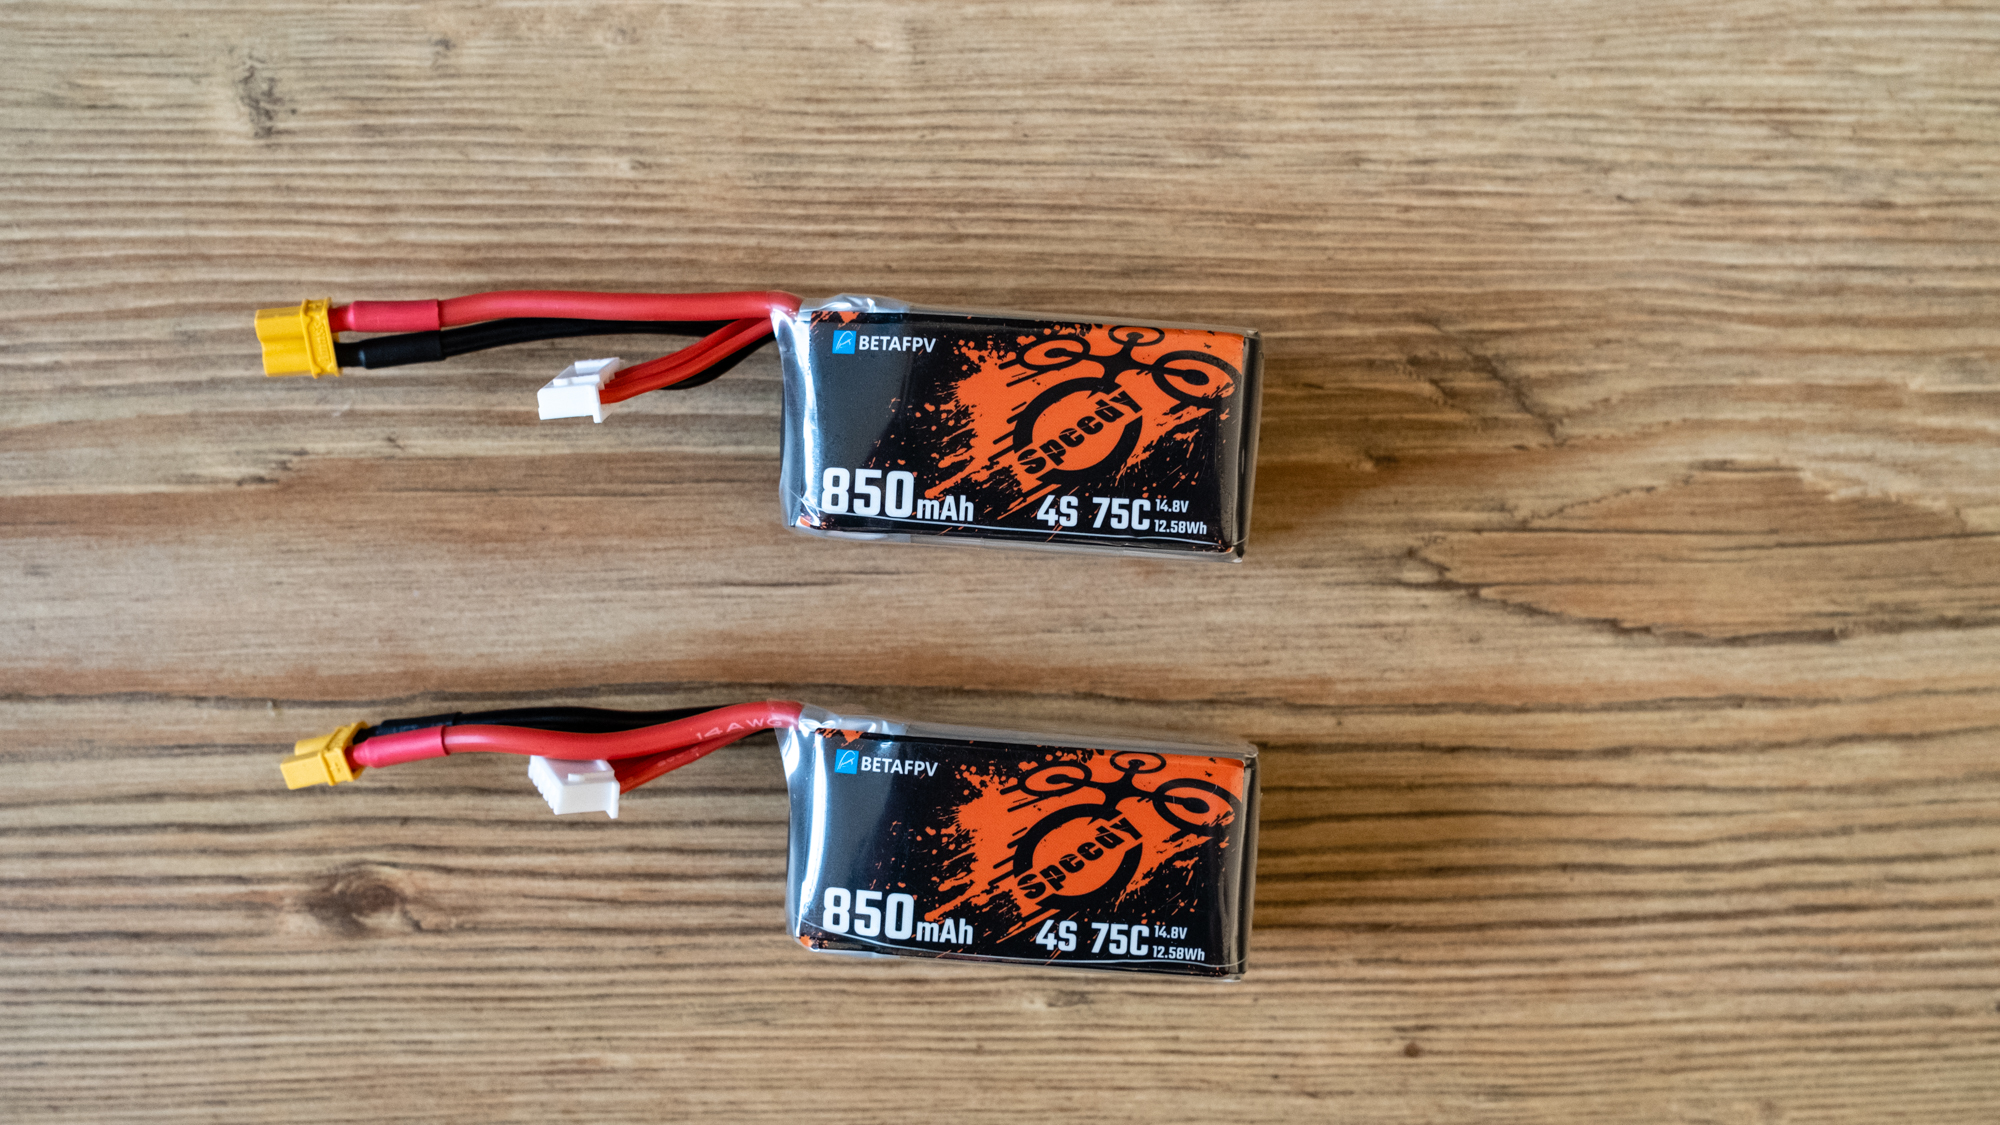
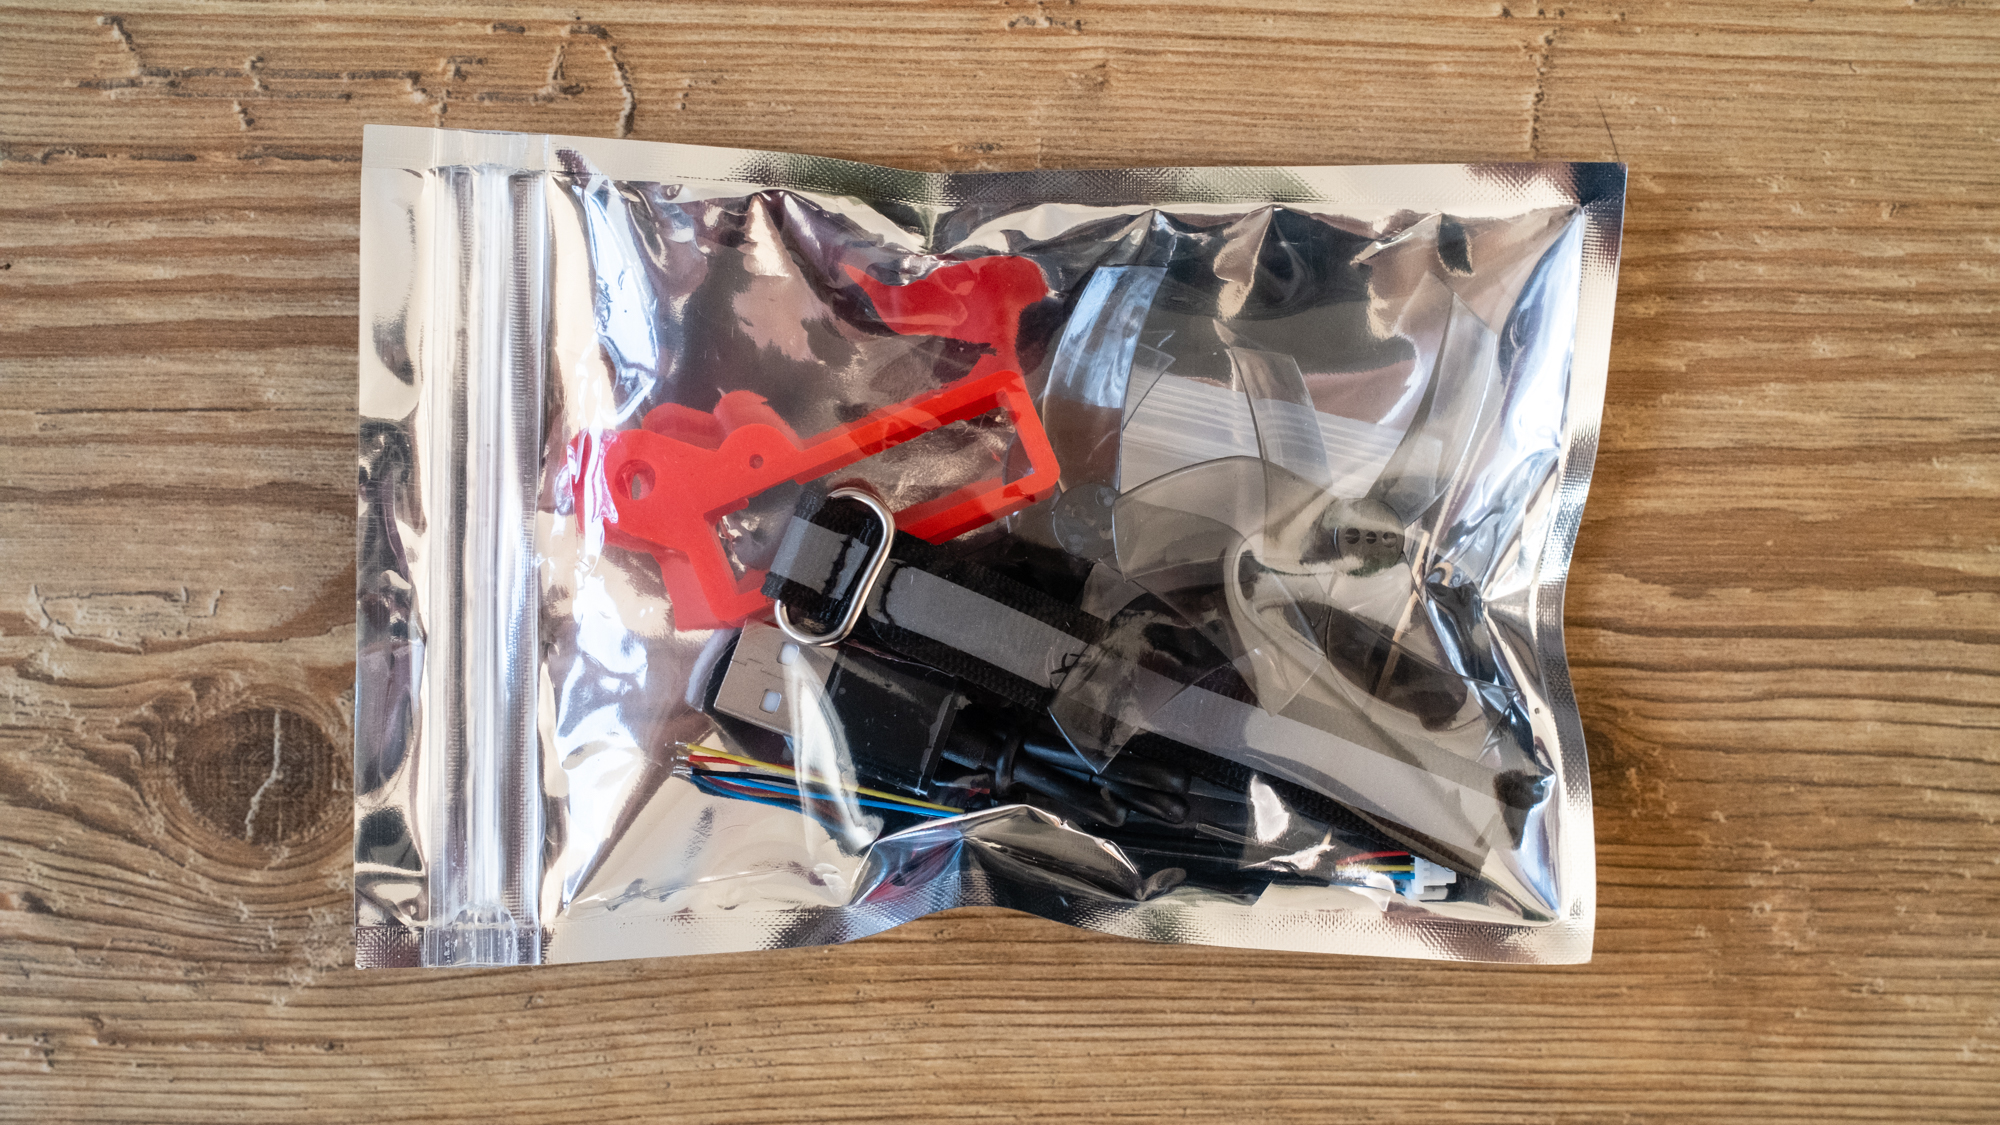
Also included in the kit is a BetaFPV LiteRadio 3 Transmitter, spare propellers, two 4S 850mAh batteries, cables, and a shell carry case. You have to buy compatible goggles separately and you can opt for Walksnail Avatar goggles or Fat Shark Dominator HD (Avatar) goggles. Both cost $599/£599, which when added to the cost of the Pavo25 kit at $500/£418, takes the total cost of the kit to $1,099/£1,017.
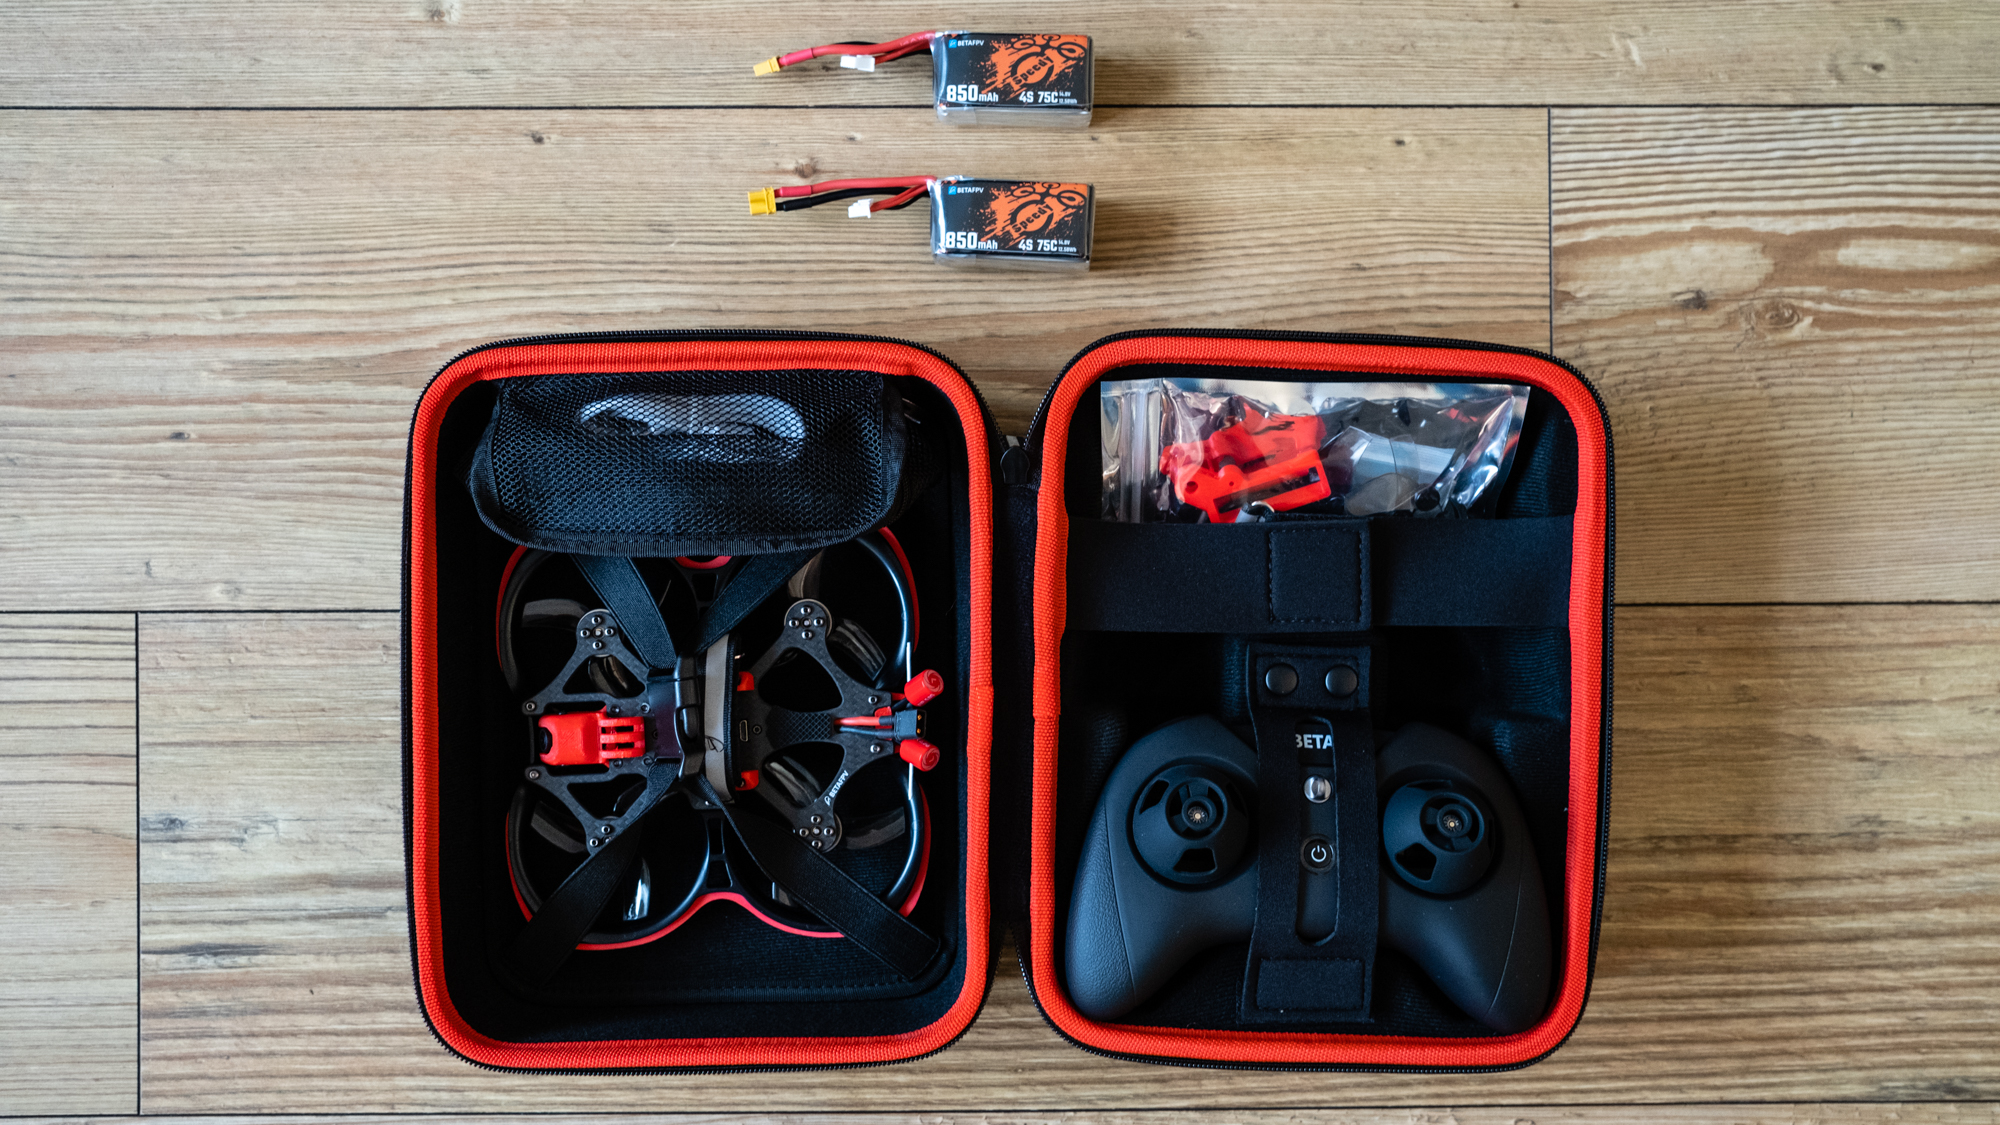
You’ll also need to buy a high-quality LiPo battery charger that’ll cost in the region of $80/£100 and an action camera where the price varies. For the review, we used the BetaFPV SMO 4K (costing $204/£170) because it’s the perfect fit for the Pavo25 and weighs just 35 g including the mount.
This is a kit that’s ideal for drone pilots with FPV flight experience. However, if you’re a newcomer and asking what are FPV drones, then you will be better served with a beginner RTF kit that comes with everything you need to get started. You can check out some of the options available in our best FPV drone guide and once competent in flight, the Pavo25 becomes an upgrade option worth considering.
BetaFPV Pavo25 Walksnail Whoop Kit: Design
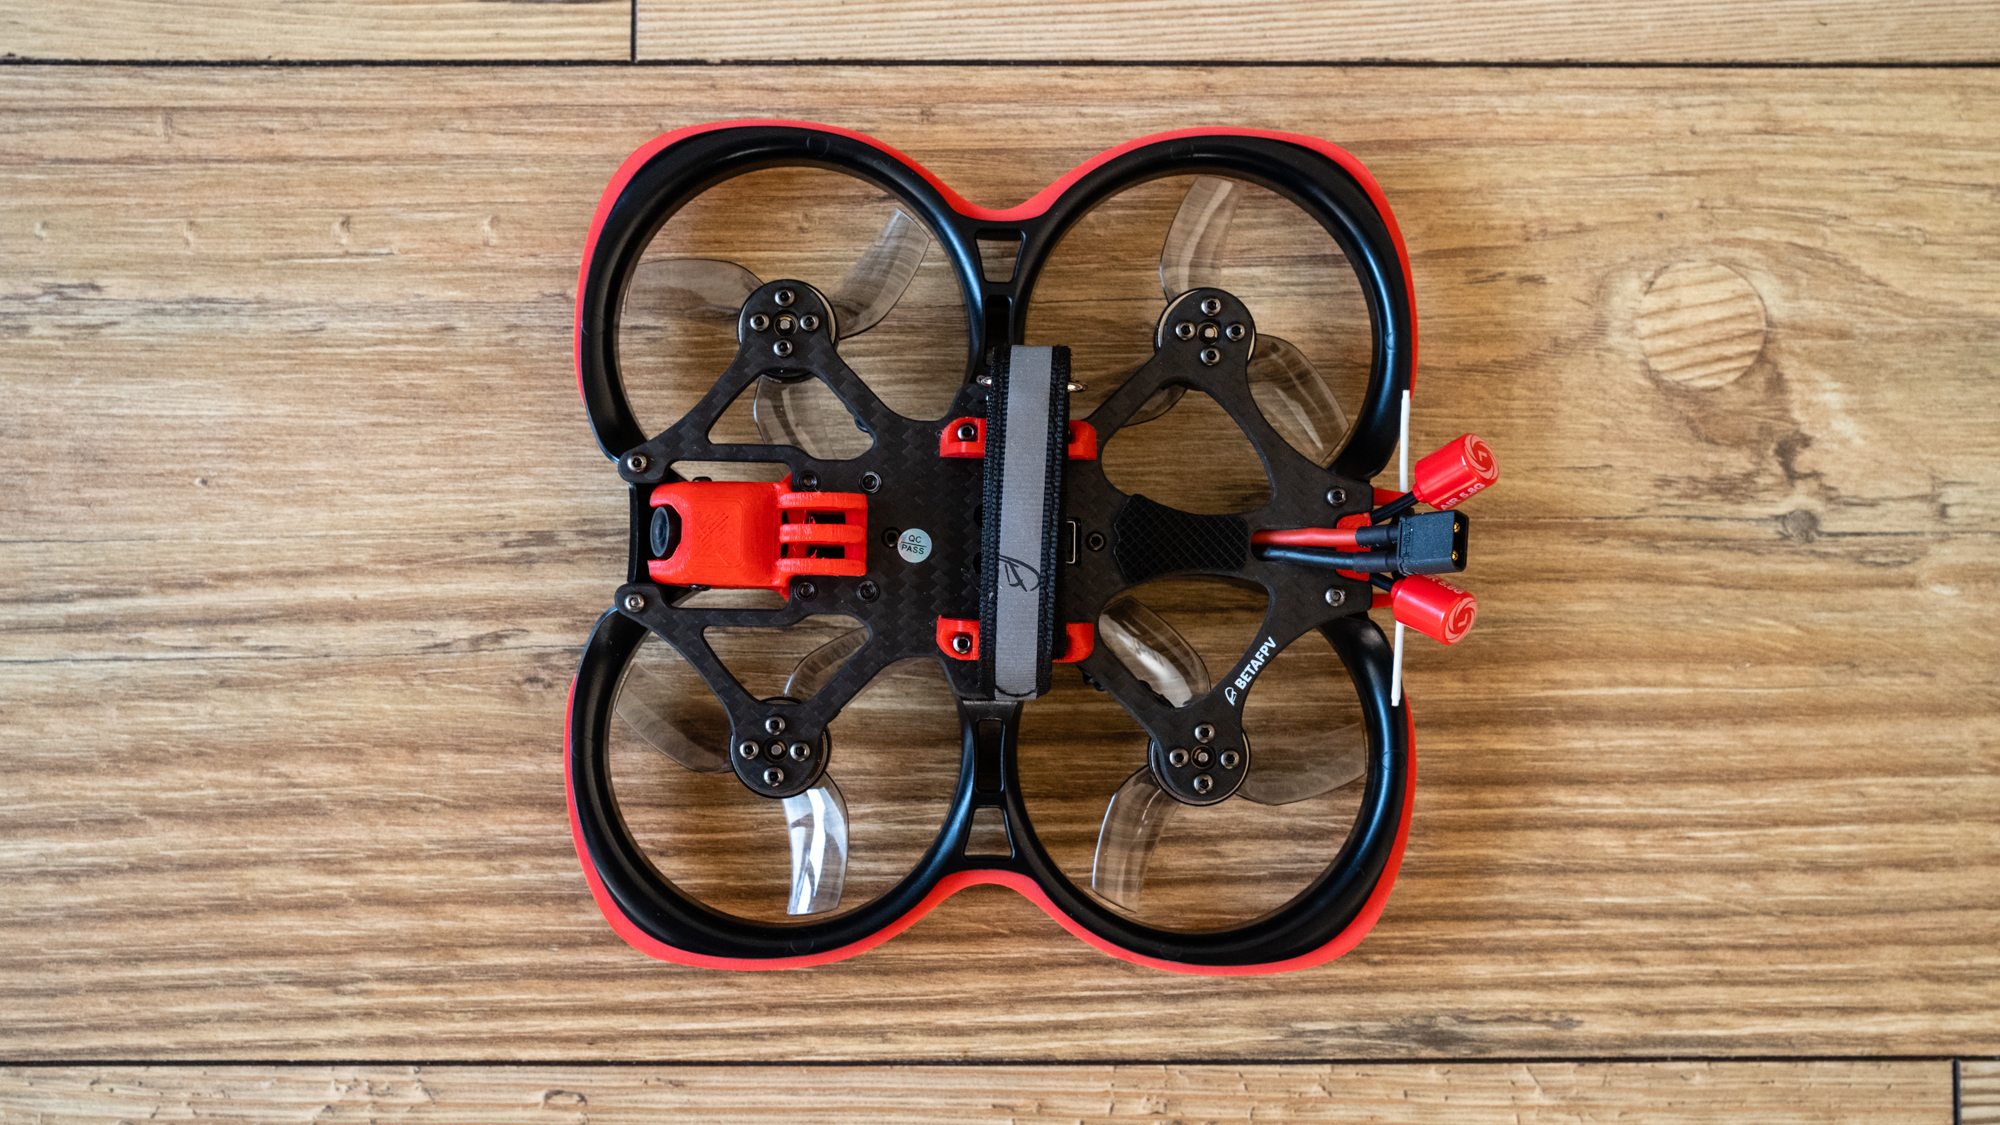
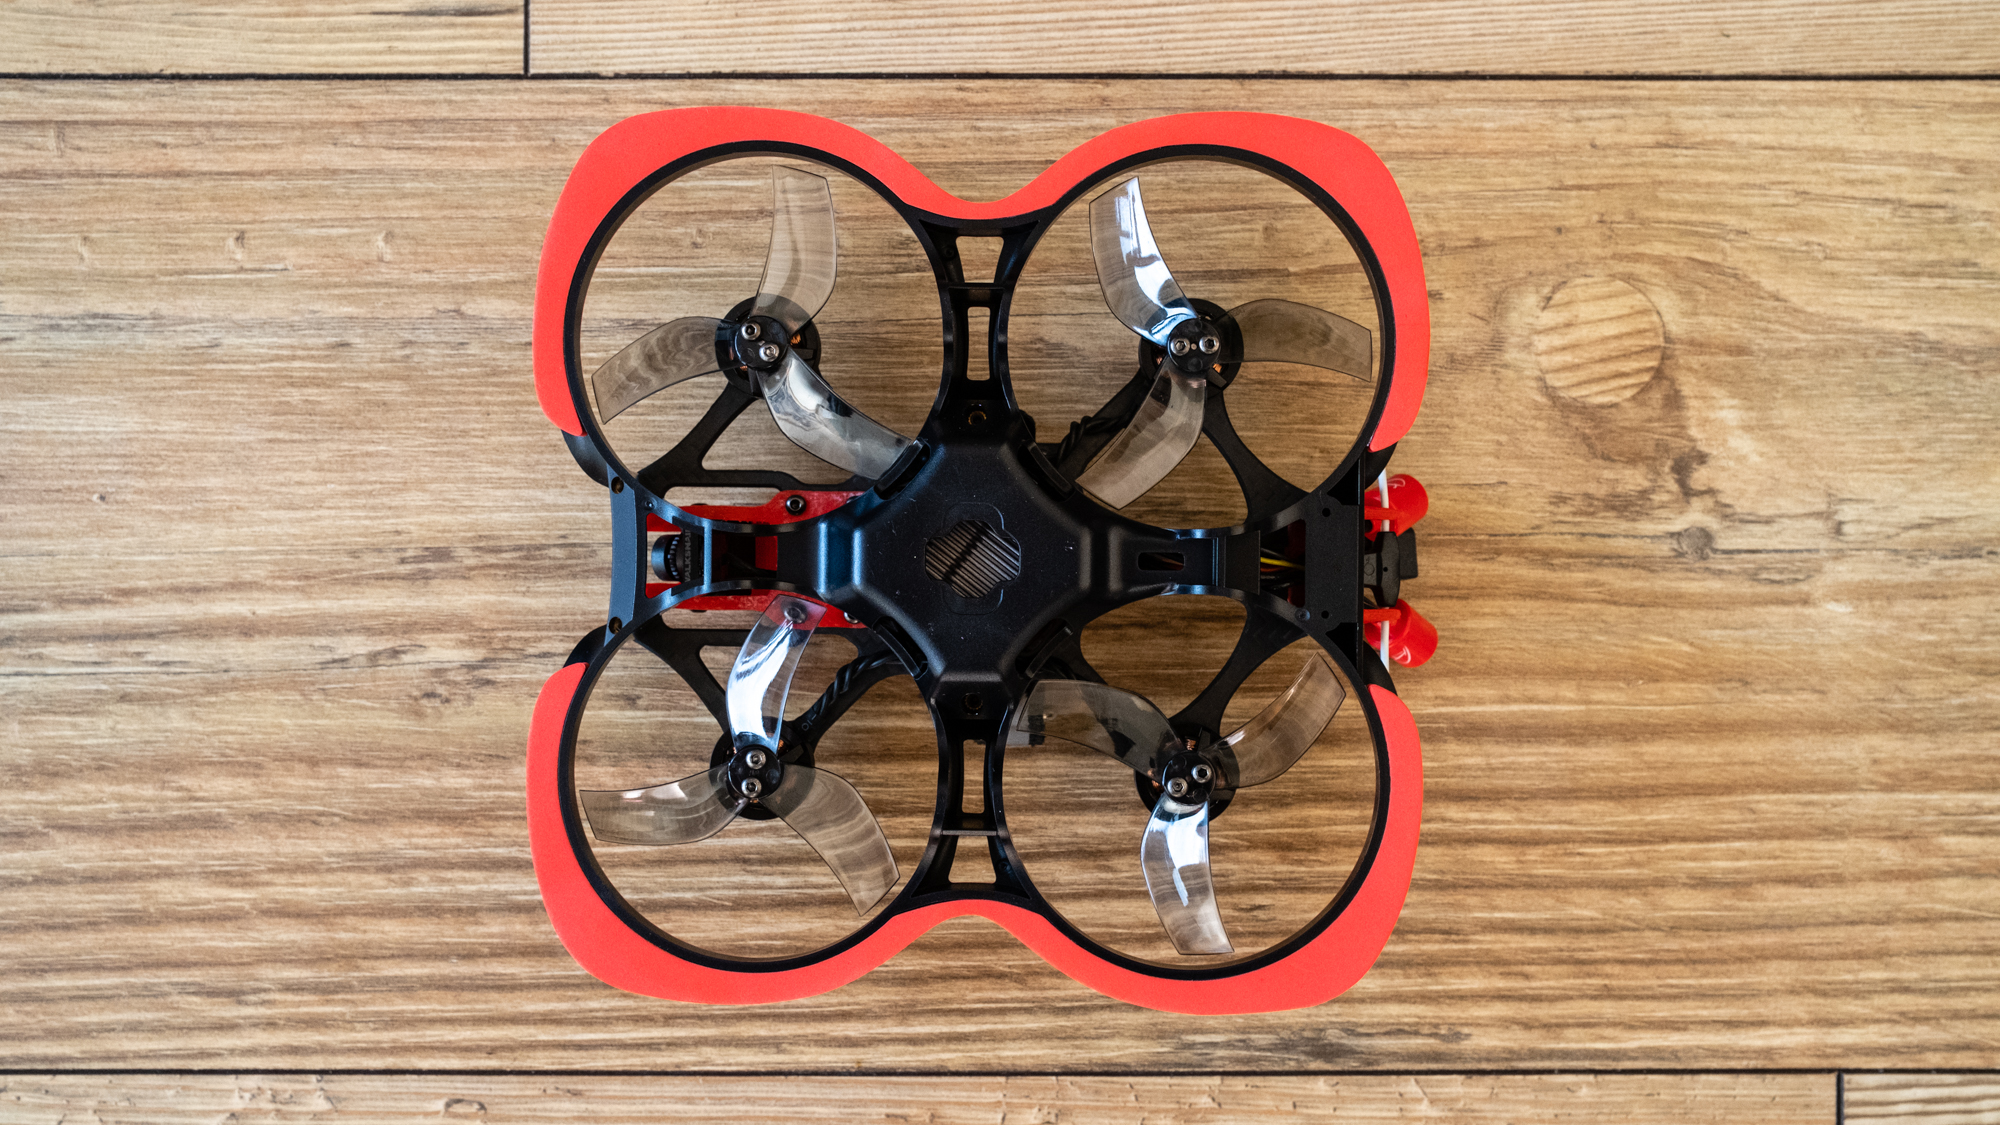
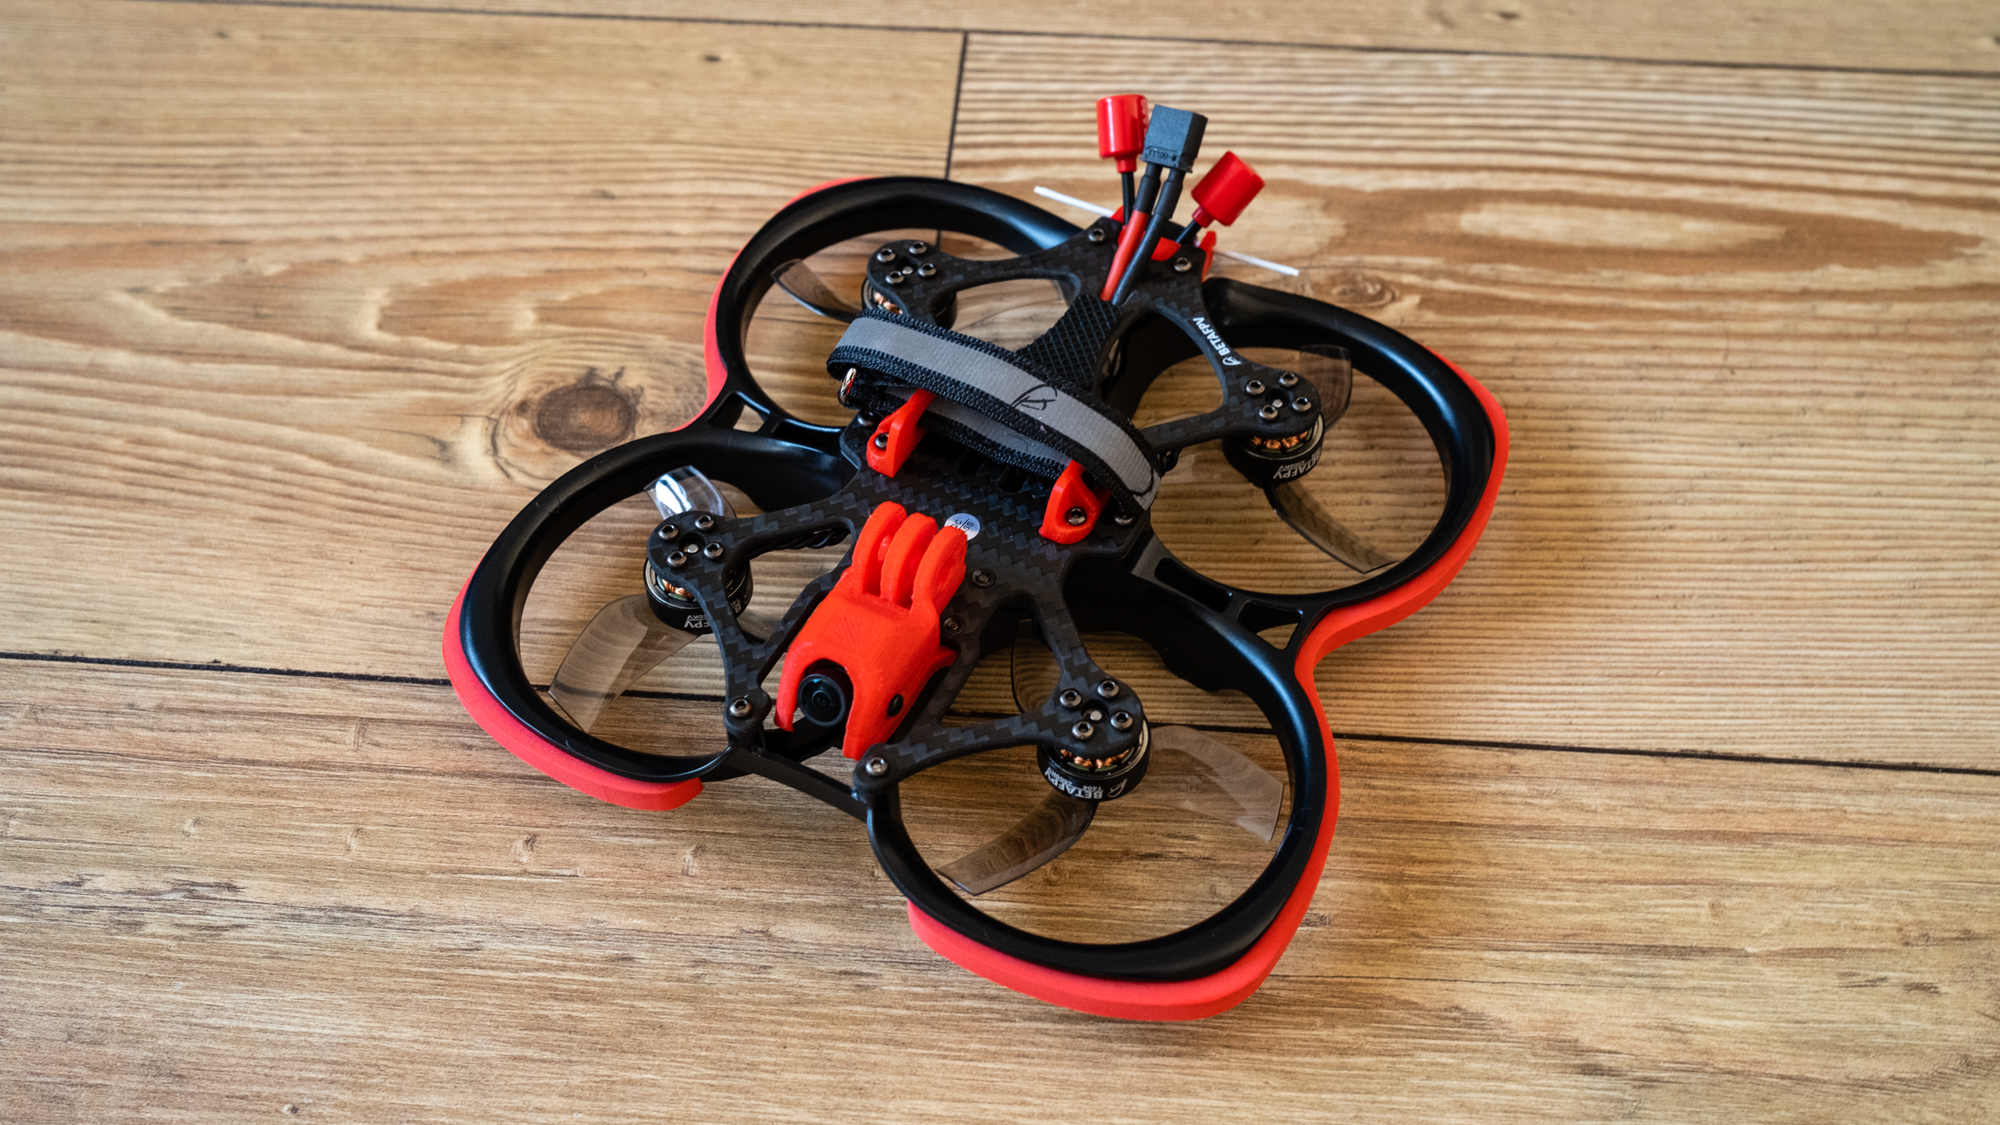
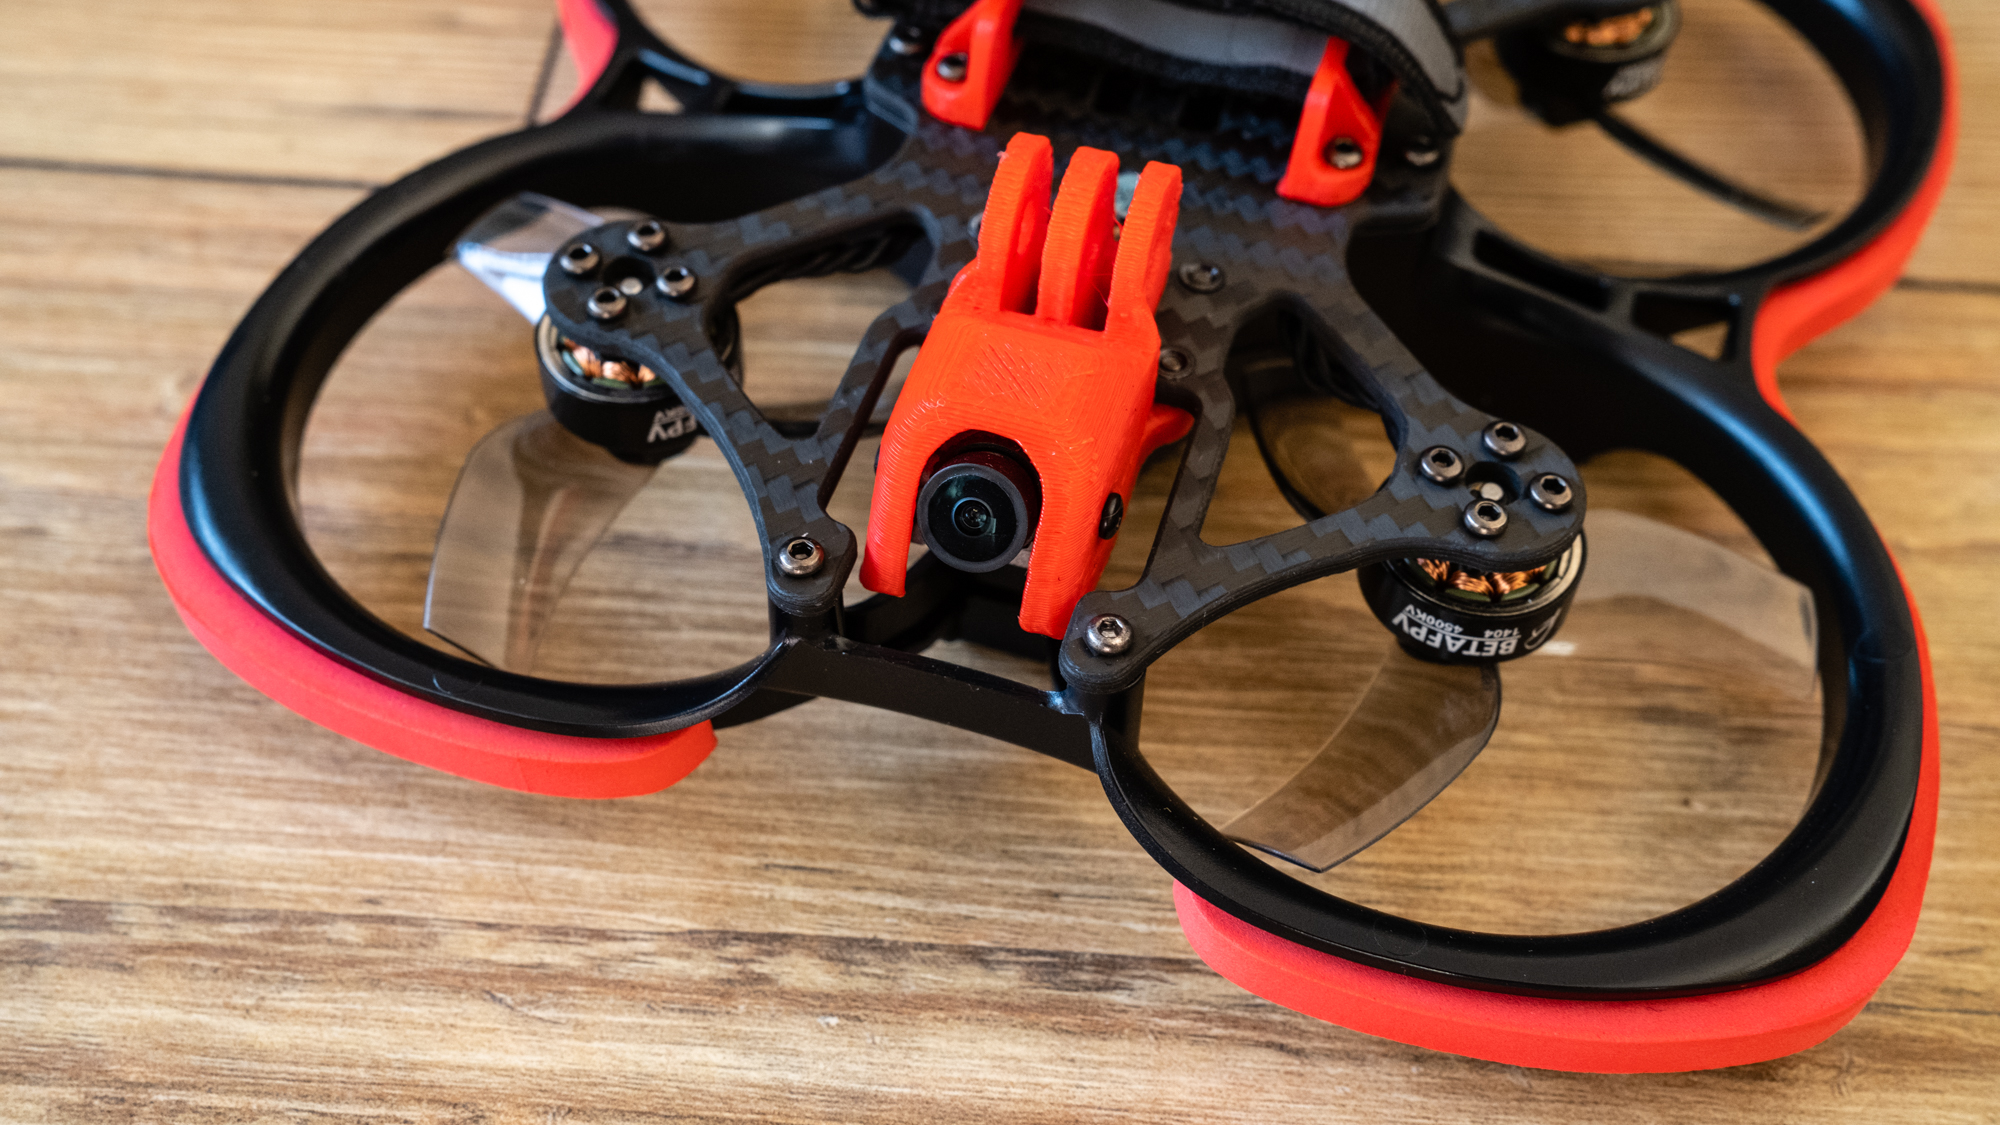
- Cinewhoop design
- Weighs around 9.95oz / 282g with a battery and SMO 4K
- ELRS LiteRadio 3 Transmitter/Controller
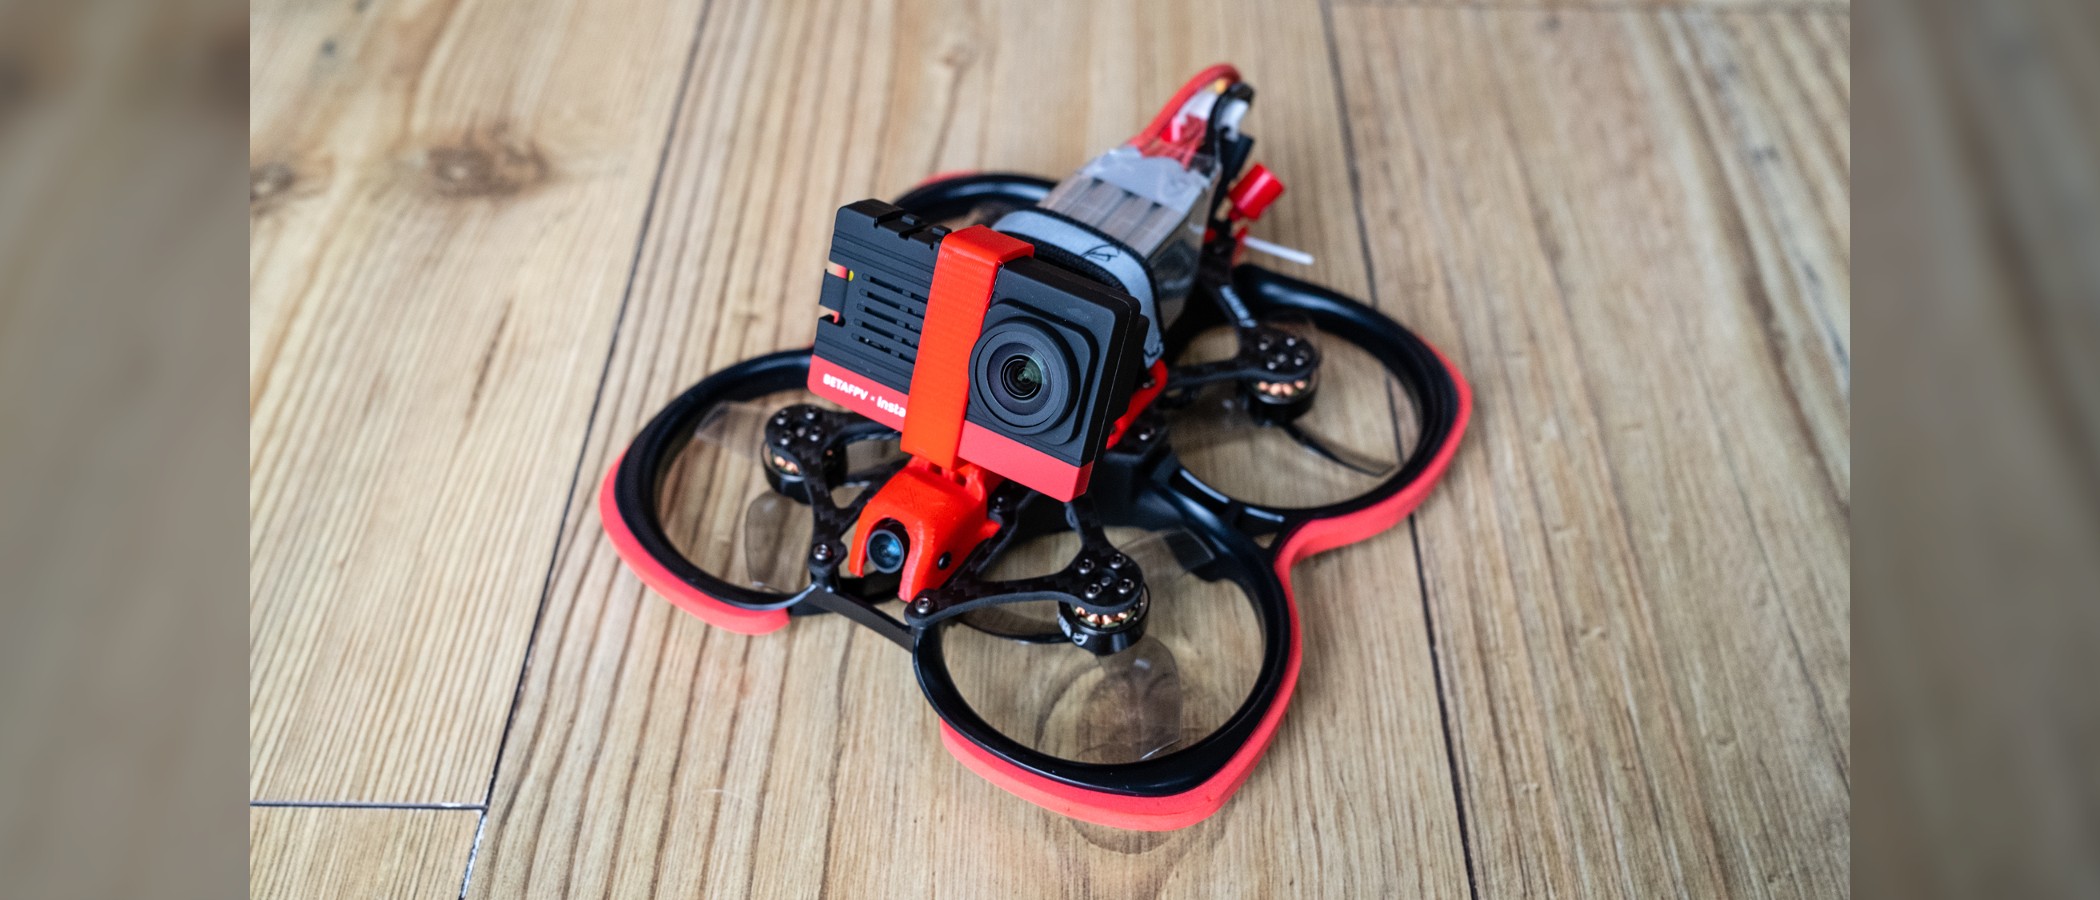
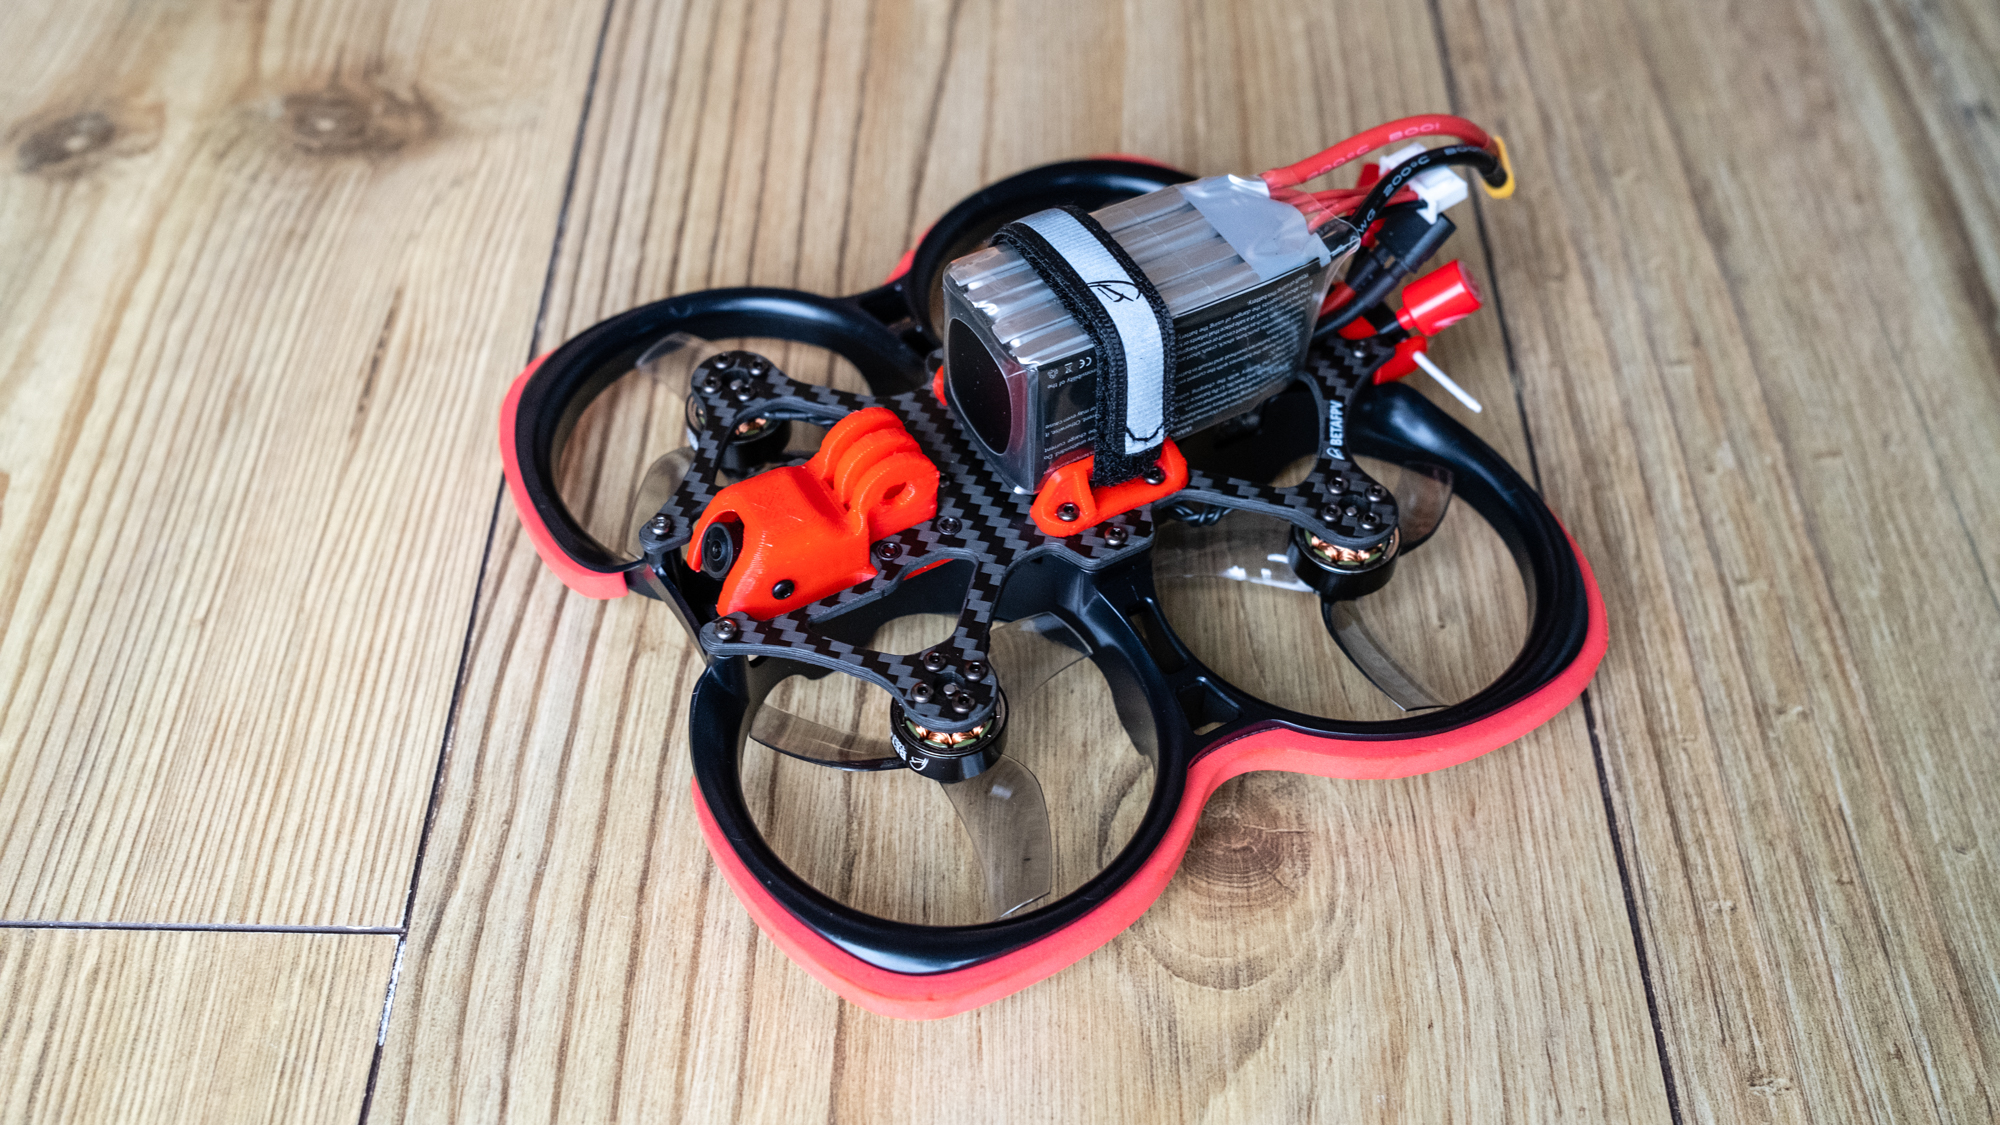
In terms of design, the Pavo25 is a cinewhoop FPV drone so it has prop guards with foam bumpers making it safer when flown indoors, close to objects, and people. The frame is made of a tough injection molded piece of PA12 plastic, while the electronics are attached to a section of carbon fiber. The top of this is where the Avatar FPV camera, battery, and action camera mount are housed. This section can be removed from the frame quickly and easily by undoing six screws. This makes binding, firmware updates, and repairs fairly straightforward if you know what you’re doing.
Breaking space news, the latest updates on rocket launches, skywatching events and more!
With an 850mAh 4S battery and an SMO 4K camera attached, the Pavo25 weighs around 9.95 oz/282 g, while the drone only weighs just 5.15 oz/146 g. It’s a small drone at just 153.2 x 153.7 mm with 2.5 in propellers, but these can deliver an impressive amount of power. And although the Pavo25 is a cinewhoop designed for capturing cinematic video, it is capable of being flown in light freestyle but is ultimately less nimble in this respect than a dedicated freestyle FPV drone and less so with a camera attached.
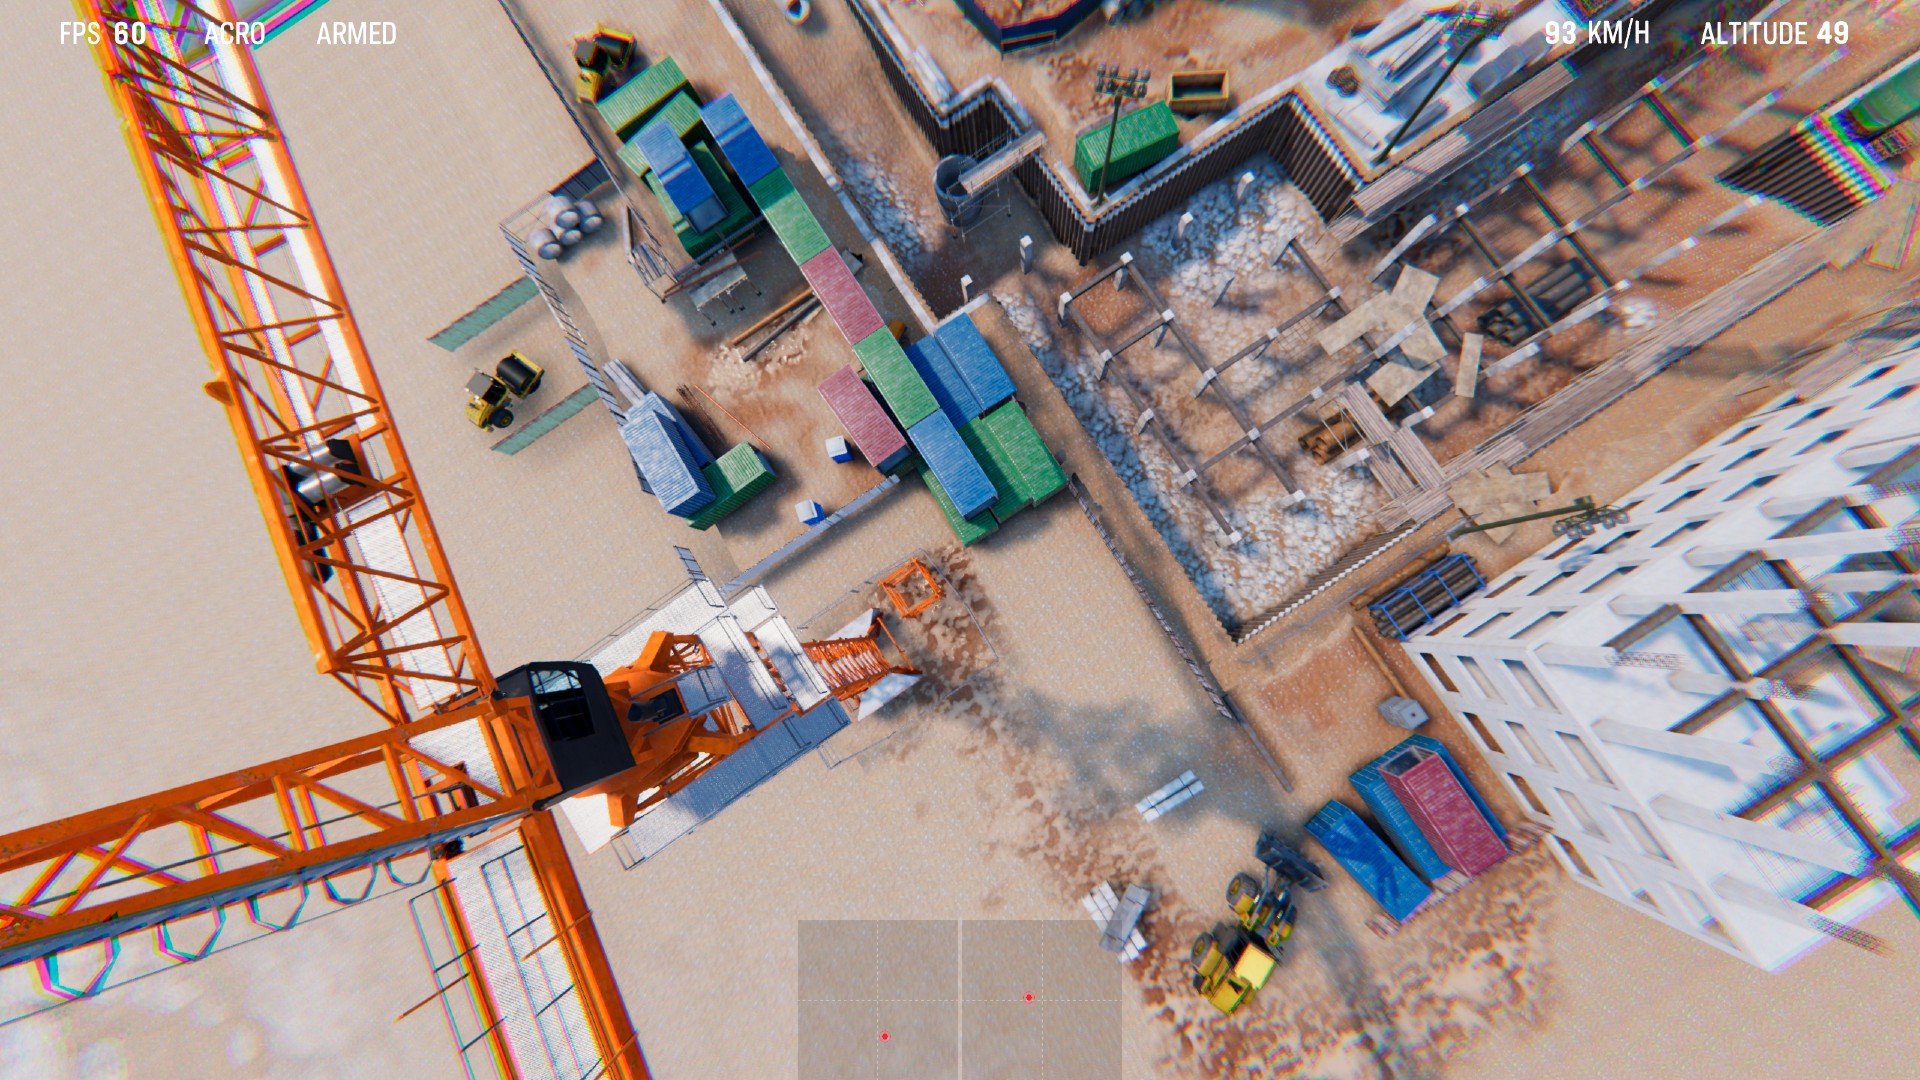
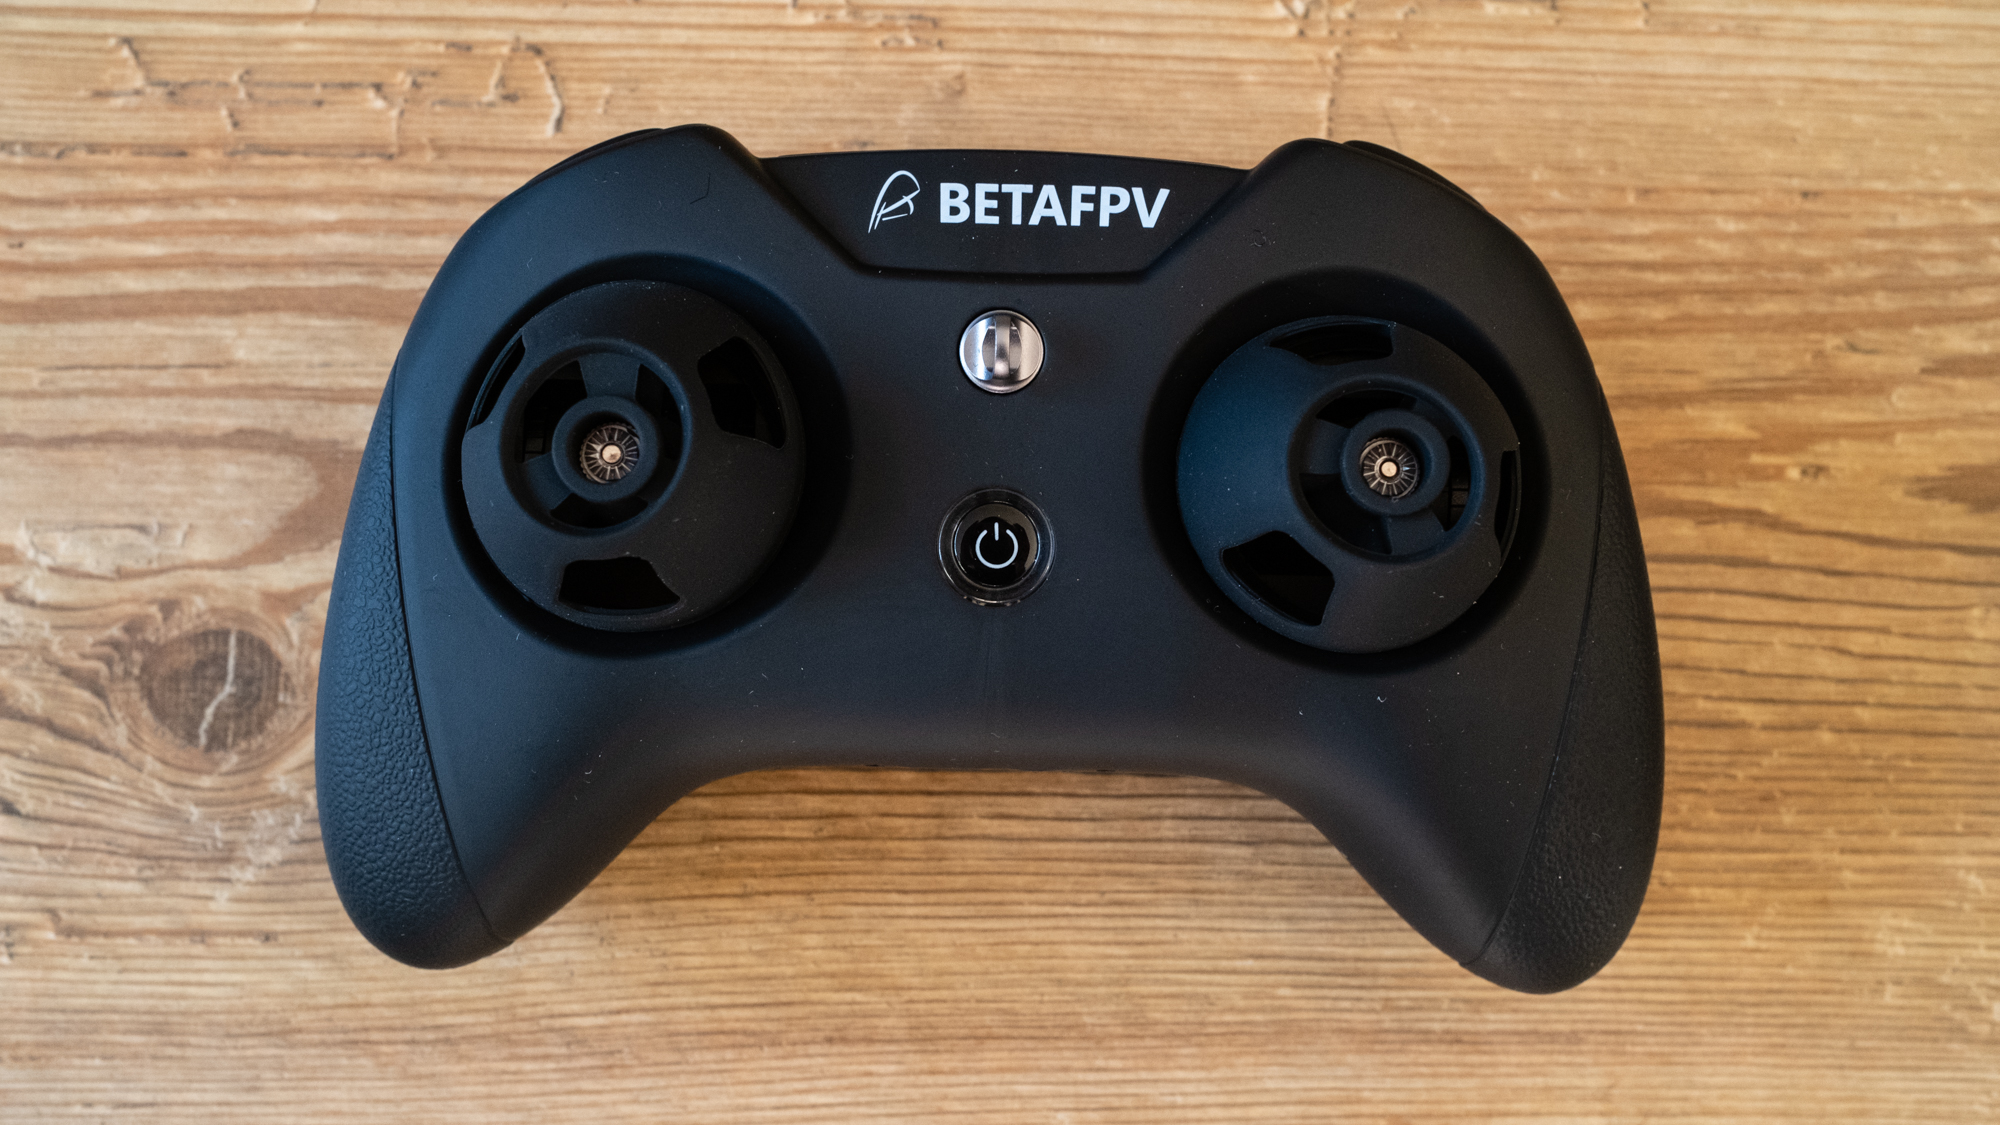
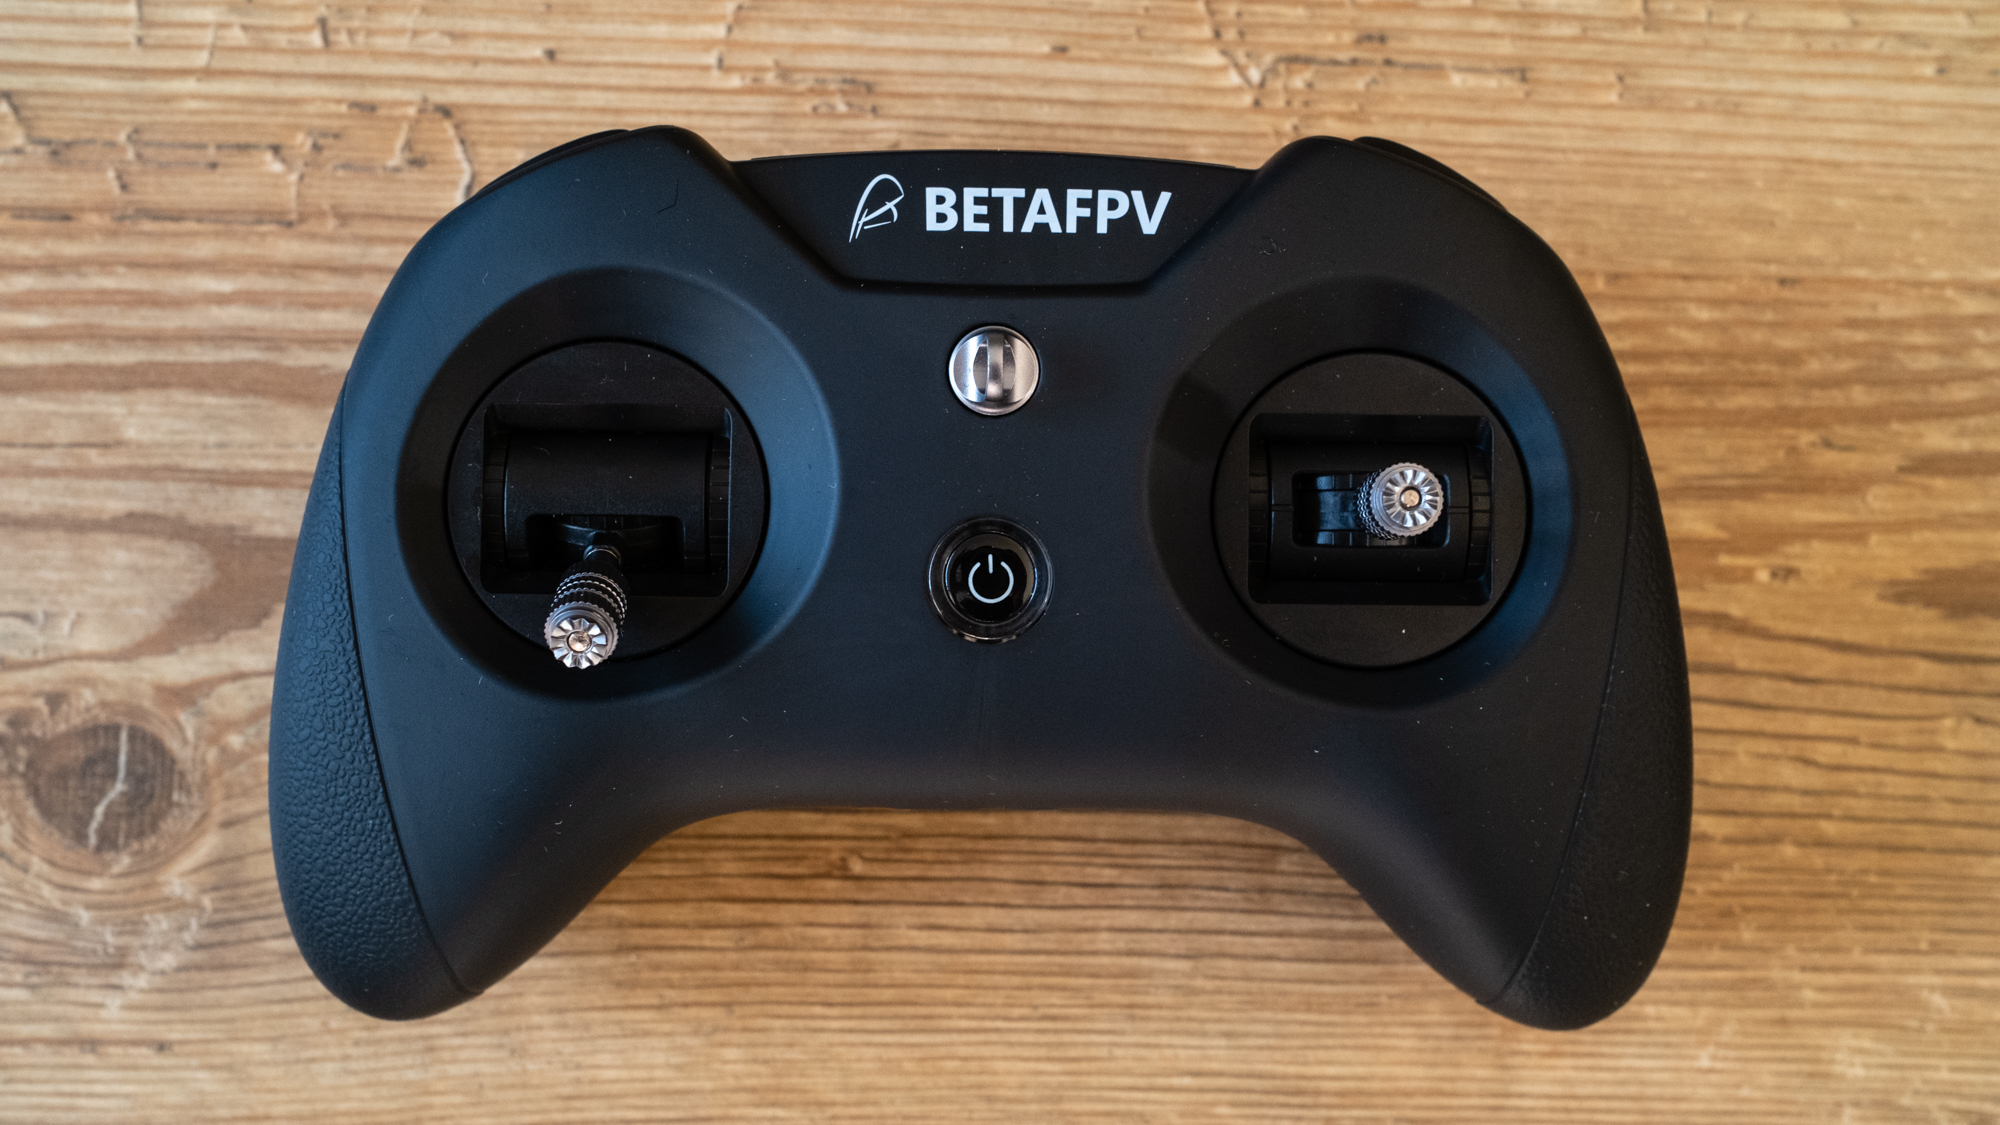
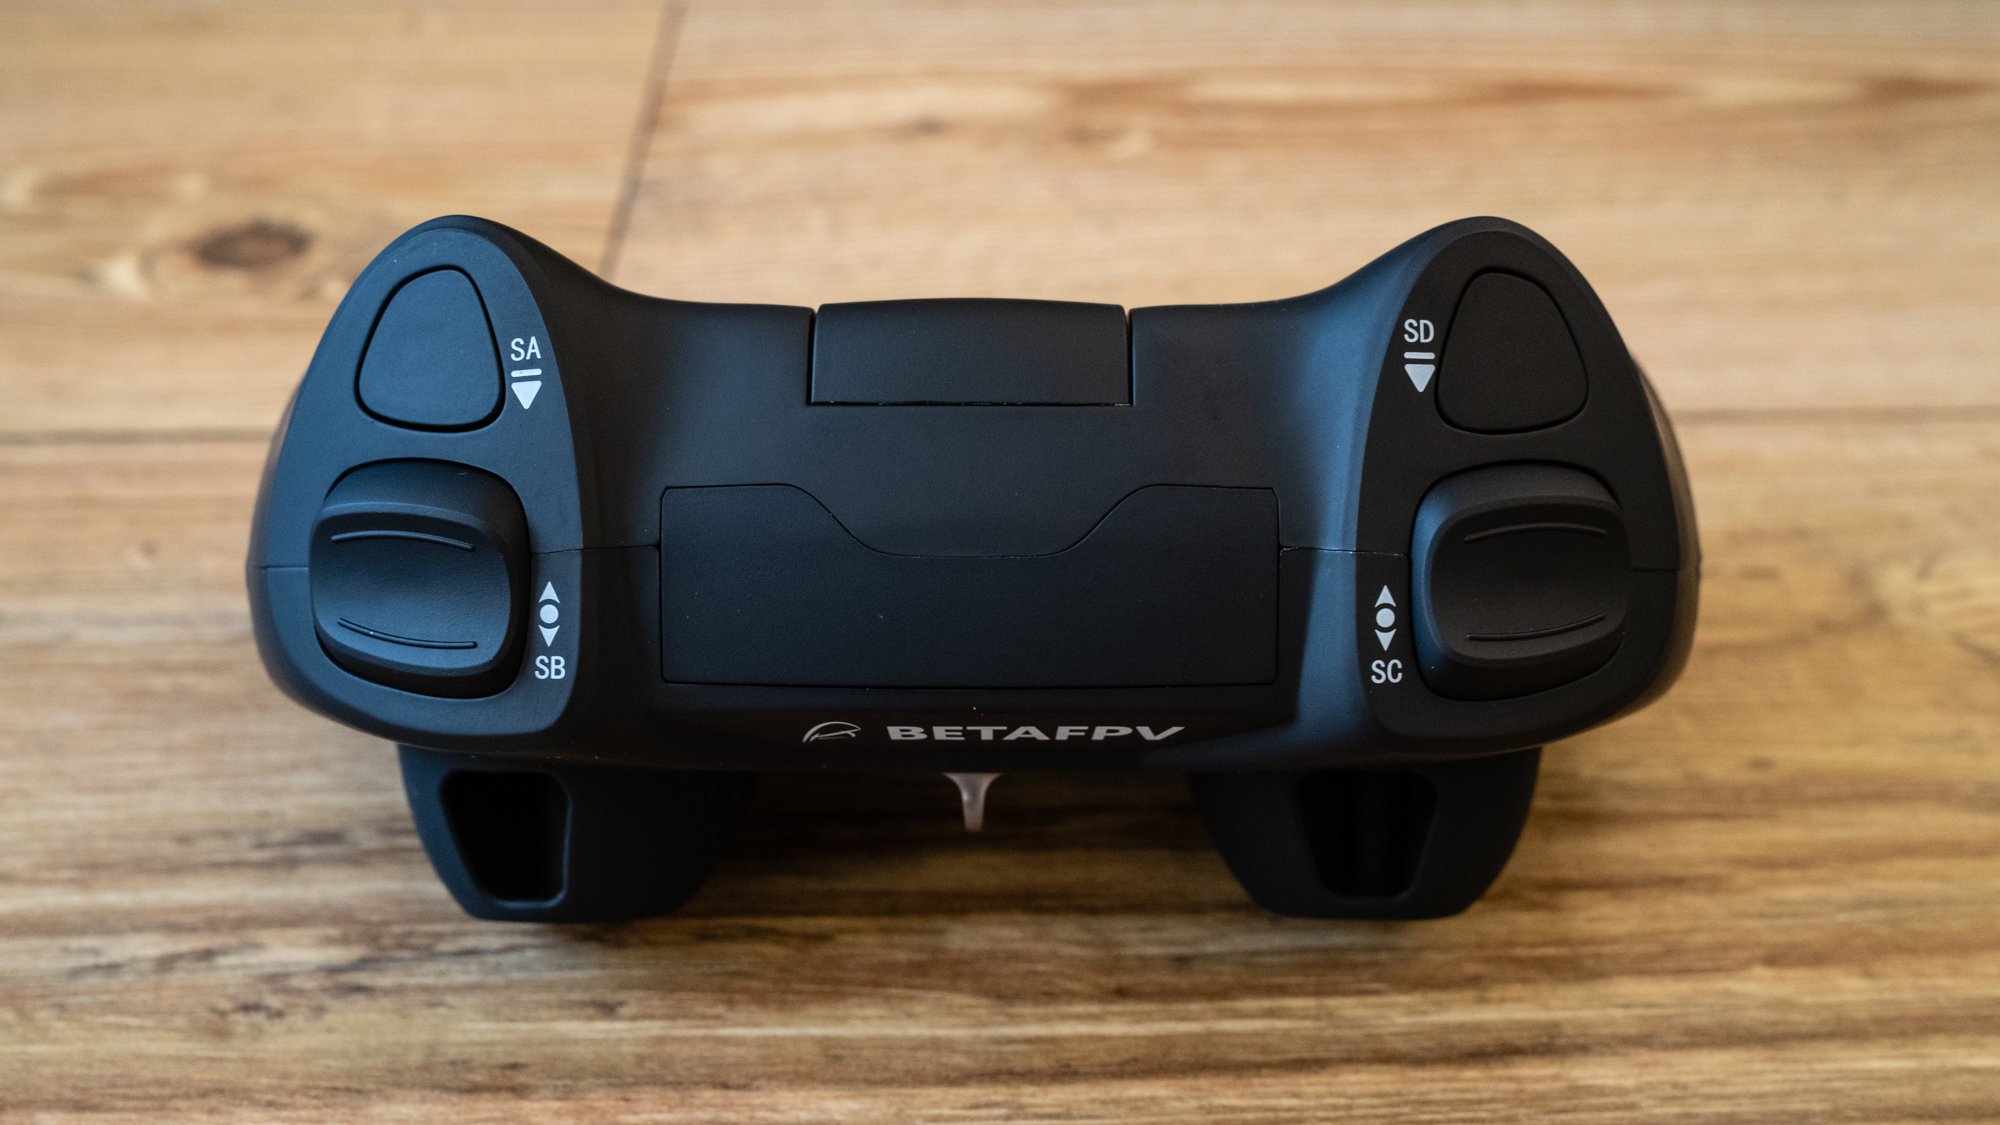
The LiteRadio 3 Transmitter uses the ExpressLRS 2.4G protocol and comes set up, so all you have to do is charge and then bind it to the drone, along with the goggles. The transmitter controls are set up for you with an arm/disarm button and a switch to change between Level, Angle, and Manual/Acro flight modes. The controller can also be plugged into a computer via USB-C to be used to control FPV flight simulators including LiftOff, FPV SkyDive, and many more.
BetaFPV Pavo25 Walksnail Whoop Kit: Functionality
- Excellent Avatar goggles purchased separately
- Three flight modes are available
- No GPS or collision avoidance
Being an FPV drone, the Pavo25 doesn’t have features like GPS positioning or collision avoidance found on camera drones as FPV drones are more about performance and flight. Although there are three flight modes available that can be used in different situations depending on what you’re filming with an attached action camera.
Level mode automatically levels the drone when the pitch and roll controls are released, while the pilot has to regulate the throttle to keep it in the air. Angle mode limits the angle of pitch and roll, while when flying in Manual/Acro mode the pilot has to manually adjust and level all controls to avoid crashing. This is the most difficult mode to fly in, but also the most exciting and rewarding once you can and the digital FPV feed to the goggles is excellent.
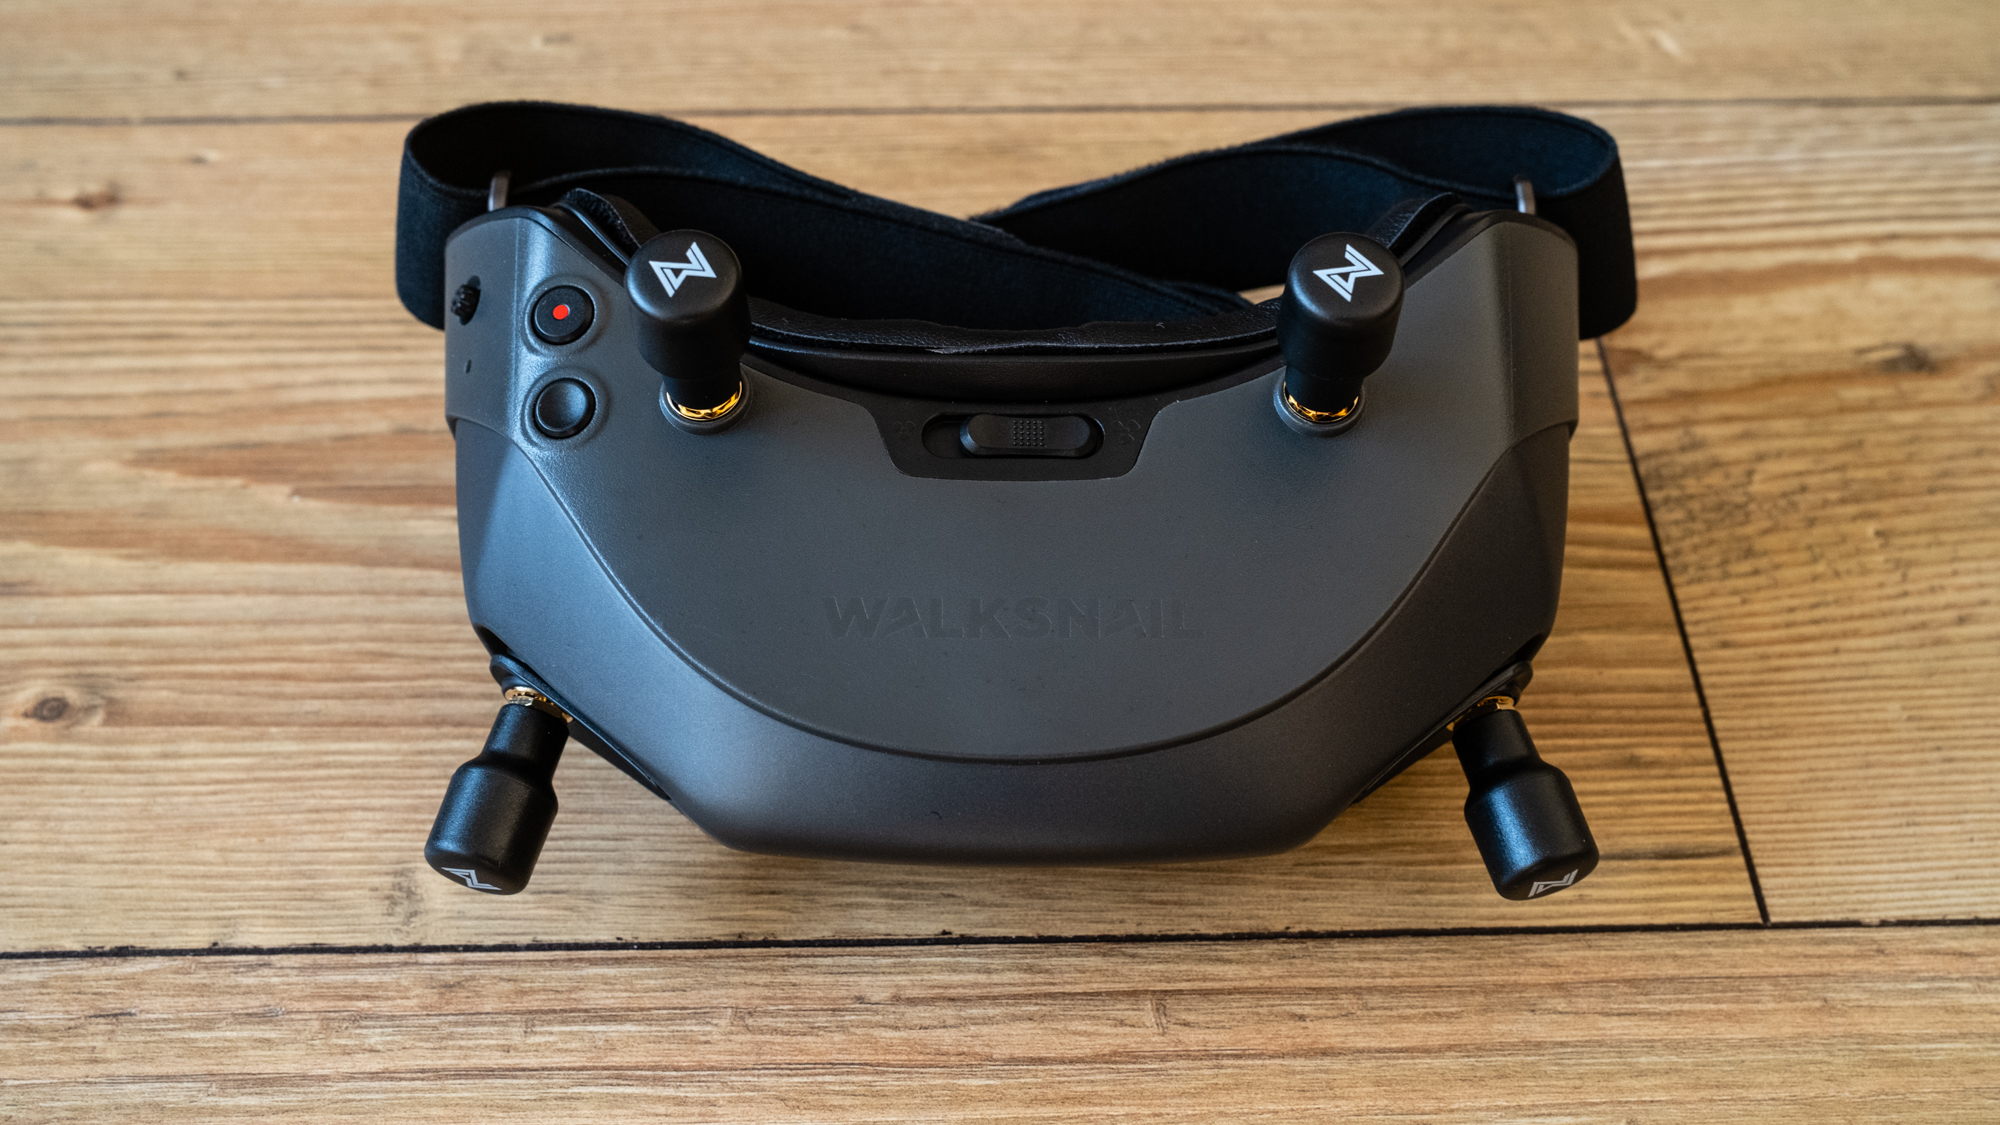
The Walksnail Avatar Digital HD System provides an excellent FPV feed in Walksnail Avatar or Fat Shark Dominator HD (Avatar) goggles. These goggles are identical in all but color, with an FHD OLED display providing a wide 46° field of view. The eyepieces feature a focus adjustment for glasses wearers, and a fan helps to reduce condensation on the eyepieces.
The goggles can record the FPV feed when a microSD card is installed, and the VTX has 8 GB of onboard storage that can be used to record video in 1080p or 720p, although it’s much better to capture video using a lightweight action camera. Plus, getting to the USB-C port requires the drone to be partially disassembled so it’s more of a hassle than it’s worth.

One feature that would be extremely useful, but has unfortunately been left out, would be either a micro GPS tracker or a micro buzzer. Both are extremely helpful for locating crashed FPV drones because from the FPV feed you only have an approximate idea of where the crashed drone is located. The rear LED light on the Pavo25, however, can help with locating the drone if the light is facing upwards.
BetaFPV Pavo25 Walksnail Whoop Kit: Performance
- Requires a separate camera to shoot video
- SMO 4K offers up to 4K video at up to 60fps
- Highly effective image stabilization
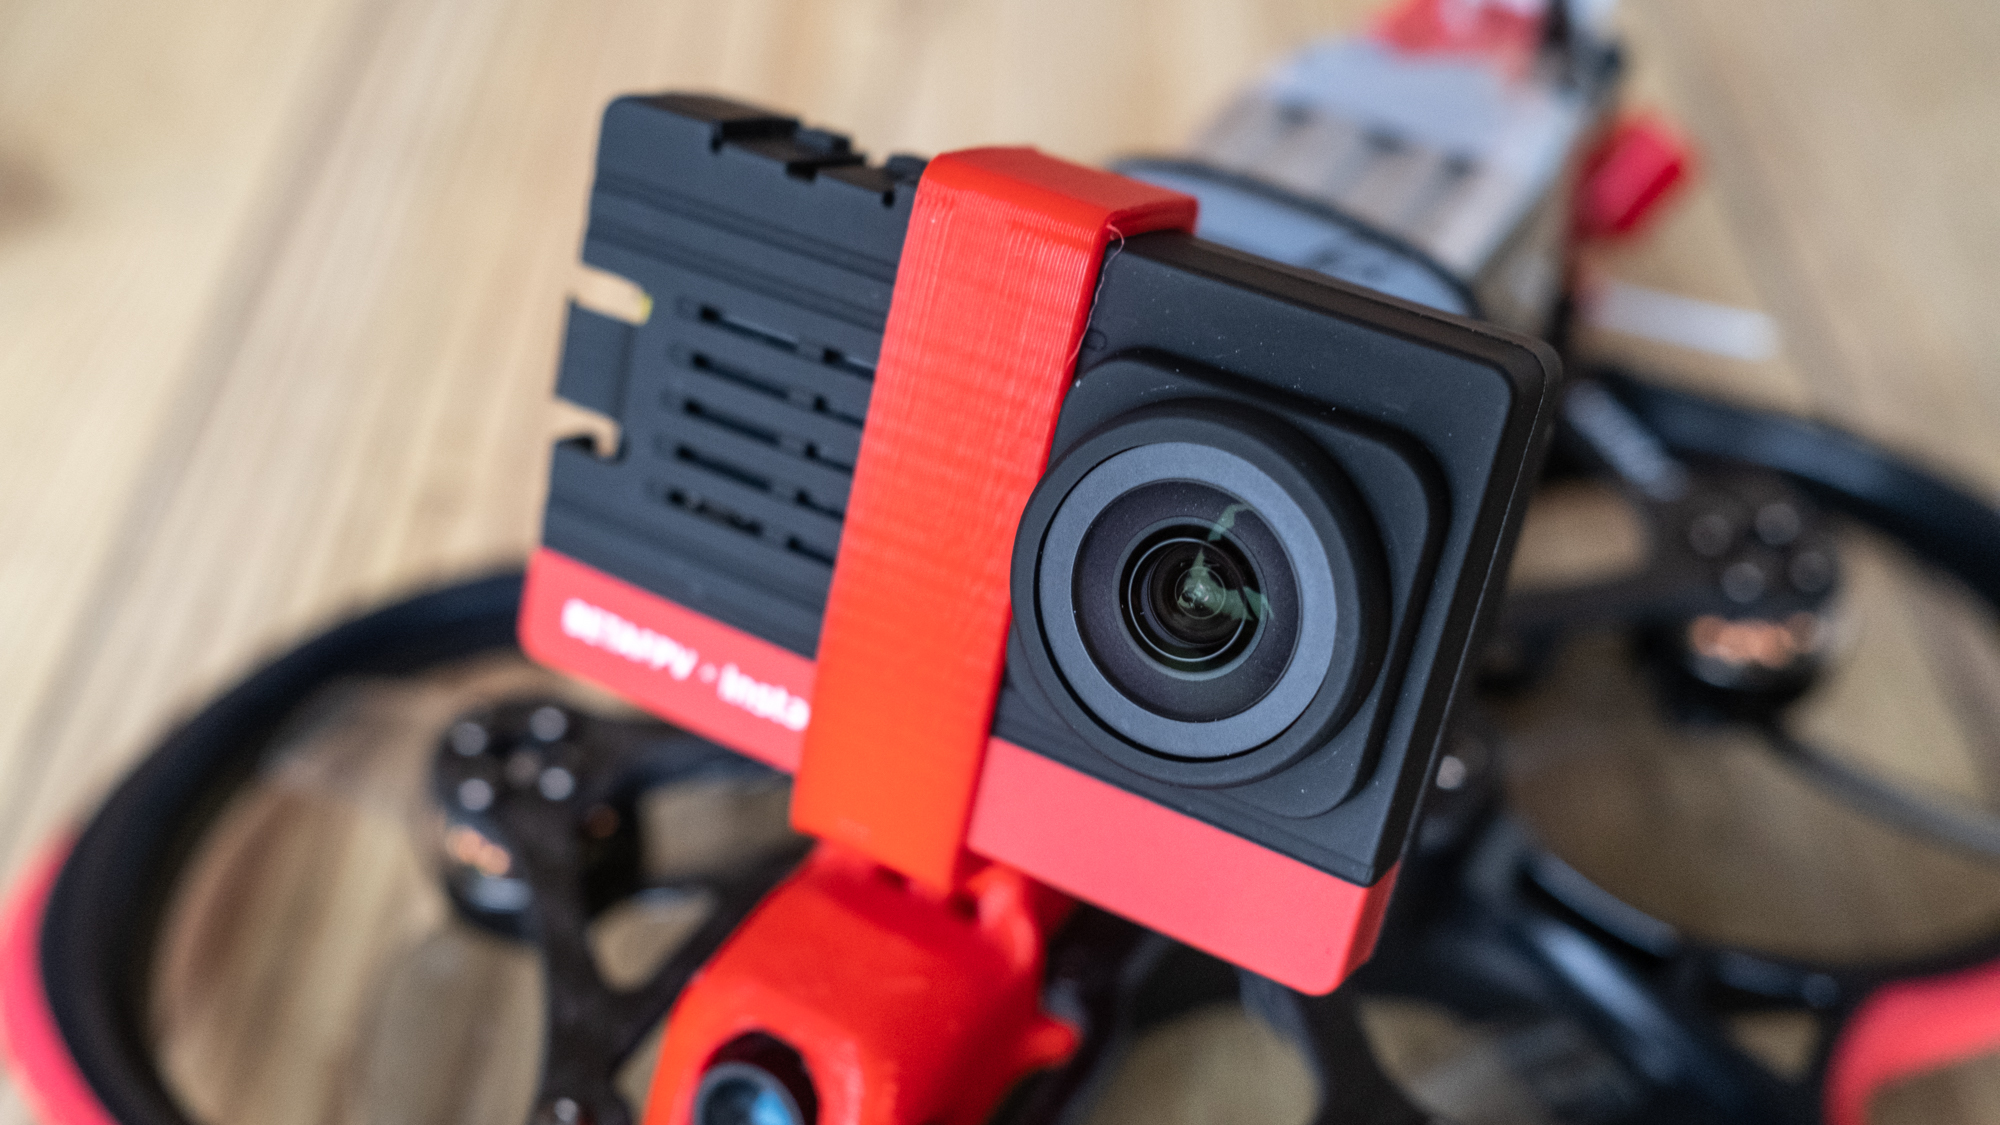
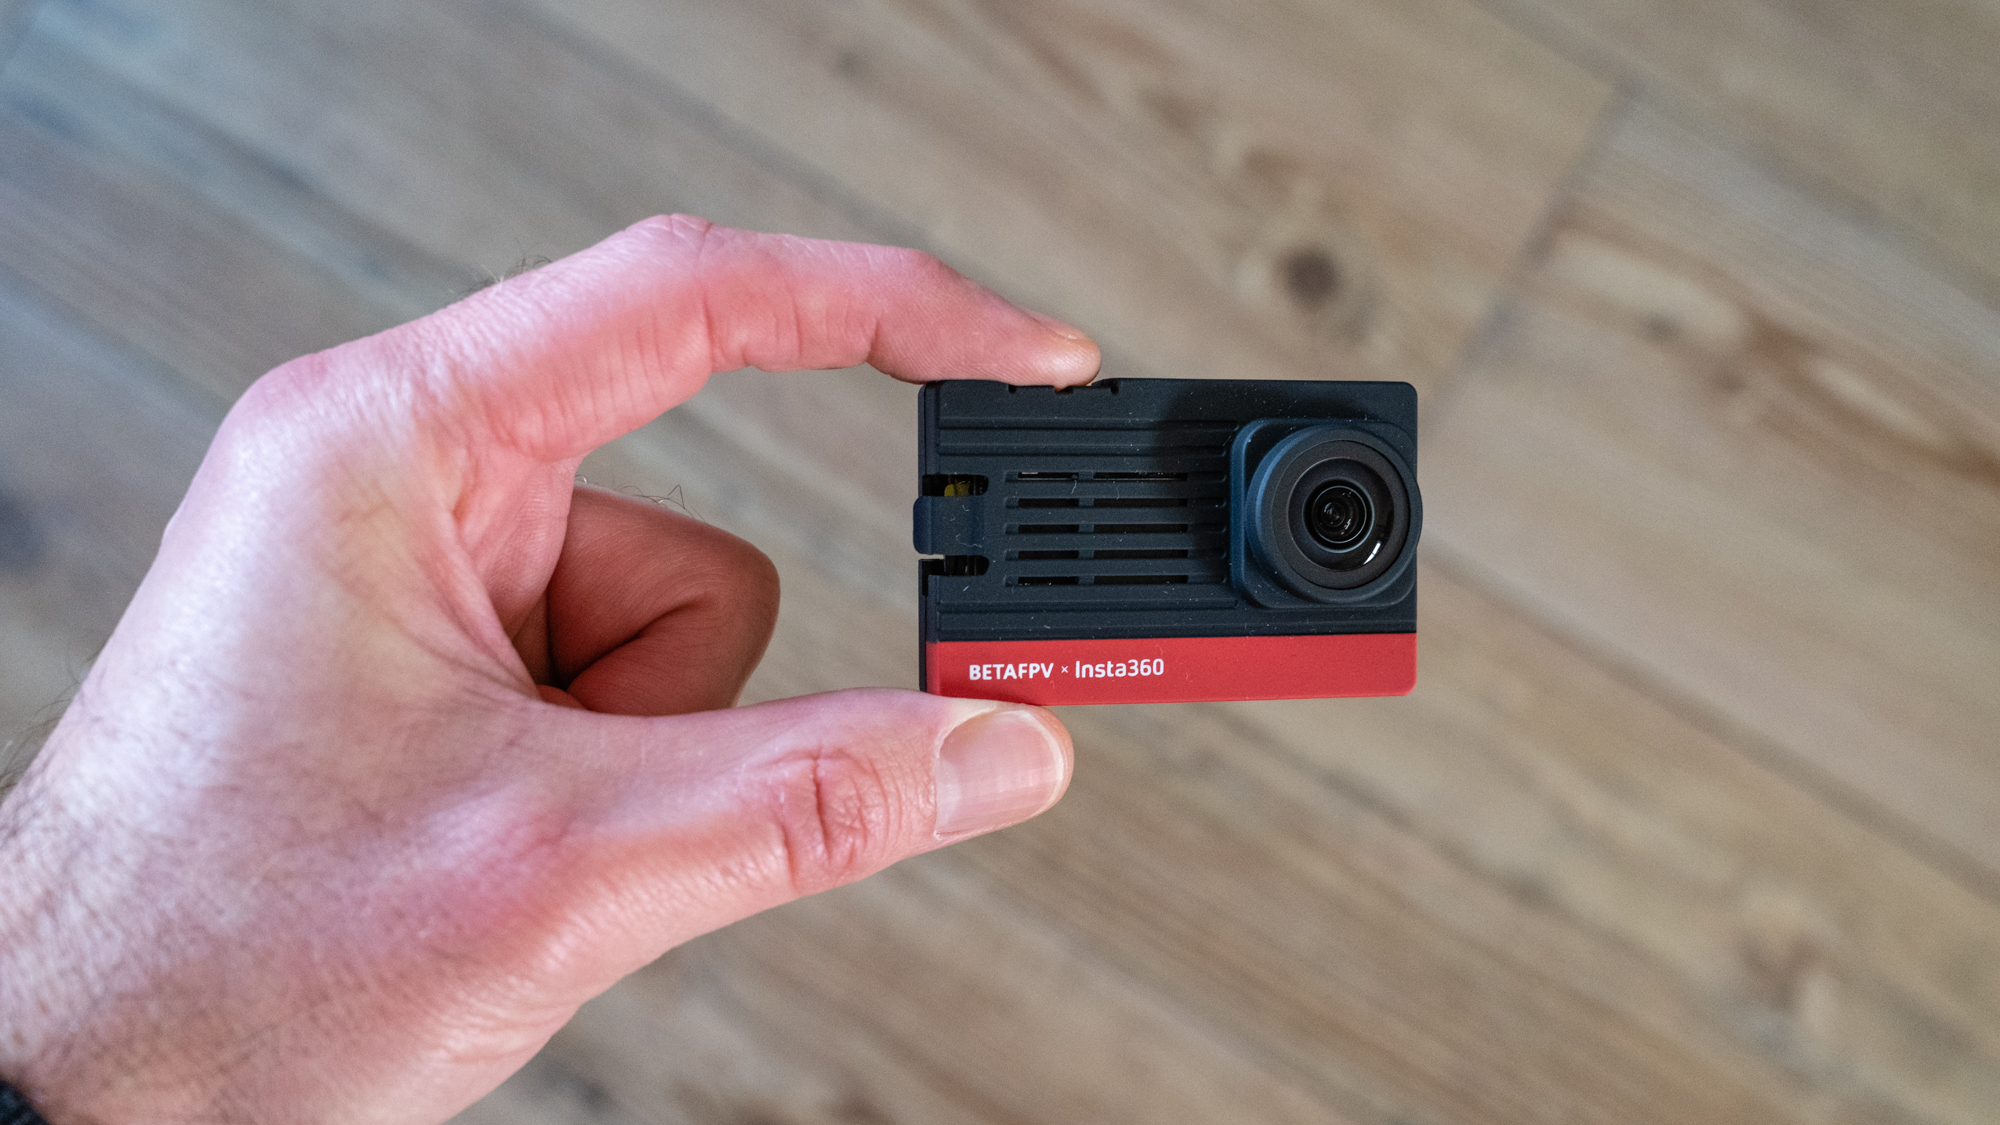
The Pavo25 can comfortably carry action cameras and naked action cameras that weigh up to around 60 g. There are plenty of options available, but one that works perfectly with the drone and is worth considering is the BetaFPV SMO 4K, which costs $204/£170. This is a stripped-down Insta360 One R and was a joint development between Insta360 and BetaFPV.
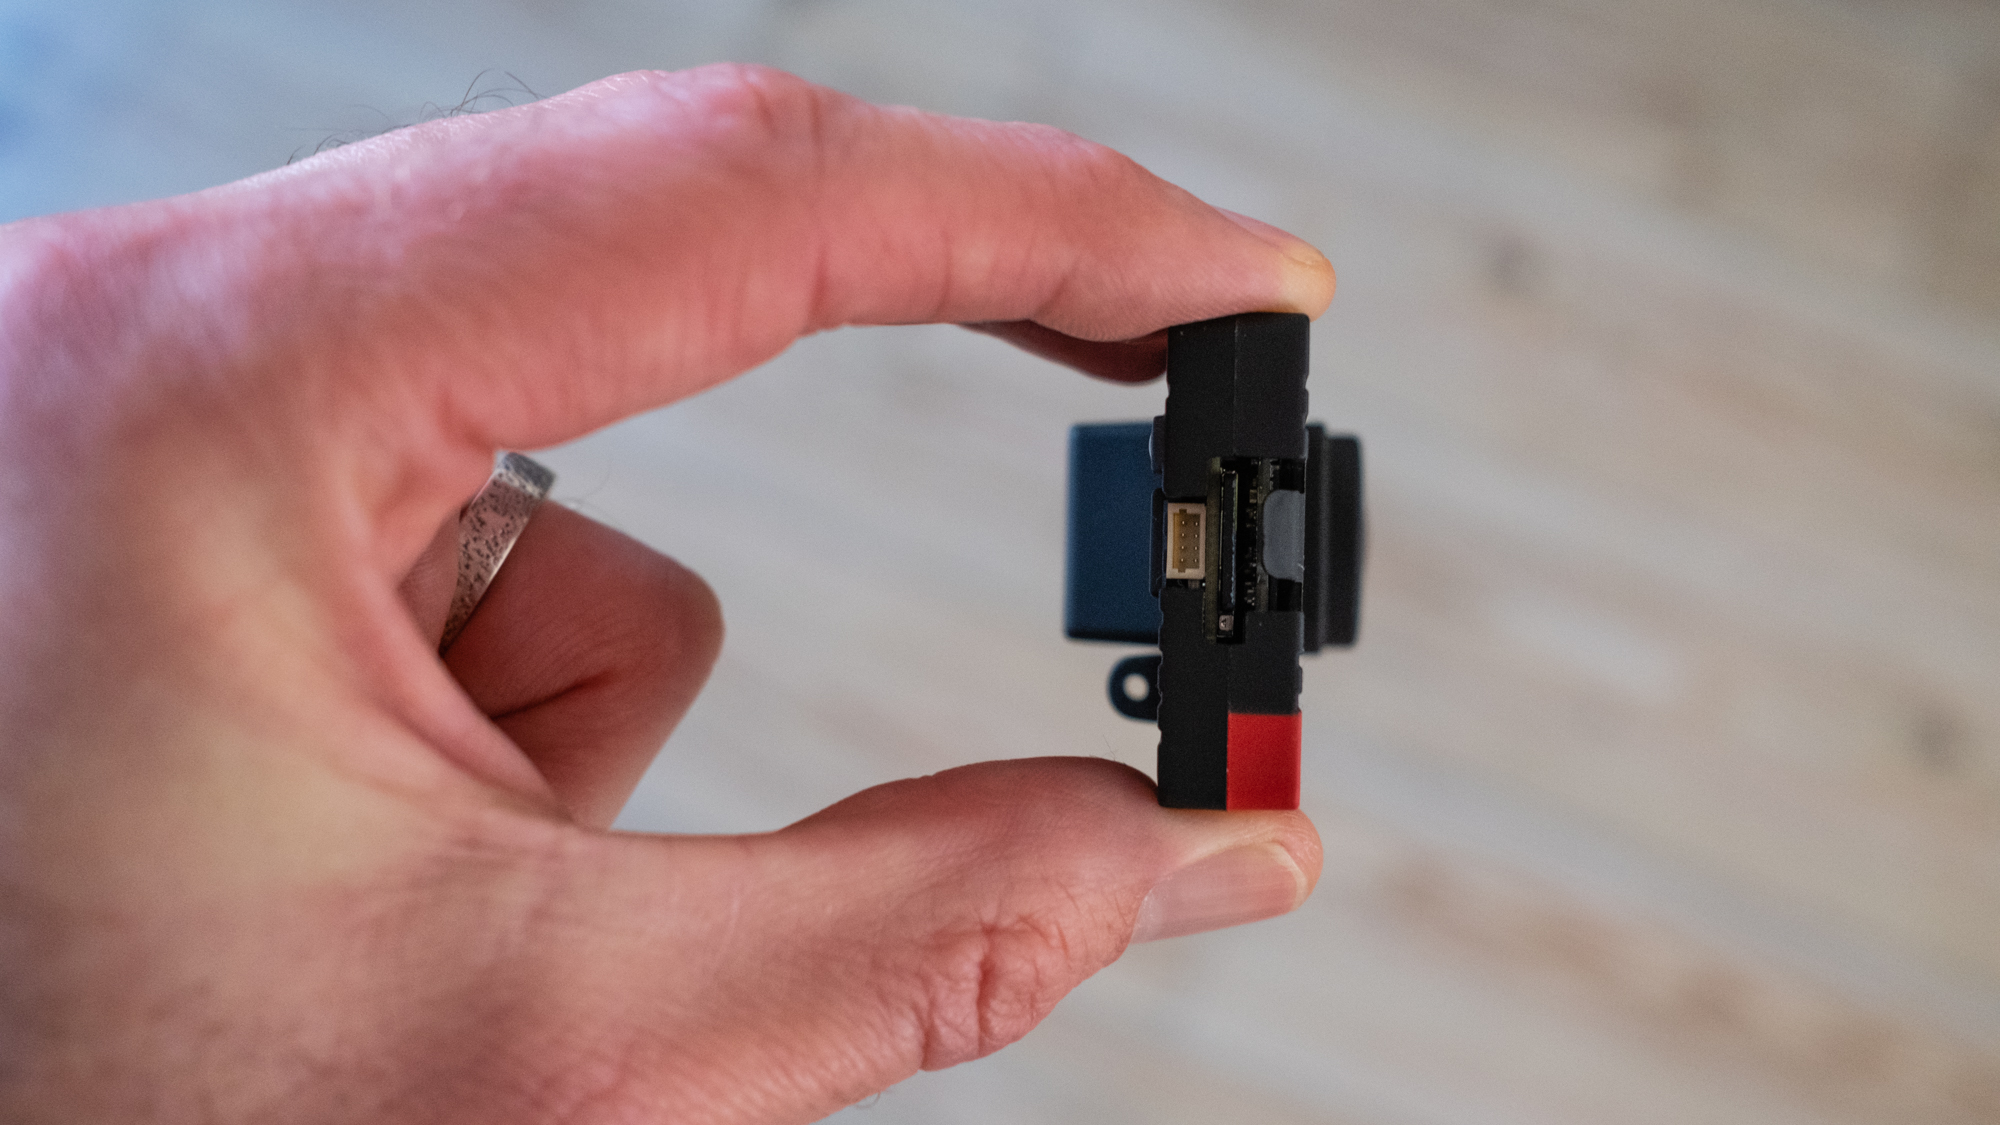
The SMO 4K is a matchbox-size camera that weighs just 35 g (including the mount that attaches it to the drone). It comes with a UV filter, ND 16 filter, spare back cover, a screwdriver, spare screws, a mounting screw, power cables for soldering onto the VTX, and a manual. You can also purchase cables to power the camera directly from the drone’s LiPo battery balance cable from other FPV manufacturers if you prefer. This is how we powered the camera during testing.
The camera is controlled by the Insta360 Android and iOS smartphone app where you can adjust settings and set exposure. Shooting can be initiated here, but after adjusting settings and exposure it’s easiest to disconnect the app and use the record button on the top of the SMO 4K to start and stop recording.
The SMO 4K can capture video in 4K at 24/25/30/60fps, 2.7K at 24/25/30/60/100fps, 1440p at 24/25/30fps, and FHD at 24/25/30/60/120/200fps. Video can be captured in Standard, Vivid, and Log profiles in H.264 and H.265 codecs with a maximum bitrate of 100Mbps. The Log profile is designed for color grading and provides greater scope to recover more detail and make adjustments than Standard and Vivid profiles. Video files can then be imported to the Insta360 Studio desktop app or smartphone app for basic editing and applying stabilization.
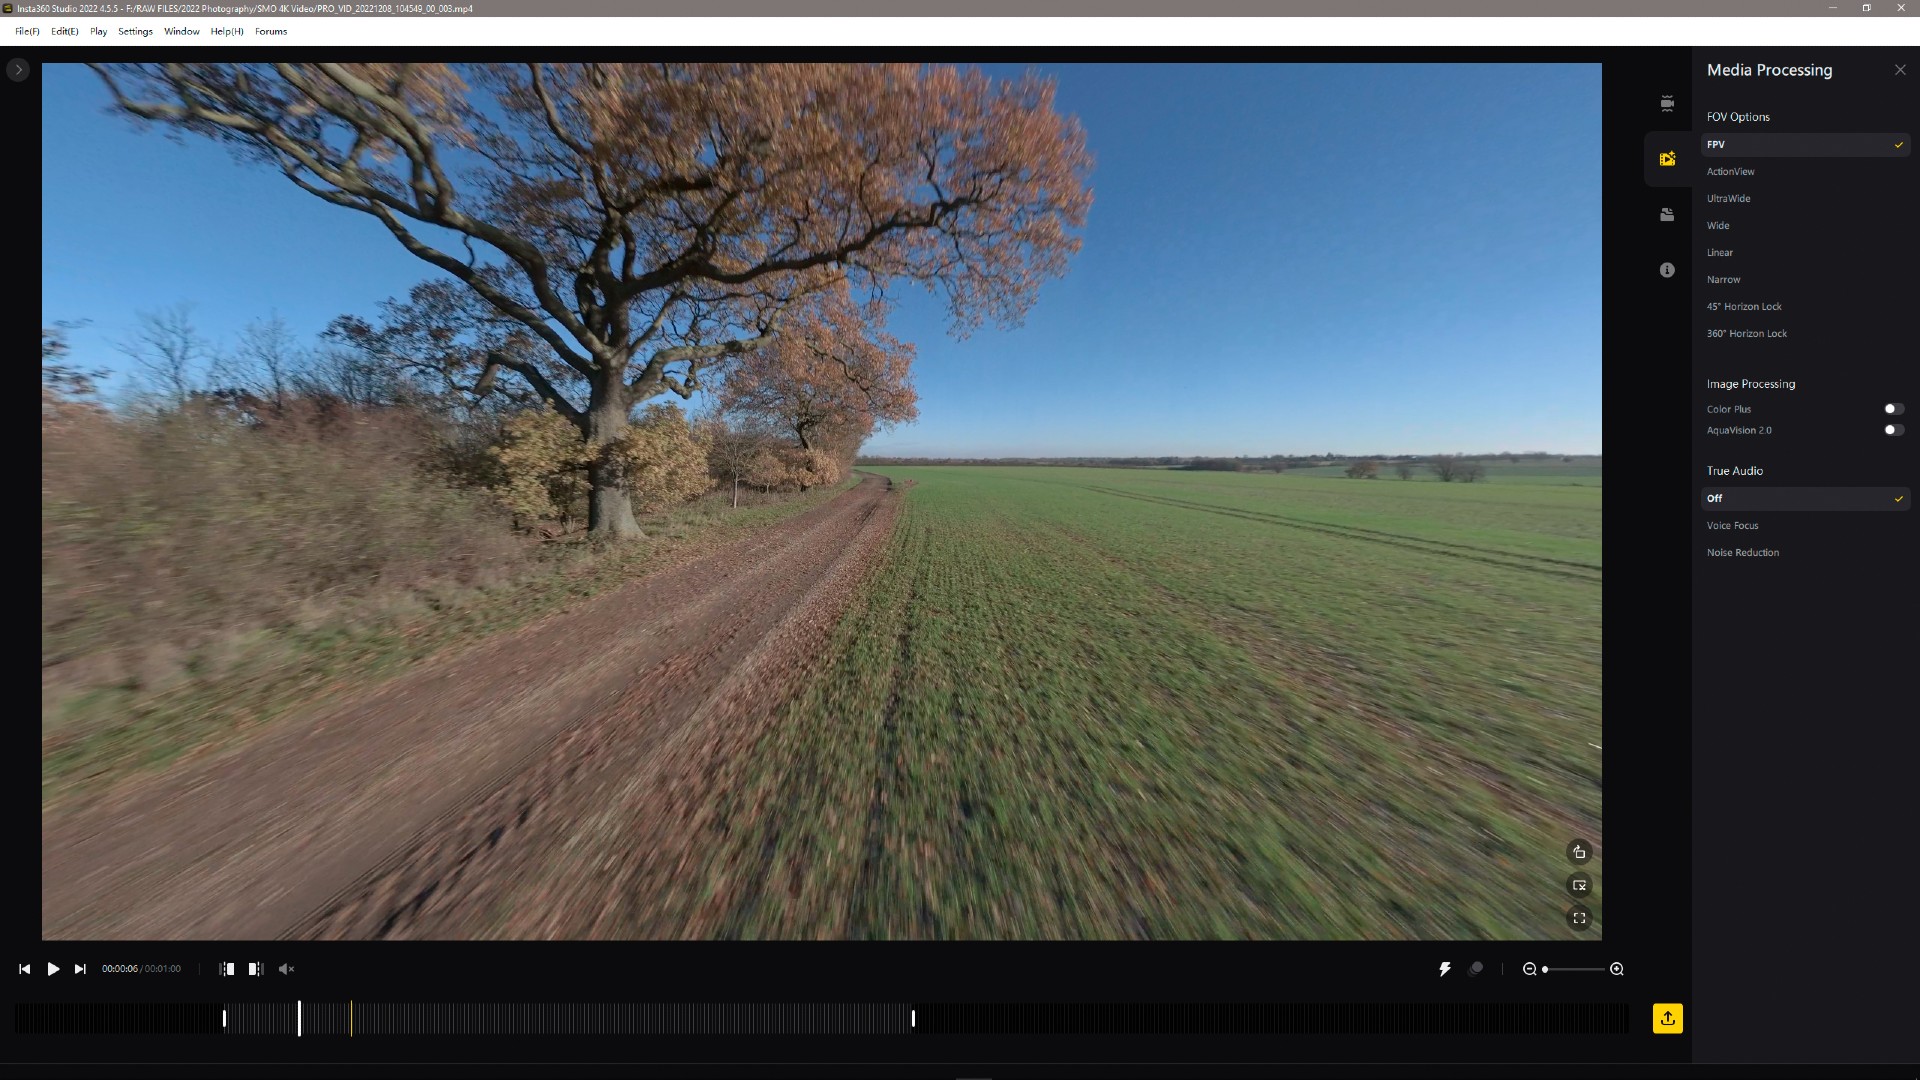
Image quality isn’t on par with GoPro cameras, but these cost more than twice as much as the SMO 4K. The SMO 4K is one of the best quality cameras available at its price point and size, and the footage is impressive for such a small camera with Insta360 Studio offering excellent image stabilization, field of view options and the ability to change video speed. More advanced video editing and color grading, for instance, has to be performed in a video editor such as Adobe Premiere or Davinci Resolve.
BetaFPV Pavo25 Walksnail Whoop Kit: Cost
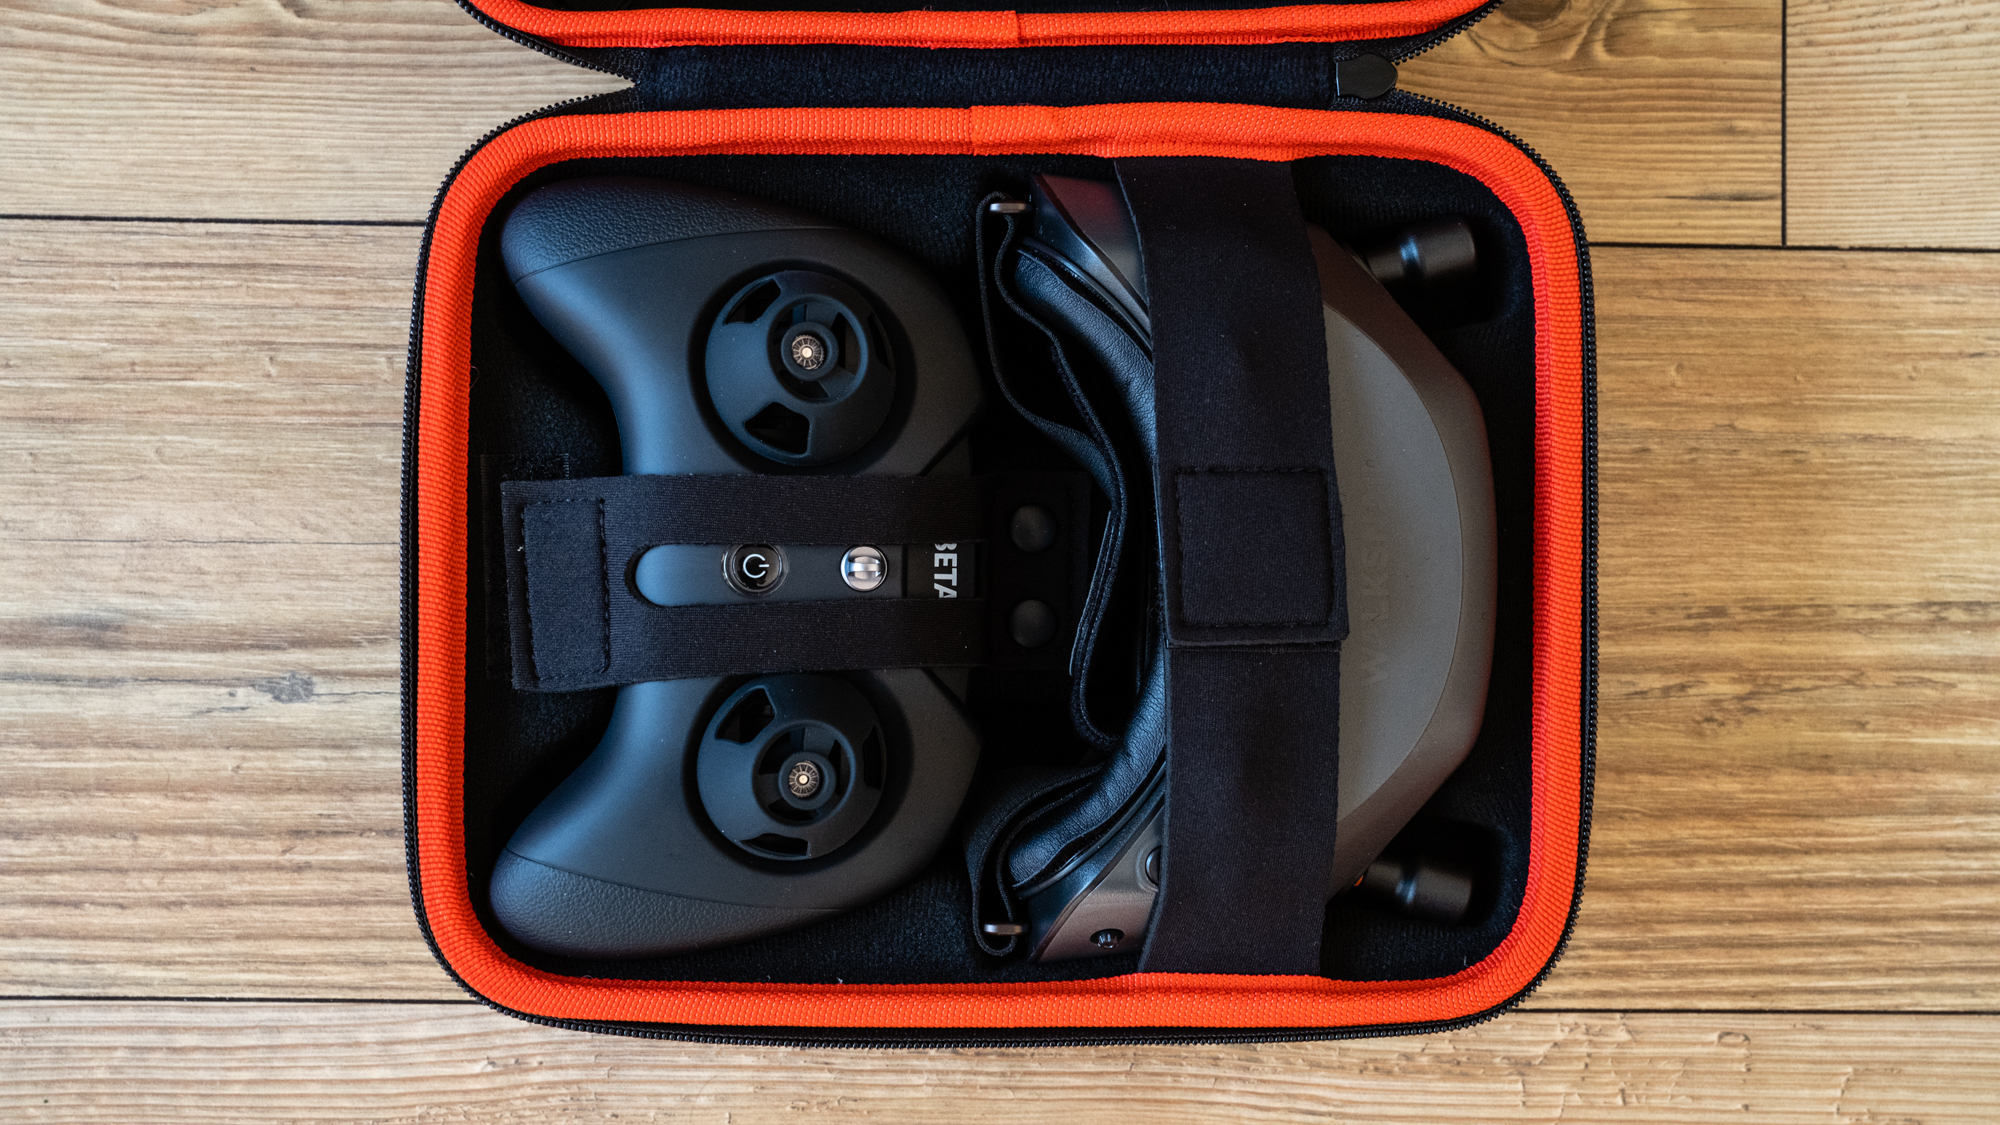
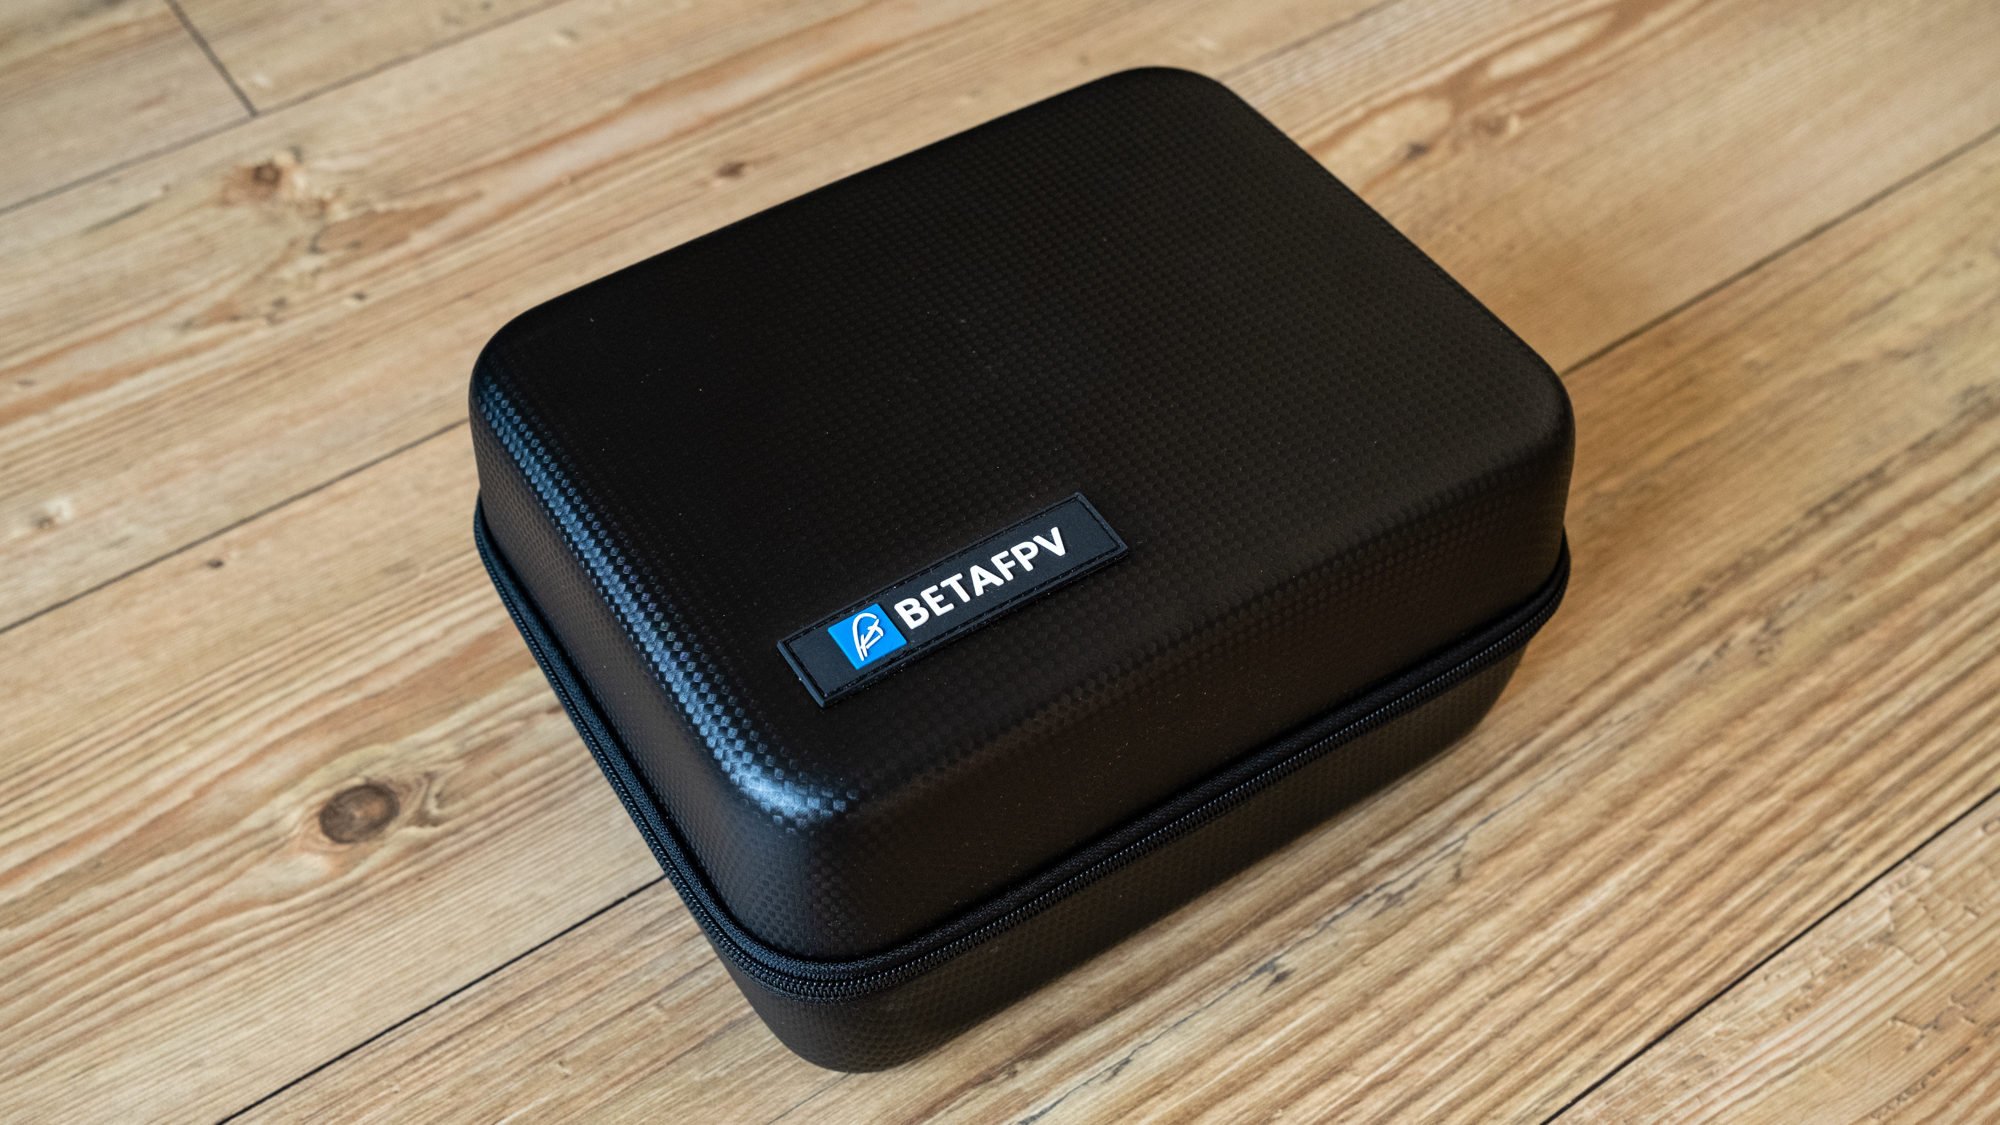
The BetaFPV Pavo25 Walksnail Whoop Kit costs $500/£418 and includes the Pavo25 cinewhoop drone, a BetaFPV LiteRadio 3 Transmitter, spare propellers, two 4S 850mAh batteries, cables, and a shell carry case that also accommodates the goggles to create an easily transportable package.
You’ll also need to buy compatible goggles and the two options available are Walksnail Avatar goggles or Fat Shark Dominator HD (Avatar) goggles, and both cost $599/£599. This, when added to the cost of the Pavo25 kit at $500/£418 takes the total cost of the kit to $1,099/£1,017. You’ll also need to buy a high-quality LiPo battery charger which will cost in the region of $80/£100, a battery pack for the goggles, and other accessories such as LiPo bags for charging, storage, and transportation of batteries.
Another accessory you’ll need in order to capture video is a small and lightweight action camera or naked action camera. The BetaFPV SMO 4K camera weighs just 35 g and is perfect for the drone, although it’s not the only camera the drone can carry. It’s a stripped-down or ‘naked’ Insta360 One R designed specifically for FPV drones and costs $204/£170, so you will also need to factor in this additional cost.
Should you buy the BetaFPV Pavo25 Walksnail Whoop Kit?
FPV drone kits make it easier than ever before to enter the exciting world of FPV drones where you can capture immersive video footage. The BetaFPV Pavo25 Walksnail Whoop Kit is great for FPV pilots who can comfortably fly FPV drones and is perfect for capturing cinematic video footage in combination with the ability to also fly basic freestyle.
Being a bind-and-fly kit means that you will have to be comfortable binding the drone, goggles, and controller. Firmware updates to the VTX require partially taking the drone apart, but this is easy to do. The kit is about as simple as you can get for such a high-quality FPV drone with an HD digital VTX, but it requires much more work than camera drones from the likes of DJI and Autel.
If this product isn't for you
If you’re an absolute FPV beginner, the Pavo25 Kit is an expensive and high-quality option that is more drone than is suitable for you at this stage. Crashing is common, even for experienced pilots, so you would be better off buying an RTF FPV drone kit such as the BetaFPV Cetus Pro kit to get started.
This kit comes with everything you need to get started; you simply need to charge the batteries, goggles, and transmitter/controller and you’re ready to get started. What’s more, this robust starter FPV drone offers beginner-friendly features and costs just $229/£196 making it an inexpensive introduction to FPV drones.
Alternatively, you might want to browse our best drones, best beginner drones, and best camera drones guides to see what kind of drone is right for you.
James is an award-winning freelance landscape and portrait photographer, as well as a highly experienced photography journalist working with some of the best photography magazines and websites with a worldwide audience. He’s also the author of The Digital Darkroom: The Definitive Guide to Photo Editing. www.jamesaphoto.co.uk
