Fancy playing with telescope images in your spare time?
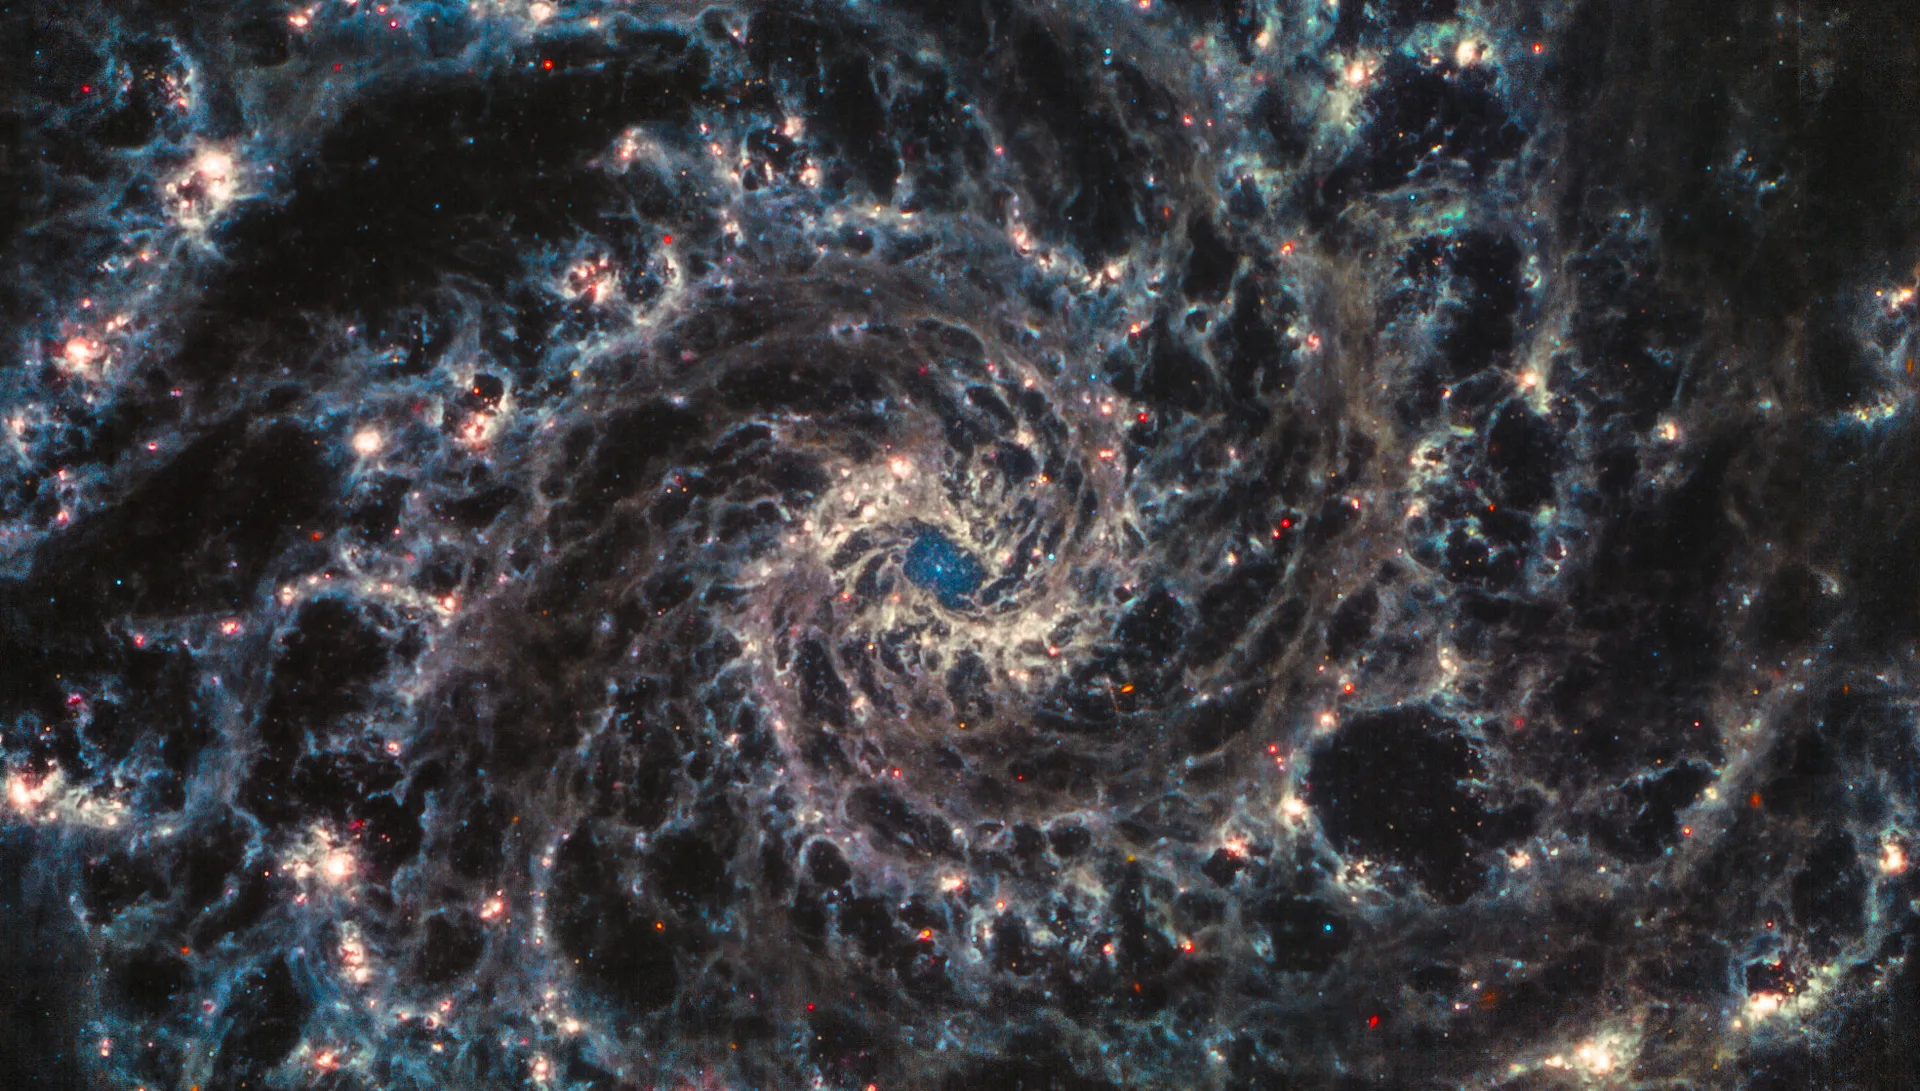
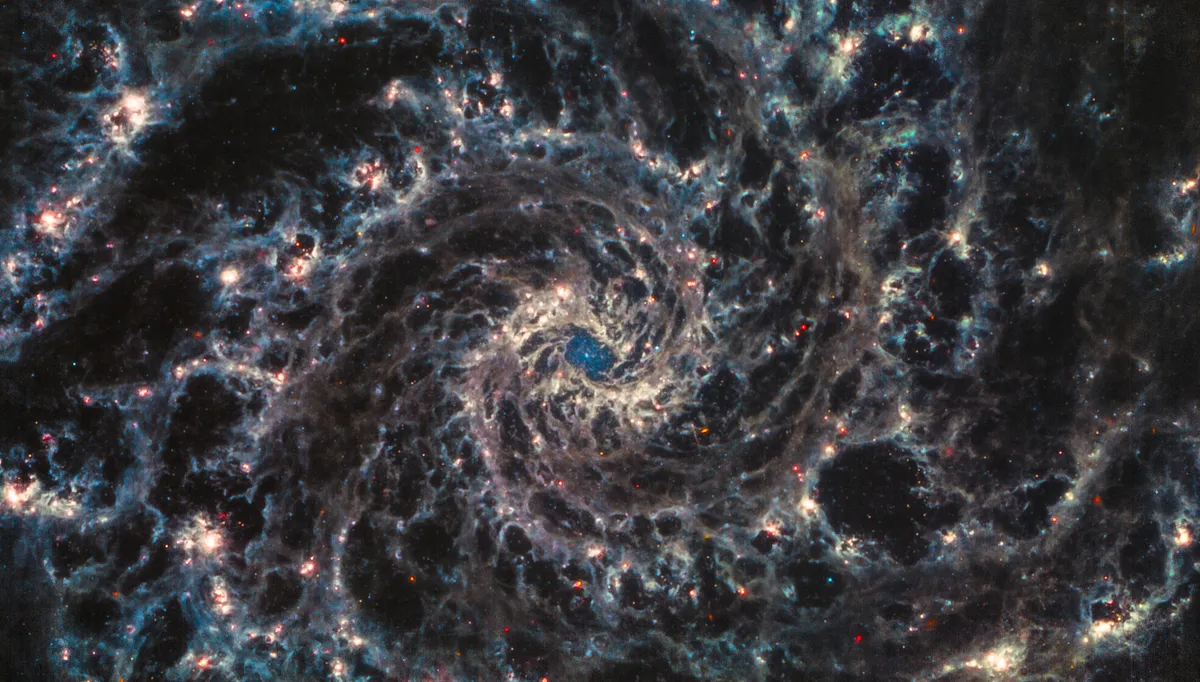
There's a large community of people using James Webb Space Telescope imagery to create spectacular imagery. Judy Schmidt is among them, having recently created a spectacular image of the Phantom Galaxy (M74) based on Webb data.
Schmidt sat down with Space.com to show the basics of how to make raw data into an image using free software, along with standard imagery programs like Adobe Photoshop. Schmidt has 10 years of experience, but says that anyone with interest can make beautiful images with a bit of experimentation and enthusiasm.
You can check out more spectacular imagery of Webb photos and other cosmic objects at Schmidt's Flickr page. Many of the concepts discussed below are available in her 2017 YouTube imaging tutorial.
Related: Stunning James Webb Space Telescope image shows stars forming in strange wheel-shaped galaxy
Gallery: James Webb Space Telescope's 1st photos

Judy Schmidt has been an amateur astronomical image processor for ten years now. She obtained a degree in graphic design and multimedia in 2003 from OSU-Okmulgee, and currently resides in Modesto, California with her son, cat, and spouse.
Space.com: For somebody who is brand new to this, where do I even look for these images? Where are the raw images stored?
Schmidt: It's part of the MAST archives [the Barbara A. Mikulski Archive for Space Telescopes.] Assuming we are looking for the Phantom Galaxy, its proper name is M74. We're just going to enter the name of that galaxy in the MAST search bar, just like if you were using Google. Normally, I like to use the advanced search because it's just easier for me to filter a bunch of things out.
[Editor's note: Look at the left-hand side of the MAST archives webpage for the advanced search parameters.]
- Click the checkbox under "Mission" that says JWST.
- We need to avoid the yellow and the orange results. The yellow ones are data you cannot access, and the orange ones are planned observations. To filter these out, scroll down to "Data Rights" and select "Public."
- Another thing that's very useful is "Calibration Level." That is the 'wrongness' of the data. Select Calibration Level 3 to get the images that have been aligned and matched.
- Also make sure to select "images" so that we're looking at images, and not spectra.
Schmidt: Once you have that, I'll explain the filters as quickly as I can. There's a column in the image information where it says "Filters." It's a piece of metadata showing what filter the telescope looked at an object in. For example, you can see on the MIRI [mid-infrared instrument] page that F770 is 7.7 microns. In this example, 770 is the shortest wavelength that these observations were taken in. It's important to know that because you want the shorter wavelengths to be bluer in your color image.
Space.com: That's naturally how it would be if you were using your eyes, right? Because red wavelengths are longer and blue are shorter, right? Although obviously, we're using an infrared telescope, so it wouldn't be fully analogous.
Schmidt: Yeah. The infrared filters, even though they are wideband, the different filters seem to contain different narrow emission lines.
Space.com: So overall, the key would be to get a variety of filters from different wavelengths. You want longer ones, you want shorter ones. How many, minimum, is good to work with? Two, three?
Schmidt: I download them all and I puzzle it until it looks right. Once you've selected your image, click "show filter" and you can see a thumbnail. With this M74 filter, I don't know exactly what I'm looking at yet because it's so small, but it looks awesome. If you want to take a closer look, you can click on a magnifying glass and the image will download it to your computer.

Space.com: Once you have your dataset selected, how do you begin working with it?
Schmidt: You click, "Add data products to download basket." Make sure not to download everything you see at first. Right now, I can see more than 1,000 files. I'd recommend you select I2D, the rectified 2D image. It's a FITS file, which seems to be pretty familiar for anyone who does astronomy. The FITS file is compressed into a ZIP file.
Open the ZIP file with FITS Liberator. It's free and it's available from ESA [the European Space Agency] so that people like me, and hopefully more amateurs, will get into image processing. Images often have an ultra high dynamic range, and we have to adjust it so that we actually see something. My favorite is to use a stretch function called ArcSinh. [Editor's note: Consult the FITS user guide for more information on all functions.]
Space.com: What does that function do?
Schmidt: It's taking the image from a linear display and basically applying a curve to that line, so that the darkest parts of the image become brighter, and then the brighter parts of image can just stay. Look for the histogram in this function. That's going to tell you where most of the pixels are, in terms of brightness. On the right side is the brightest part of the image, and on the left side is the darkest. You want to move the hill to the middle of the screen. When we do that, we have a cute little mound instead of a spiked, angry mound.
Space.com: Now I can actually see detail on the image. It's not all black.

Schmidt: Now save it as a 16 bit file. (A 32 bit is overkill, an 8 bit is pixelated.) When you do that, make sure you always have flipped image selected. Otherwise you get the view from the telescope, which has mirrors. I save it as a TIFF, which is a super common file format. Next I apply what's called an adjustment layer in Photoshop. [Editor's note: Consult the Adobe Photoshop user guide for more information.]
What's great about an adjustment layer is you can go back and forth while editing. You're not actually touching the pixels, which is called non-destructive image editing. That's what I like to do. I like to keep the original in its original state, so that if I screw up, I can go back and undo that.
As I said before, I recommend downloading as many filters as you can, and taking a close look at each one and then deciding. That's what I do.
Next, you'll have a grayscale image, so we're going to convert it to a standard RGB [red, green, blue] image. I put my one filter in a group, along with anything I'm modifying, like curves. I's just like a file system. I can modify everything in that group and then tell Photoshop that I only want this group to occupy the red channel. That makes a very basic color image.
Advanced tricks from here:
- Go to the Advanced Blending box. It's my way of isolating the filters into channels, such as setting one to only occupy the red, and another one only in blue.
- If there's nothing in the green, I can add another filter or create what I call a "pseudogreen channel." Basically, a pseudogreen is created by using the Channel Mixer. It takes half of the red, half of the blue, and puts those halves into the green channel.
- Make sure that your RGB channels add up to 100 percent, or as close to that as possible.
Space.com: If you ever get stuck about how to be manipulating an image, what are the steps you take to get yourself some help?
Schmidt: I don't have anyone to ask. There's no one. I just have to figure it out on my own.
Space.com: So you're diving into the settings for Photoshop. You're looking at the MAST website. You're also looking at the MIRI filter website that you showed me, along with any other instruments of course, and then taking it from there.
Schmidt: It's a puzzle for sure. But I've been doing this for 10 years now, so it's almost automatic for me.
This interview has been edited and condensed.
Follow Elizabeth Howell on Twitter @howellspace. Follow us on Twitter @Spacedotcom or on Facebook.