How to fly a drone: Three simple practice maneuvers to improve your flight skills
A brief introduction into how camera drone controls work with an explanation of three simple practice maneuvers that are guaranteed to improve your flight skills.
Breaking space news, the latest updates on rocket launches, skywatching events and more!
You are now subscribed
Your newsletter sign-up was successful
Want to add more newsletters?
Delivered daily
Daily Newsletter
Breaking space news, the latest updates on rocket launches, skywatching events and more!
Once a month
Watch This Space
Sign up to our monthly entertainment newsletter to keep up with all our coverage of the latest sci-fi and space movies, tv shows, games and books.

Once a week
Night Sky This Week
Discover this week's must-see night sky events, moon phases, and stunning astrophotos. Sign up for our skywatching newsletter and explore the universe with us!

Twice a month
Strange New Words
Space.com's Sci-Fi Reader's Club. Read a sci-fi short story every month and join a virtual community of fellow science fiction fans!
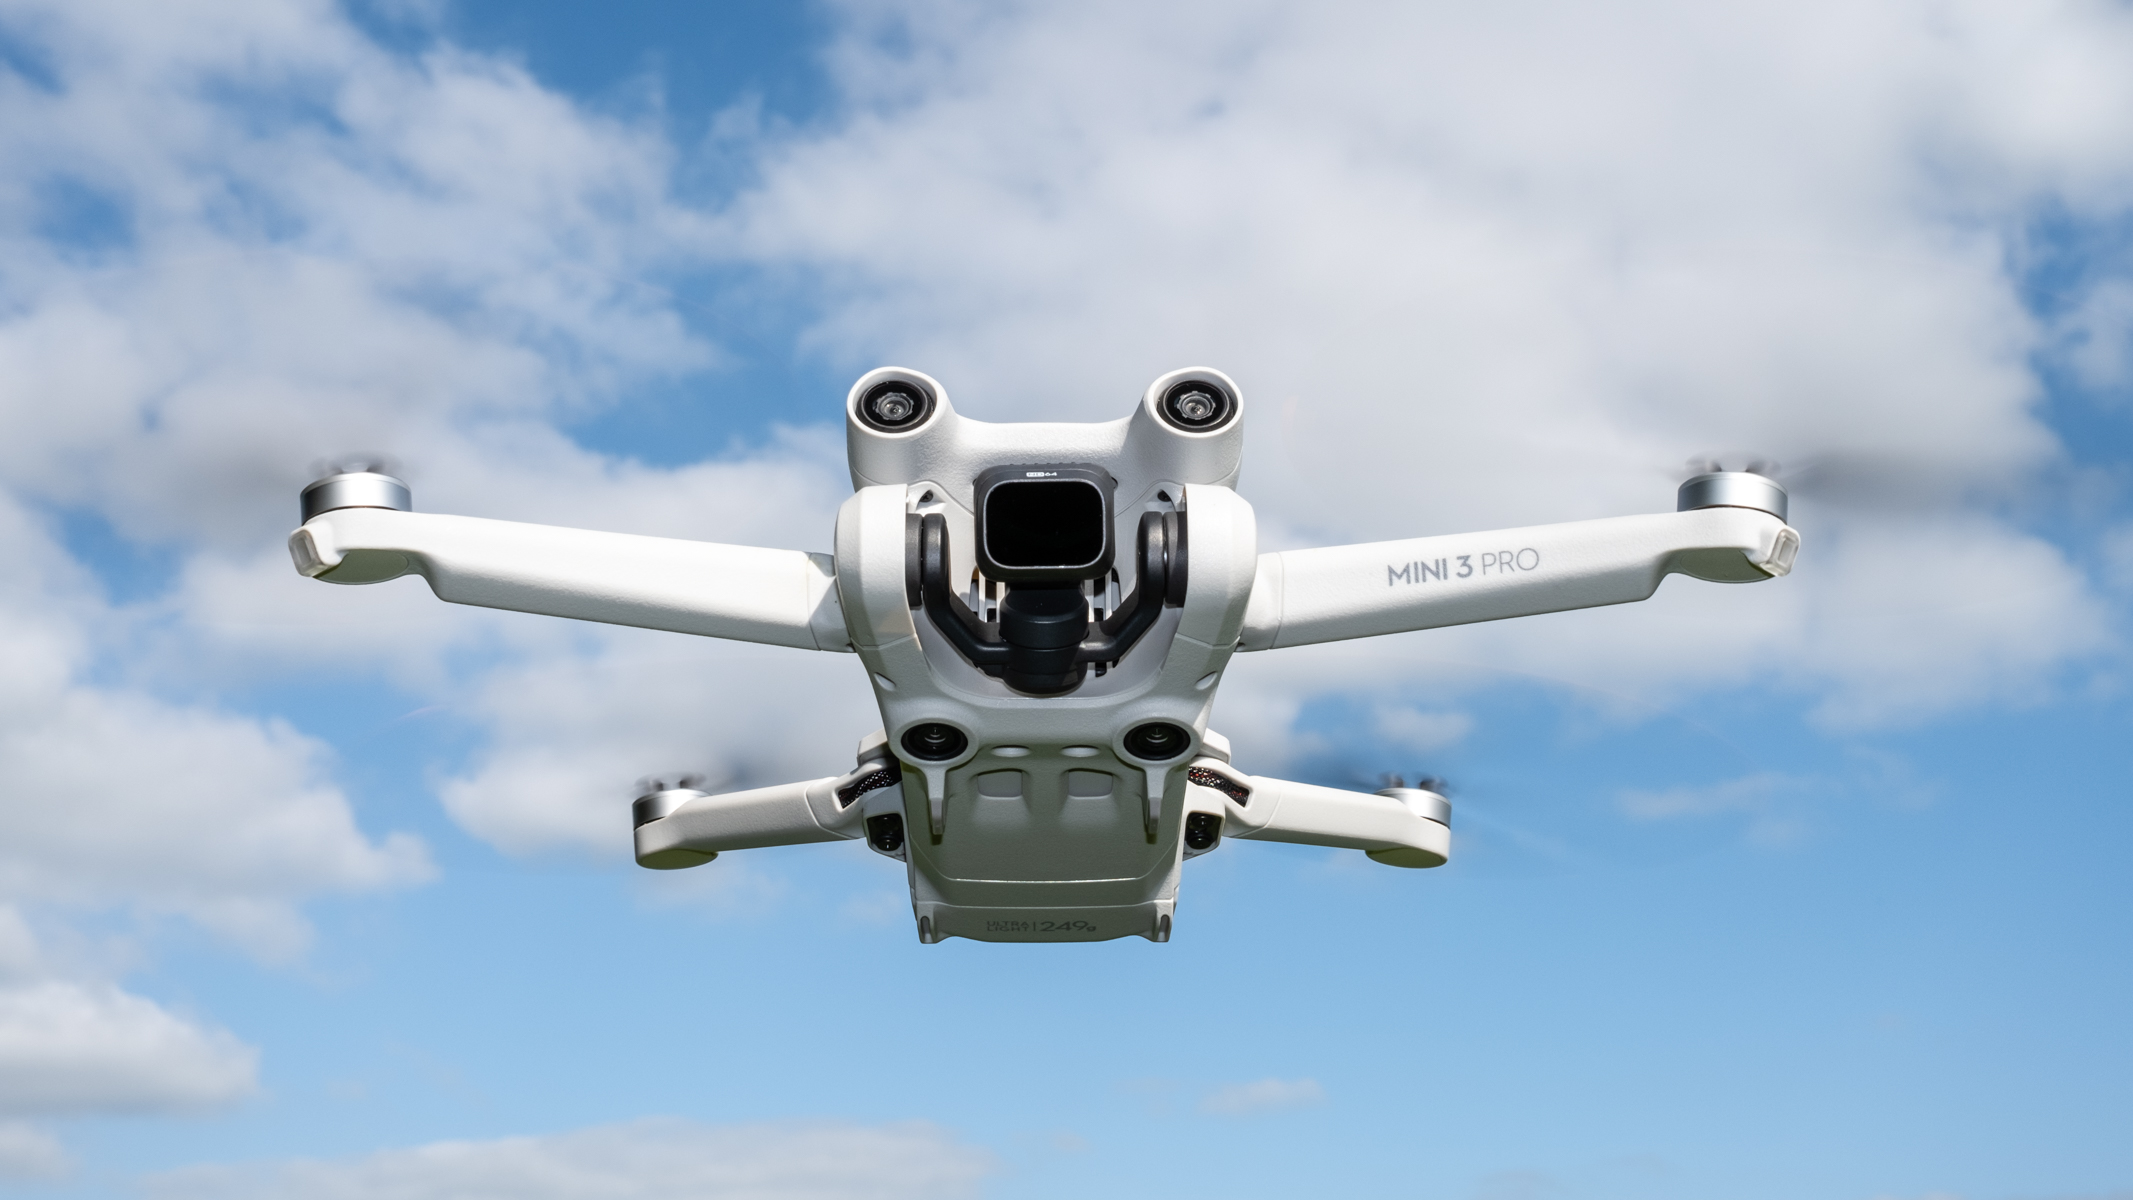
DJI Mini 3 Pro flying against a blue sky with 45-dree lines to show ascent and descent
GPS positioning also aids with other useful features such as Return to Home, where the drone will fly autonomously back to the take-off point at the press of a button or if the battery runs low etc. And don’t forget, when you release the controls the drone will stop midair and will simply hover while maintaining its position which is a great feature if you think you might crash.
The only time drone flight realistically becomes more difficult is when you’re trying to fly smoothly to capture cinematic video footage. Sure, most drones have a Cine mode or similar where the drone flies slower with reduced sensitivity of the controls to help achieve smoother flight, but even this mode requires careful operation of the controls. Not to mention, some situations require faster flight in Normal or Sports modes, so you can’t necessarily rely on the more subdued Cine mode.
How drone controls work
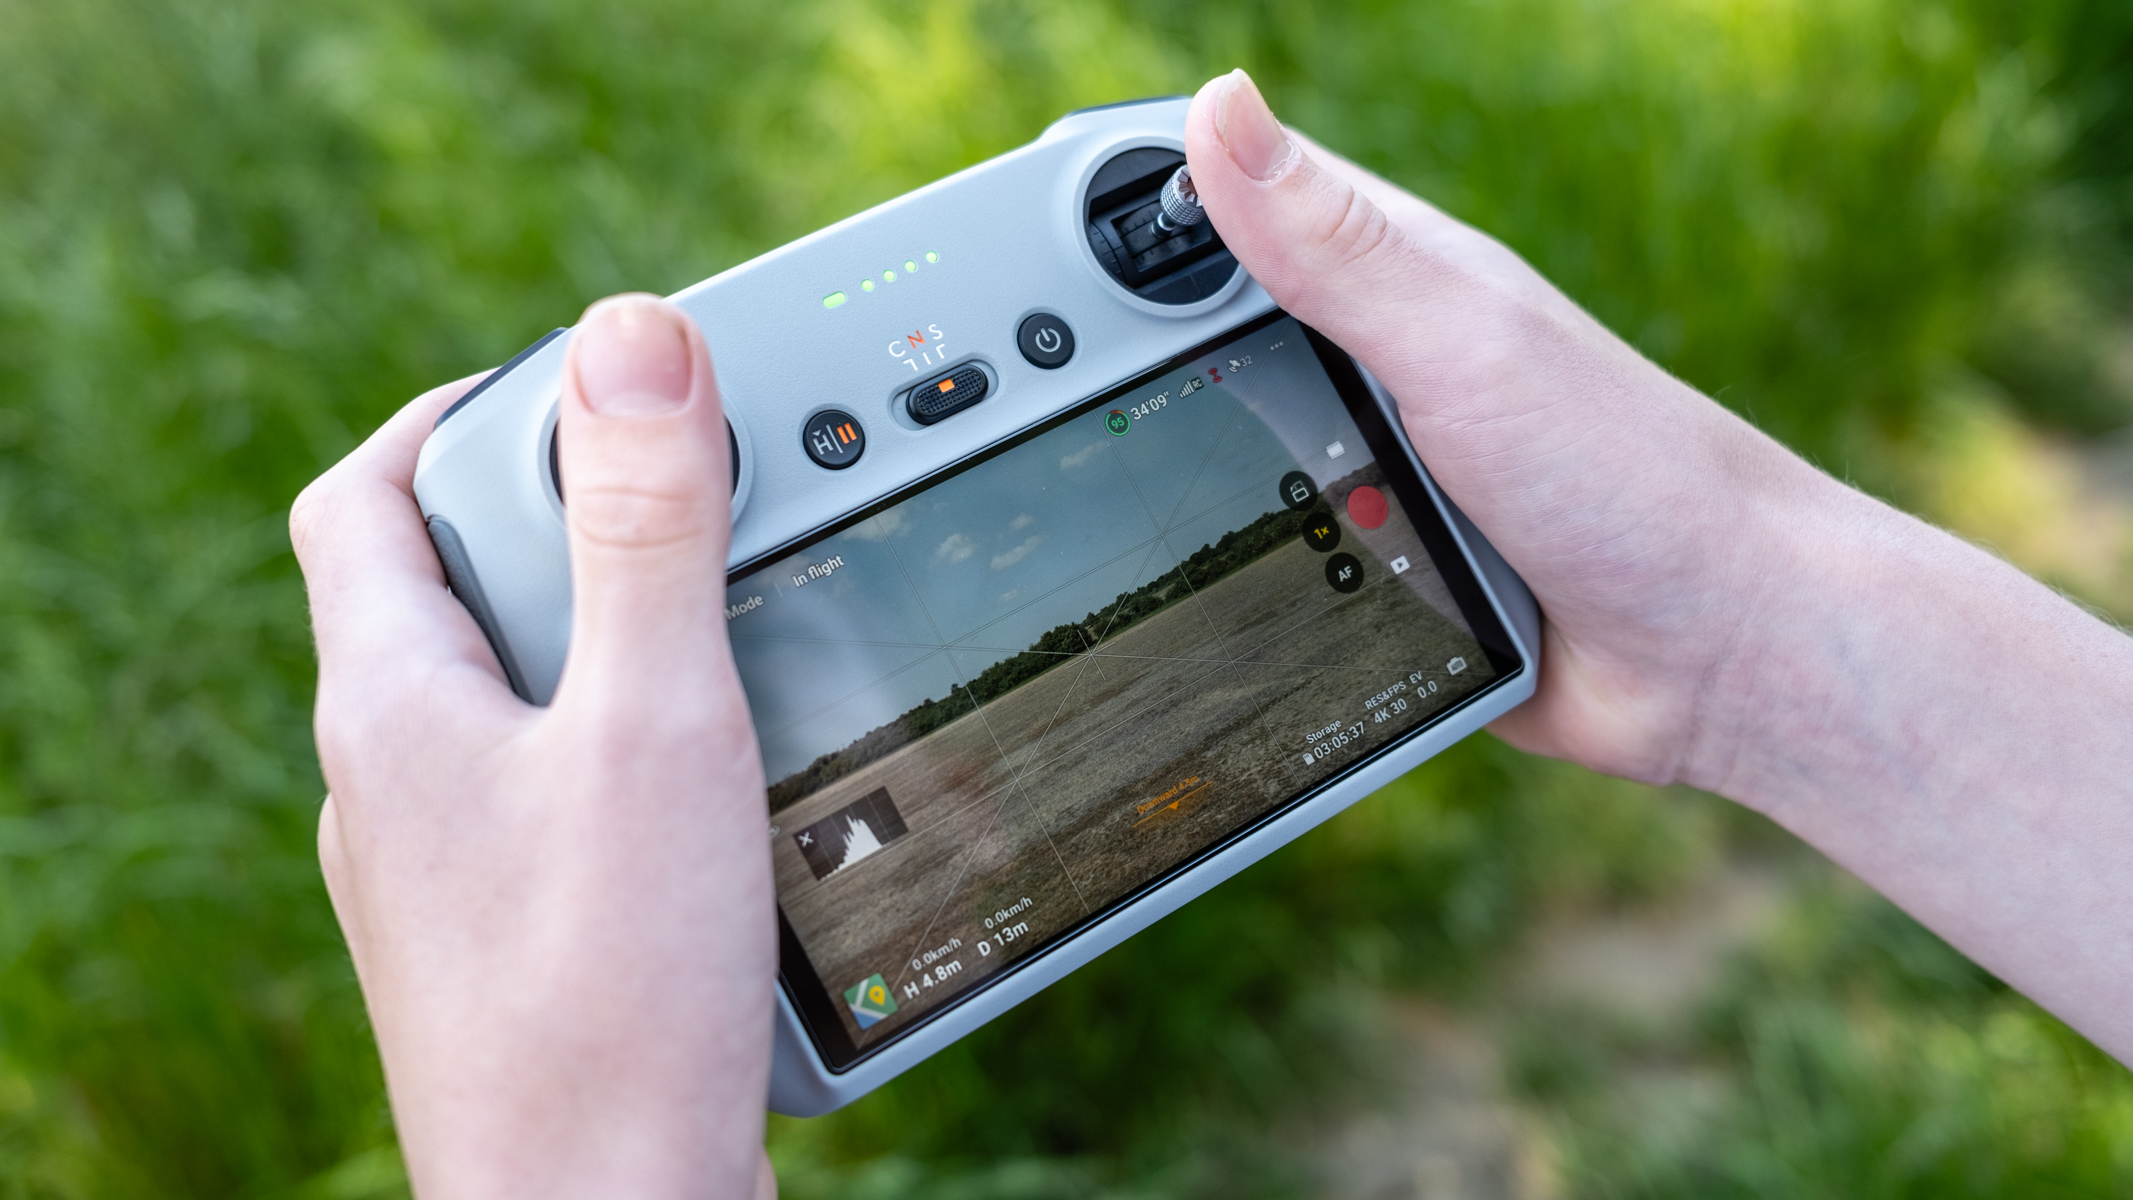
The first thing you need to get to grips with when you get a drone, beyond the drone rules and regulations where you live, is how drone controls work. Fortunately, despite the apparent complexity of drones most of us assume before we fly them, is that they’re incredibly easy to fly. There are only four controls you need to worry about when it comes to drone flight, so let’s take a look at what these are.
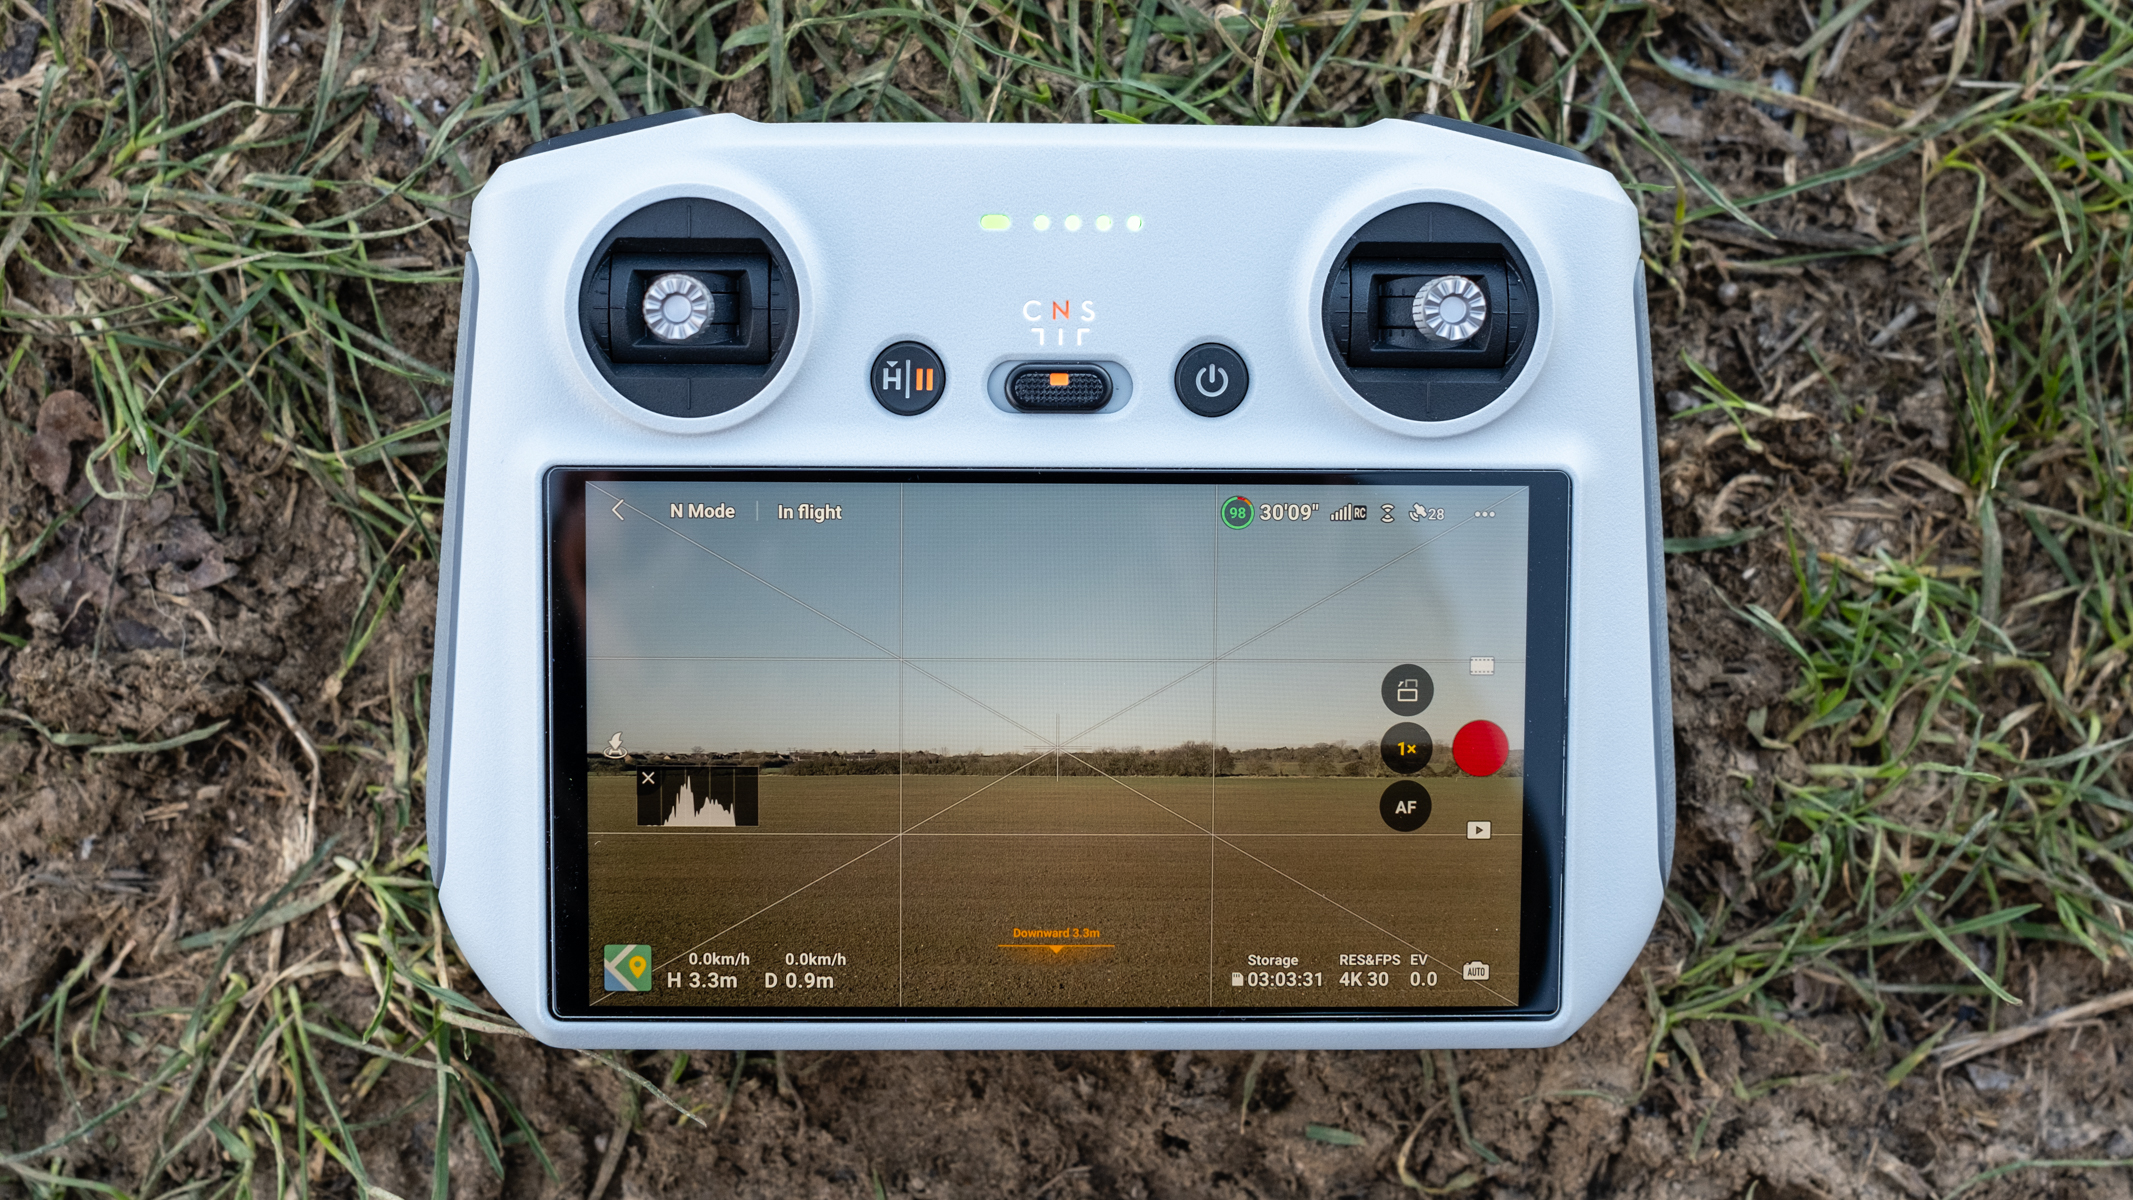
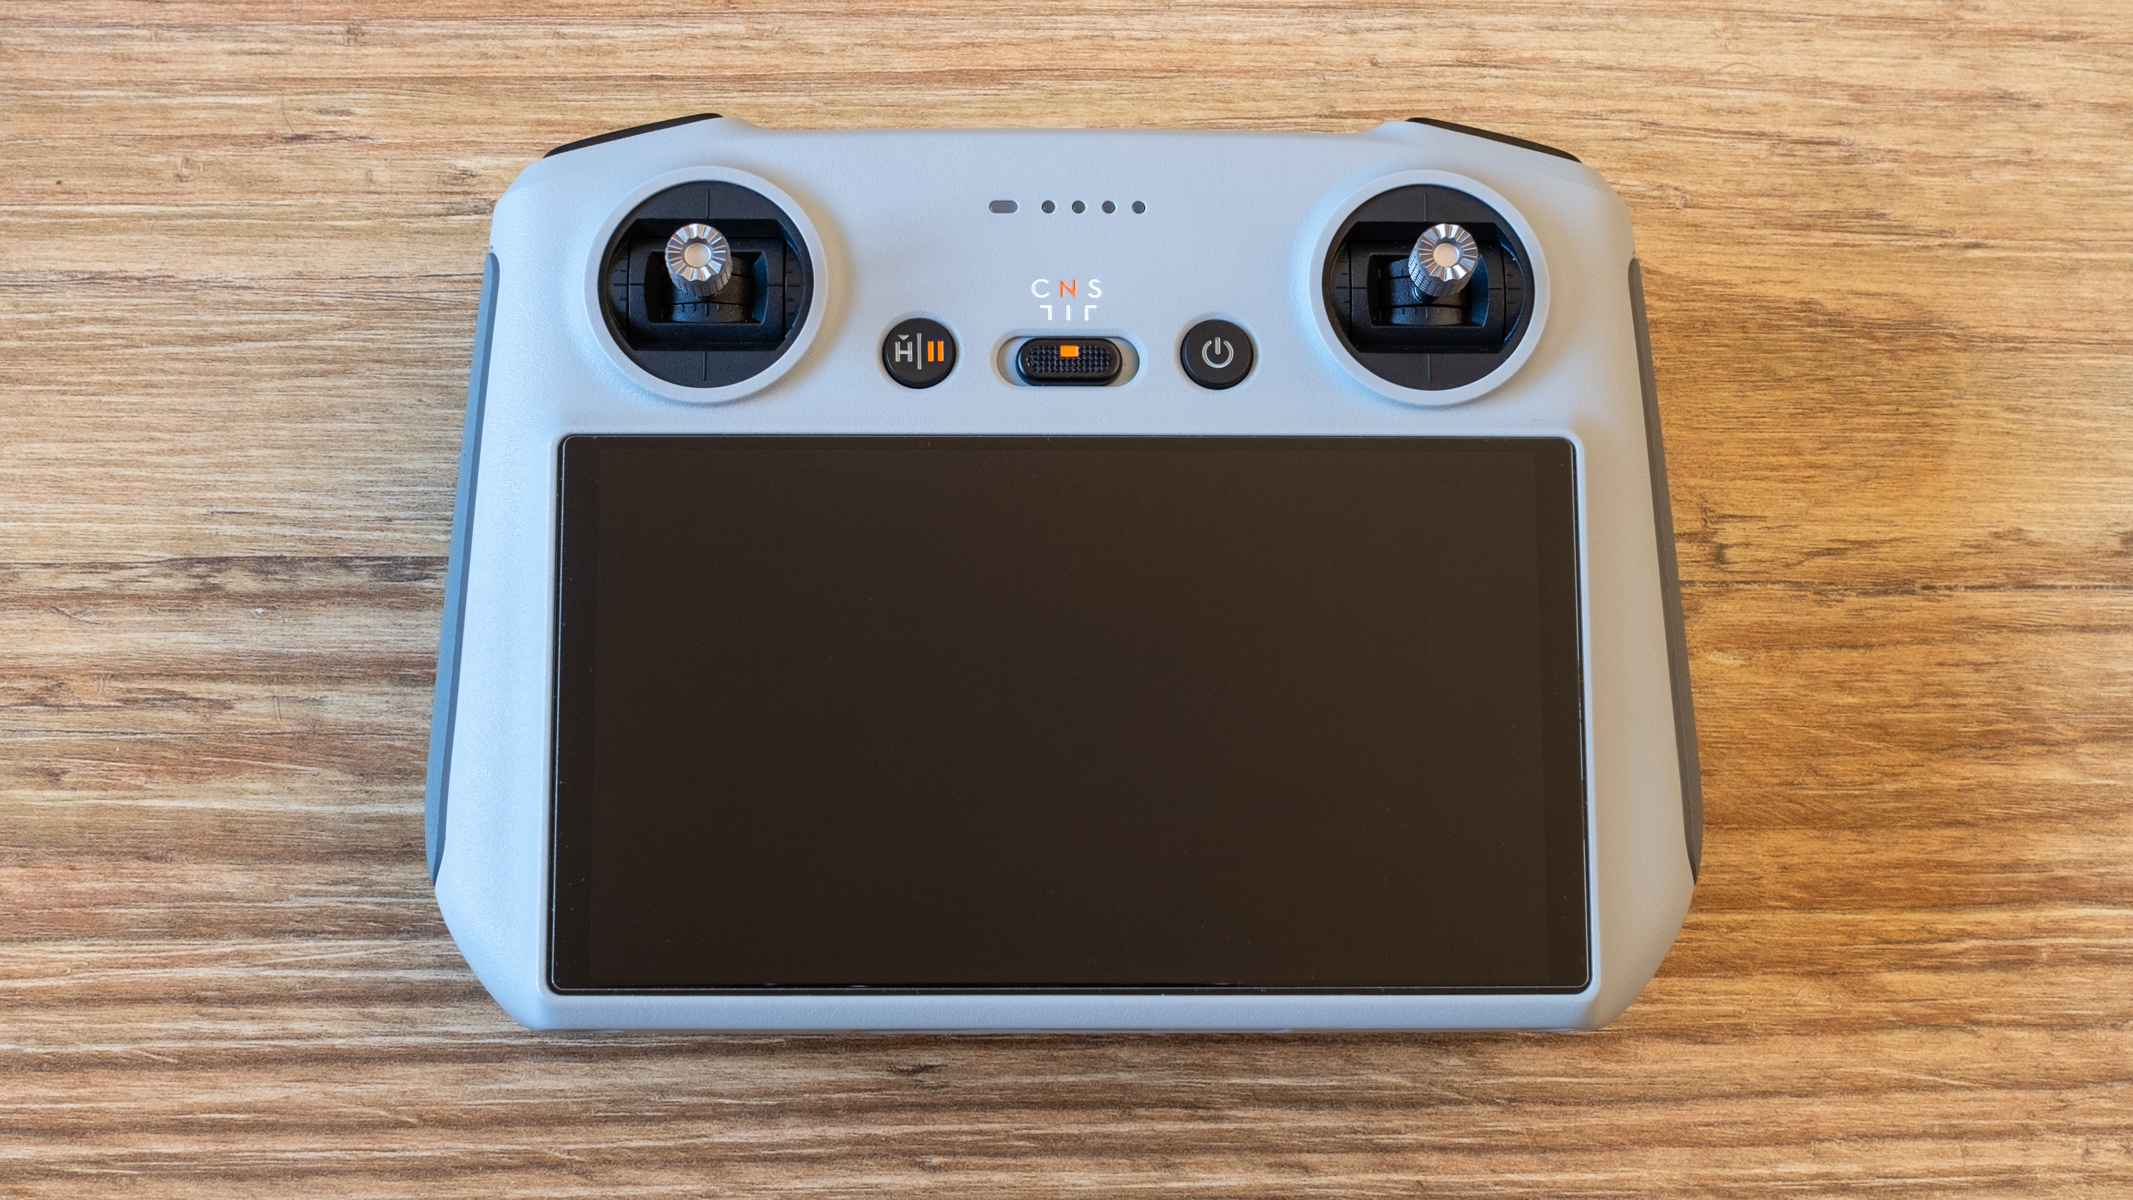
Drones are controlled using two control sticks which provide an intuitive flight experience. Each stick provides two different inputs that can be applied individually, in pairs, in threes or all four together depending on the maneuver you’re aiming for. These combinations generally become intuitive because they’re logical, but knowing what the control sticks do helps you to hit the ground running on your maiden flight. Like everything, practice makes perfect, so get as much flight time in as possible and routinely perform the practice maneuvers we’ll outline later.
Left control stick
The left control stick covers the throttle and yaw controls. When the left stick is pushed up, the throttle is increased which makes the drone gain altitude while pulling this stick down reduces the throttle which in turn reduces altitude.
Moving this control stick to the left or right applies yaw, which is where the drone rotates either left or right on the horizontal axis. Both of these controls can be combined, so if you were to move the left control stick to the position of one or two on an imaginary clock, the drone would rise while rotating slowly, which looks great with the camera facing straight down.
Breaking space news, the latest updates on rocket launches, skywatching events and more!
Right control stick
The right control stick covers the pitch of the drone and is the control that makes the drone fly forward, backward, to the left or the right. The flight mode you select (Cine, Normal or Sport) determines the speed of flight alongside how much the stick is pushed in the desired direction.
When you’re flying forward and want to turn smoothly while capturing video, you have to position the right control stick to 10 or 11 on the imaginary clock to turn left or one or two to turn right. The left stick will also need to be pushed outwards towards nine to turn left or three to turn right to apply yaw alongside the left or right pitch.
Simple practice maneuvers
Flying camera drones is incredibly easy, but we all typically assume that drone flight is much more difficult before we try it. That said, flying well and ultimately smoothly when capturing video does require greater skill and that’s exactly what these three exercises will provide alongside helping you get to grips with using both control sticks at the same time.
1. 45-degree ascent and descent
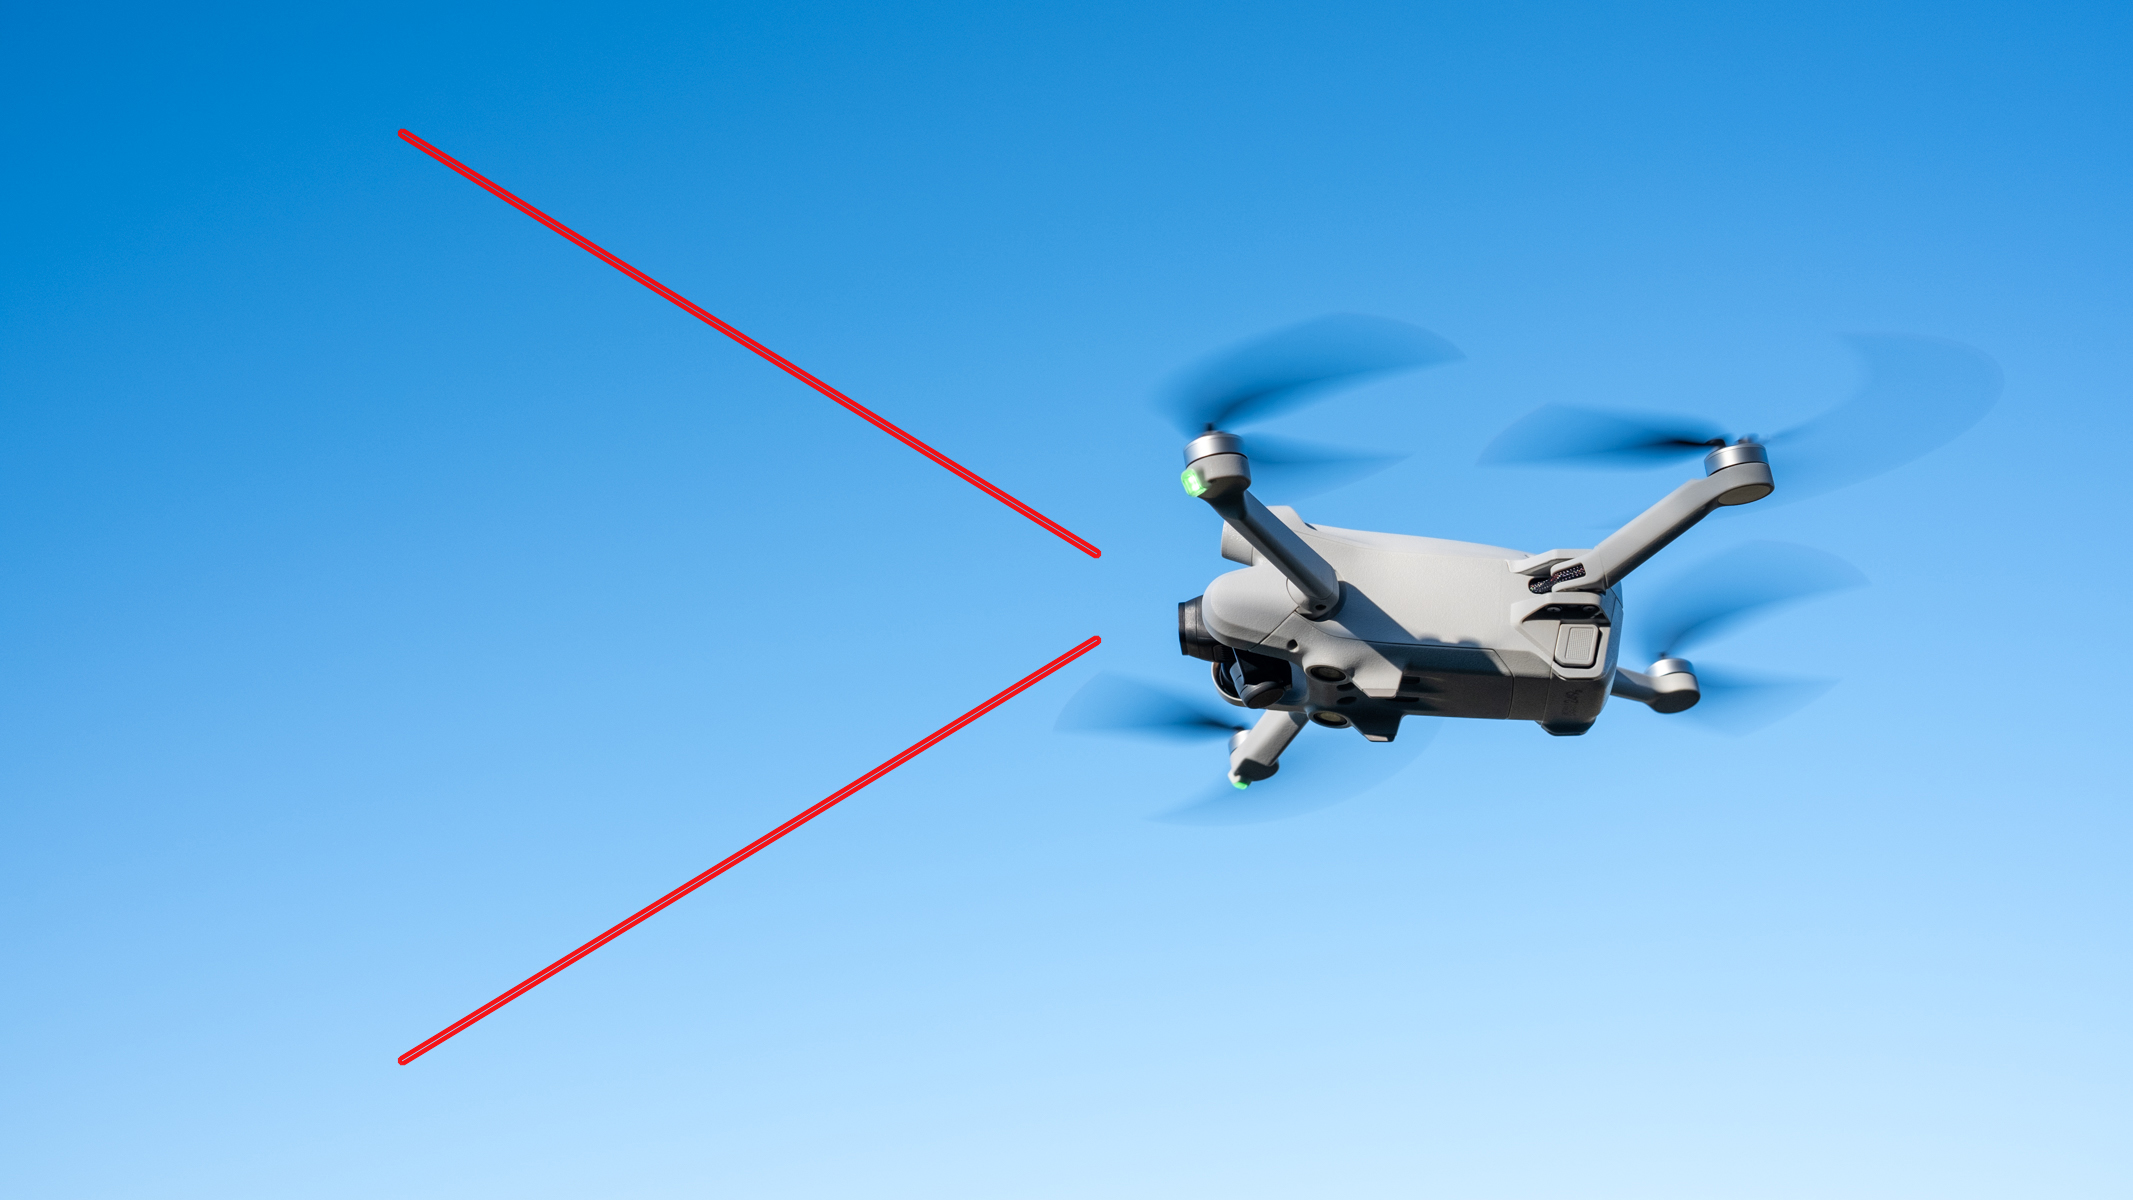
The 45-degree ascent and descent are all about smooth control and consistency and are two of the easiest to perform well, making them a great 'warm-up' for the other two maneuvers. This maneuver is pretty much self-explanatory; you simply fly forward at a 45-degree ascent, then a 45-degree descent and then perform both flying backward. These are both simple yet useful maneuvers for video capture that you’ll likely use on many occasions.
45-degree ascents and descents are self-explanatory in terms of the controls – you just have to fly forward or backward at a controlled speed using the right control stick. Once the flight speed has been set, simply increase the throttle by pushing the left control stick forward slightly to increase altitude or pull it down to decrease altitude. Try to do this slowly and over a short distance, which makes it more difficult.
2. The top hat
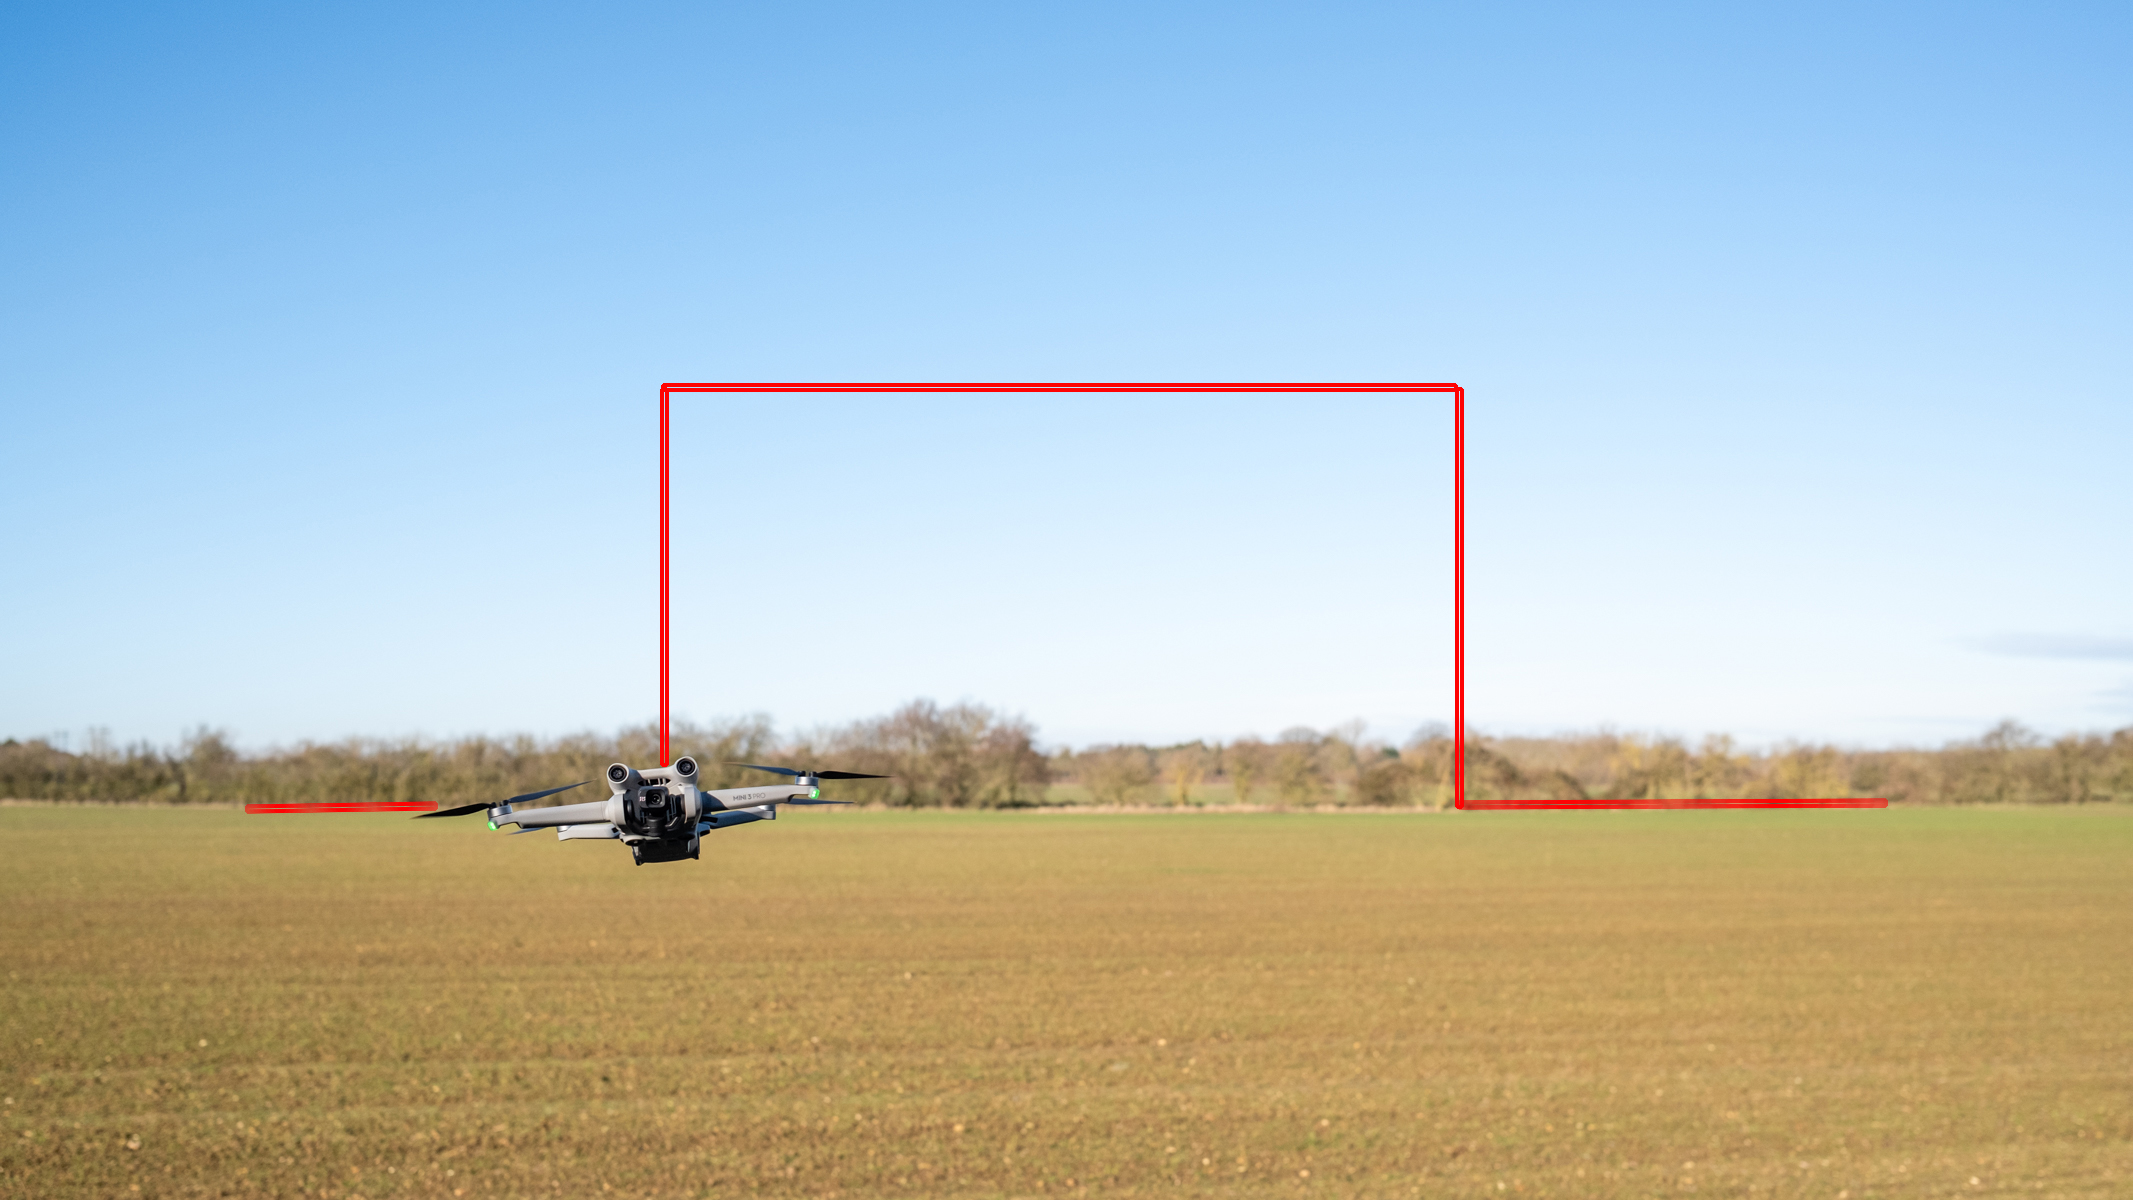
This maneuver is incredibly simple, but also one of the most important because it teaches you how to control the drone correctly whether it’s facing away from you, facing toward you or to the left or right. Having this experience not only makes your flights safer but also avoids control input mistakes when capturing video when the drone isn’t facing away from you.
Fly the drone in front of you, and with it facing away from you fly it in the shape of an imaginary top hat; to the right, up, to the right, down and to the right. Repeat the top hat but go back in the opposite direction to the starting position. Rotate the drone so it’s facing to the right and repeat the top hat shape. Do it again with the drone facing left and finally with the drone facing towards you where the left and right pitch controls are the opposite of what you expect.
3. Manual orbit
An orbit is where the drone circles a subject with the camera facing the subject, such as a tree, keeping it, ideally, in the center of the frame. You can position the drone at an altitude slightly higher than the subject and point the camera down to ensure that you can’t crash. Performing this maneuver manually is a great way to learn how to regulate the two control sticks in combination, as well as to maintain a consistent speed and rotation of the drone.
To perform an anti-clockwise orbit, first, move the right stick inwards towards nine on an imaginary clock and find a speed you’re happy with. Once this has been achieved, you need to move the left stick inwards towards three on the imaginary clock, but to a slightly lesser degree than the right stick to make the drone rotate right as it flies to the left. To perform a clockwise orbit, you simply move the two control sticks in the opposite directions.
Get started with drone video
Once you’re confident with how drone controls work, it’s time to begin incorporating your flight skills into capturing cinematic video. Combining the two does require practice, but with the maneuvers we’ve suggested above, you’ll already be most of the way toward success. To learn more about how to set up your drone correctly to capture video, check out our beginner’s guide to drone video.
James is an award-winning freelance landscape and portrait photographer, as well as a highly experienced photography journalist working with some of the best photography magazines and websites with a worldwide audience. He’s also the author of The Digital Darkroom: The Definitive Guide to Photo Editing. www.jamesaphoto.co.uk
