Editor's note: Contributor Nola Taylor Redd enlisted her children — Dawn (12), Michael (10), Jimmy (8), and Candy (6) — for this project. Here is her first-person account of the process. The project took them approximately an hour to complete.
When Italian astronomer Galileo Galilei heard rumors of the first practical telescope at the beginning of the 17th century, he was quick to craft his own version and turn it toward the heavens. Following his pattern, you can make your own Galilean telescope at home and use it to study the stars, just as the well-known astronomer once did.
A do-it-yourself Galilean telescope makes an excellent and inexpensive starter telescope — or science fair project. It is limited by its small field of view, but can inspire an even deeper study of the stars. [Related: Best Telescopes for Beginners]

A Galilean telescope is, in essence, a tube with two lenses placed at either end. The eyepiece is a plano-concave lens, which is flat on one side and curved inward on the other. The straight side is pointed outward. At the other end is the objective lens, a concave-convex lens, which curves inward on one side and outward on the other. The convex side faces outward.
Most of the materials you'll need can be found at office supply stores or hardware stores. However, lenses will likely be your most challenging item to purchase. They can be bought from a variety of sources. Edmund Optics has a variety of high-quality sizes and focal lengths that can be matched to achieve your magnification goal. However, we went with a smaller surplus company that ships, in part because they are relatively close to us (we took the time to get feedback from the owner on our purchasing decisions). Their stock is less expensive, but also somewhat touch-and-go.
Magnification & focal length
A telescope's power, or magnification, has to do with its lenses. Magnification is determined by the focal length of the telescope divided by the focal length of the eyepiece. Focal length is the distance from the lens to the point where the telescope is in focus, and is measured in millimeters.
For example, using a 50-millimeter lens on a telescope with a focal length of 450 mm would get you a power of 9x. Generally, the longer the focal length of the telescope, the more power it has, the larger the image and the smaller the field of view. By exchanging lenses, you can change the power of the telescope.
Choose a scope
This article presents two methods of constructing a Galilean telescope — a cardboard tube created by the Galileo Project, which inspired our construction, and a PVC-pipe telescope, which we wound up using for our final project. The cardboard appears to be far simpler of the two. However, it results in a telescope with a magnification of 9x, while our final PVC telescope has a magnification of 20x, much like the telescope Galileo used to discover the four dominant moons of Jupiter.
The nature of a Galilean telescope means that greater magnification requires longer length, which results in a more unwieldy telescope. You should keep in mind, too, that a Galilean telescope has a small field of view, which means, for instance, that you won't be able to study the entire face of the moon at once.
While it won't be able to pick out the Galilean moons, a telescope with a focus of 9x should be able to see features on Earth's moon, including shallows from the plains, valleys and mountains. Details of Jupiter, such as its famous Great Red Spot, will not be visible at 9x, and Saturn's rings should be visible as a disk, but not with great detail. However, for students who have not yet observed the heavens, a 9x Galilean telescope should make an exciting starter scope.
Building a simple Galilean telescope (about 9x magnification):
To build a simple cardboard Galilean telescope with a magnification of approximately 9x, your materials will need to have the following specifications:

Cardboard telescoping mailing tube, with an inner and outer tube that telescopes. These can be found in most office supply stores:
- Diameter of 50 mm (about 2 inches)
- Length of 1,100 mm (43.3 inches)
Lenses, which can be purchased
- Concave-convex lens: Diameter of 49 mm, focal length of 1,350 mm
- Plano-concave lens: Diameter of 49 mm, focal length of 152 mm
Note that the focal lengths of the lenses are 1,350/152 = 8.88.
Tools
- Coping saw
- Box cutter
- Drill or electrician's punch
A telescoping mailing tube will have an inner tube that slides freely into the outer tube. Cut two pieces from the inner tube, approximately 1 to 1.5 inches (2.5 to 4 centimeters), to create spacers to hold the objective lens. A coping saw will cut the cardboard clean and straight, which is important.
The removable cap on the end of the outer tube will become the eyehole. Use the drill to make an eyehole in the center of the cap, using light pressure. It is important to keep the cut as smooth as possible. An electrician's punch will also serve.
Drill small holes around the outside of the inner tube, where the lens will be. Place the flat end of the eyepiece lens against the removable cap. Slide the lens and cap into the outer tube. Add glue through the holes, and turn the lens to spread it around. Press the tube against the lens firmly until the glue is dry. Set aside.
Cut the closed end of the outer tube. Determine the how far into the tube the lens and spacers need to sit, then drill small holes on the sides of that region. Slide the first spacer in; insert glue through the relevant hole, moving it slightly to spread it around. Keep pressure on the region until the glue has dried.
Once the first spacer is dry, slide the objective lens in, with the second spacer against it. Insert glue through the hole, spread it, and press until it is dry.
Slide the inner tube into the outer tube. The telescope can be focused by sliding the cardboard tube as necessary. Once the correct focusing distance is found, the two ends can be permanently attached with glue or tape.
Building a specialty Galilean telescope (about 20x magnification)
The most important determination you will want to make is how great your magnification. We opted for a magnification of 20x, which resulted in a longer telescope than we could find from an office supply store. As such, we decided to switch the bulk of the body to a PVC pipe. The material and tools for this project are:

PVC pipe:
- Outer tube (diameter: 5 cm or 2 inches; length: 2 meters or 7 feet)
- Inner tube (diameter 4 cm or 1.5 inches; length: 15.25 cm or 6 inches)
Note: Our photos show flexible piping, which we started out with, but upon completion we preferred a straight pipe
Paper towel or toilet paper tube
Extra cardboard
Glue
Lenses:
- Concave-convex lens: Diameter 49 mm, focal length 100 mm
- Plano-concave lens: Diameter 47 mm, focal length 2000 mm
Note that the focal length of our lens are 2000/100 = 20, leading to a magnification of 20x.
Our lenses were 47 and 49 mm, or 1.8 and 1.9 inches, while the only PVC pipe we could locate came with an interior diameter of either 1.5 or 2 inches. We purchased flexible PVC pipe with an interior diameter of 1.5 inches, which was small enough to slide into the larger pipe.
Note: We chose to forgo standard PVC pipe of 1.5 inches simply because it only came in 10-foot lengths, while the flexible pipe did not. However, the flexible pipe came slightly curved, a problem we thought would change with sufficient exterior pressure and/or enough time inside of the straight pipe. In retrospect, we probably should have gone with the standard pipe and kept the excess around for future projects.
We attempted a couple of different methods of securing the lens and the pipe. We found success with a toilet paper tube, though a paper towel tube should also be effective. We slid the eyepiece lens into the tube, working carefully to make sure that it was straight.
The cardboard tube still fell short of the PVC diameter, so we added cardboard spacers along the side. Gluing the spacers in place allow the eyepiece to be adjusted as necessary.

The flexible PVC pipe was trickier, and the problem won't be resolved if you use a straight length of pipe. We used a boxcutter to scrape along the inside of the entry to the pipe to create a smooth area large enough to just slip the objective lens into.
Once you have the two complete segments, it is time to put them together. Slide the smaller tubing into the larger diameter tube.

The telescope can be focused by sliding the cardboard tube as necessary. Once the correct focusing distance is found, the two ends can be permanently attached with glue. PVC connectors, also purchasable at a hardware store, can serve to connect the two.
Observing the heavens
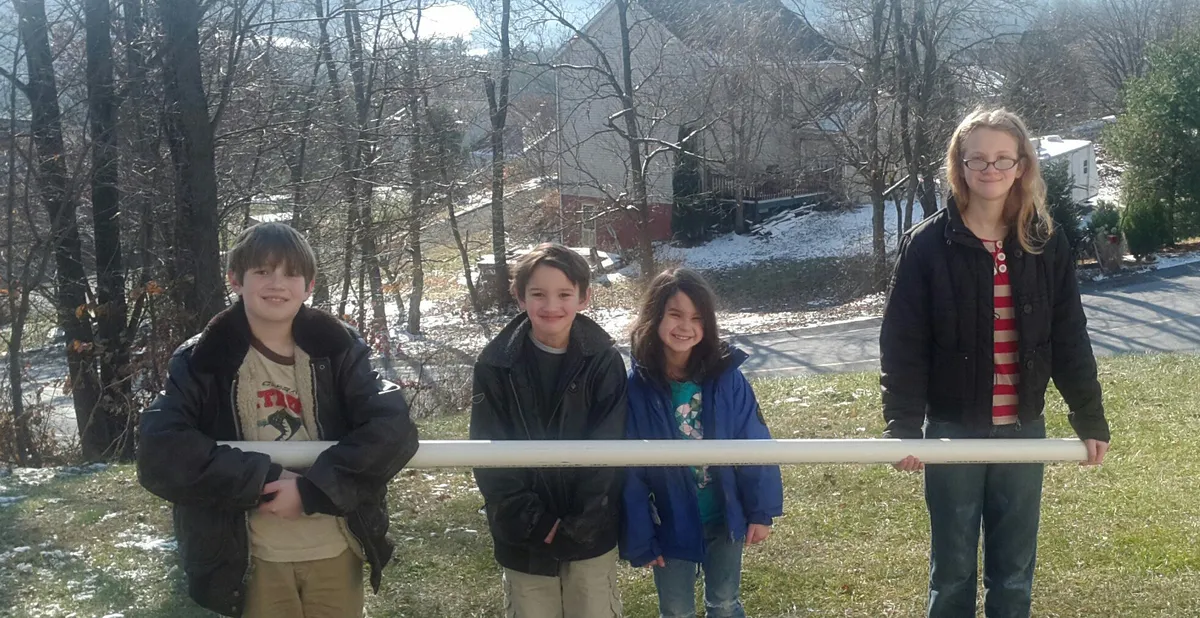
Even a 4-foot telescope can be a handful to study the stars with; a 7-foot scope certainly requires assistance. The Galileo Project website, which inspired the creation of our large telescope, lists plans for building a sufficient base.
This project was inspired by the Galileo Project, hosted by Rice University in Texas. For more information, visit their main page or their telescope-building page.
Join our Space Forums to keep talking space on the latest missions, night sky and more! And if you have a news tip, correction or comment, let us know at: community@space.com.